

Studio Recording

How to set up a project studio

6 replies 2,018 views

Started by

Thesimon

Administrator

Administrator

Opening post by Thesimon

Posts
4,504
City
Ariccia, RM

SUMMARY

Following a flood of the basement rooms of my home (which happens every time there is rainfall similar to a hurricane), this time I had to discard a large part of my studio equipment, cables, and outboard gear. For this reason, I have finally decided to carry out insulation, soundproofing, and studio restoration works. Since I am collecting photographic material of all the operations, I thought that in the end all this could be useful to those who decide to create their own home studio by creating a sort of documentary/manual that, also thanks to audio/video and photo material, analyzes all the phases of creating a studio, covering the following topics:

- Dimensioning of the walls based on available space and calculation of the normals of the standing waves associated with the three dimensions

- Construction of a structure made of insulated and soundproofed hydrolastra using amorphous silicate material (rock wool) which provides thermal insulation, acoustic insulation, drainage, and fireproofing.

- Installation of the electrical system and audio signal wiring on separate and distant lines in order to eliminate electromagnetic interference phenomena.

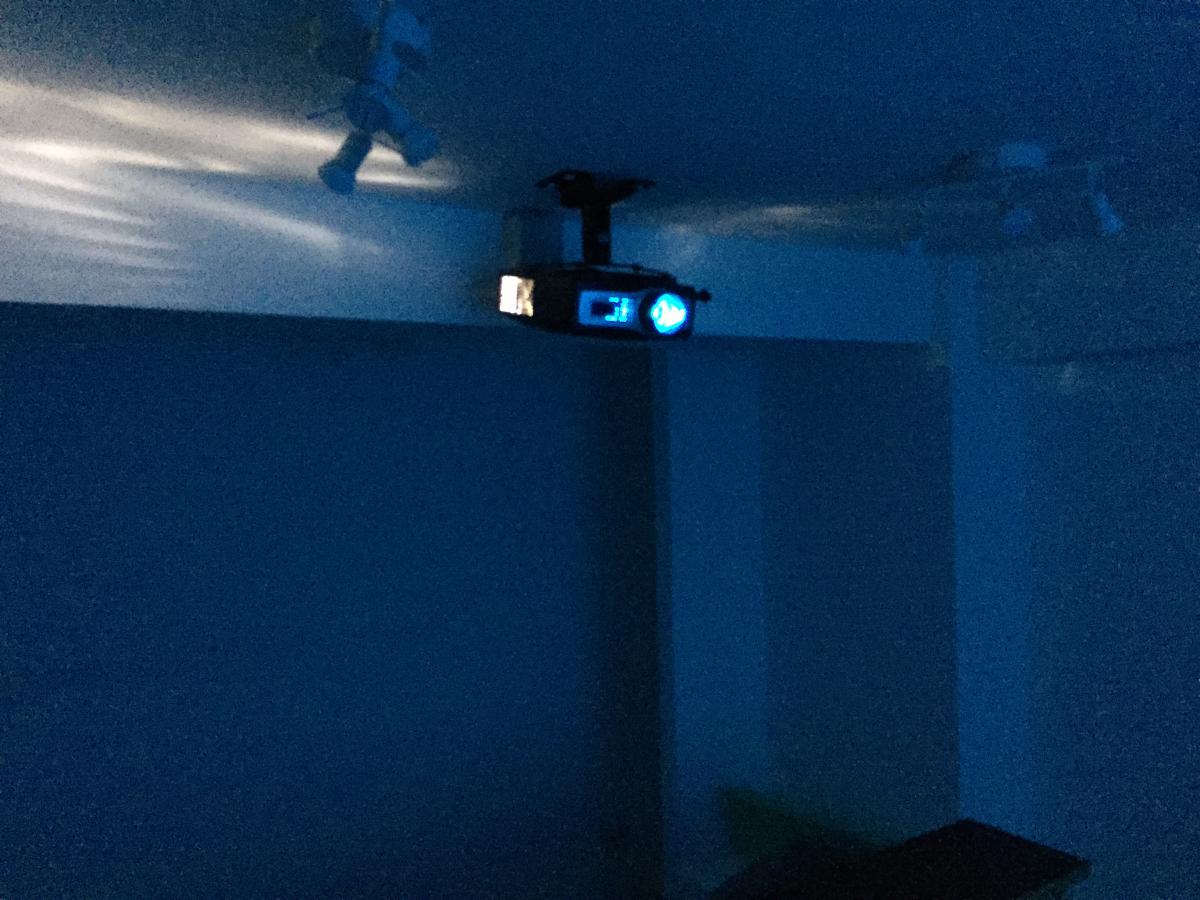
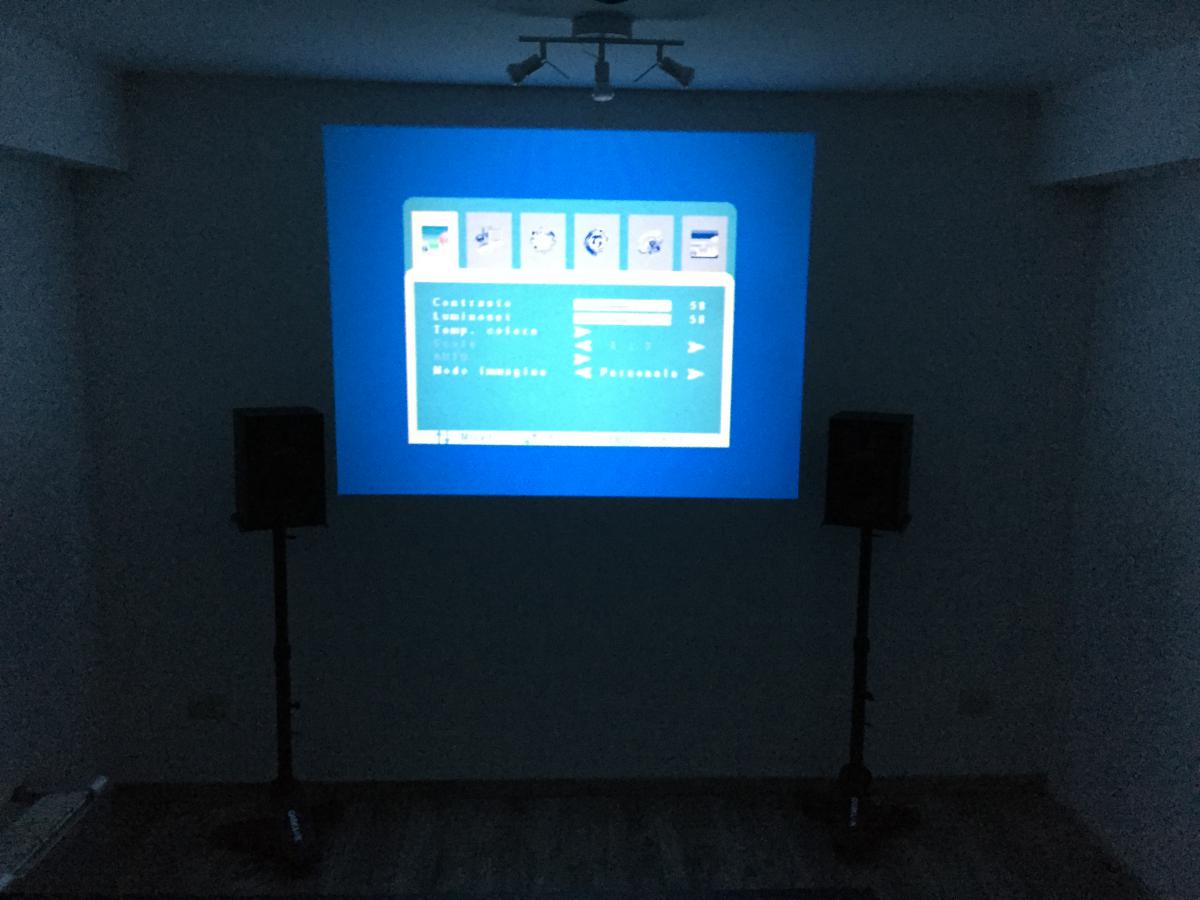
- Wiring of the main studio elements: Mac Pro, dual monitors, video projector, microphone input lines, patch bay (if planned), etc.

- Positioning of the main monitors and nearfields

- Acoustic measurement with a measurement microphone for the analysis of the room's acoustic problems

- Resolution of acoustic problems through the use of pyramidal sound-absorbing panels, bass traps, and Schroeder diffusers

- External measurement with a sound level meter to evaluate the acoustic reduction post-soundproofing.
Administrator

Reply 2 by Thesimon

Posts
4,504
City
Ariccia, RM

1. Audio equipment does not get along with humidity

The first thing, when dealing with the world of audio, is to evaluate the environment in which our equipment will work. Electronic instrumentation in general never gets along with humidity, but audio instruments get along with it even less. Condenser microphones must be kept in humidity-free environments; otherwise, you will have to deal with ruined capsules that will lose all their frequency response characteristics and will not return the characteristic sound of that particular microphone. The same goes for outboard gear like tube preamplifiers, etc.

My garage, where I built my first home studio, is a very humid environment; therefore, in a small soundproofed room once used by my father to play the drums without bothering the neighbors' eardrums too much, I created the first draft of a home studio, trying to fight against humidity using a dehumidifier. Being a basement room, on two of the four sides, beyond the walls, there is an embankment. When heavy and long rains occur, the earth cannot "digest" all the water, and often the wall, becoming soaked, begins to overflow with water which, descending from the wall, inevitably ends up on the floor and increases the presence of mold. The first step is therefore to solve the problem of the water and thus the mold.

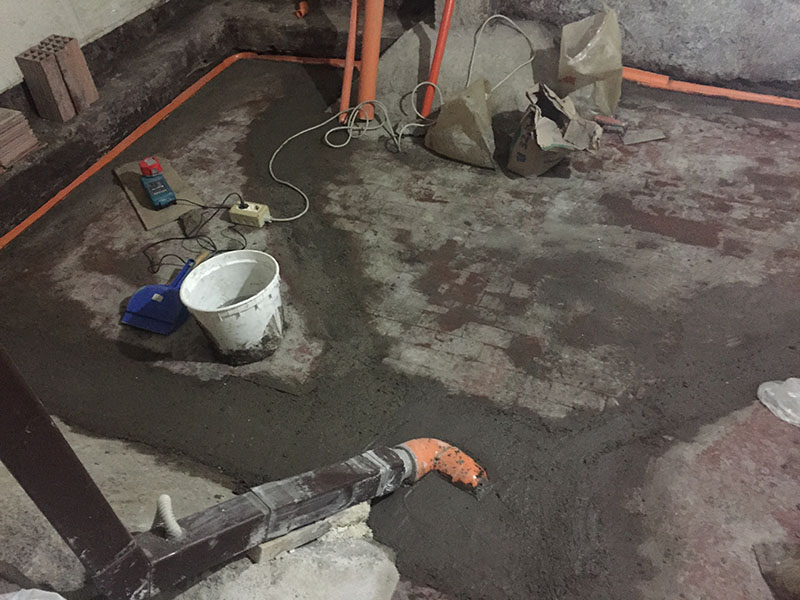
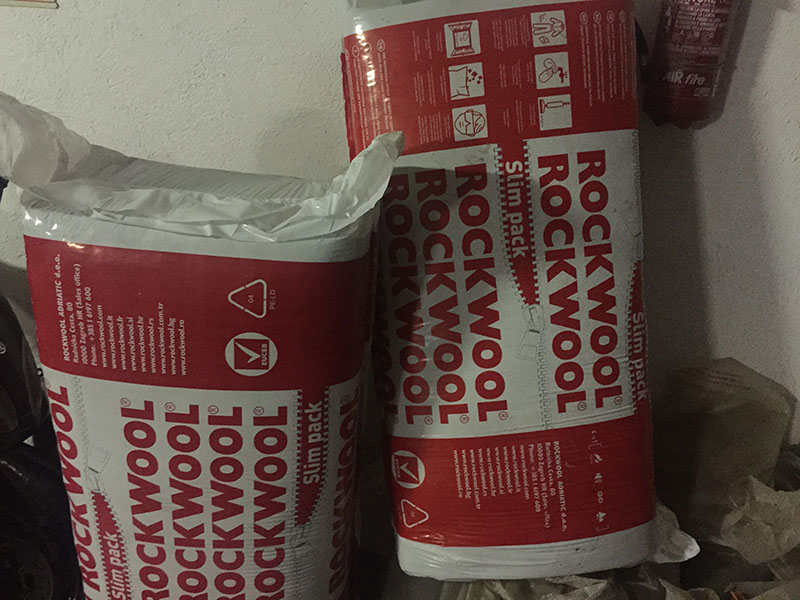
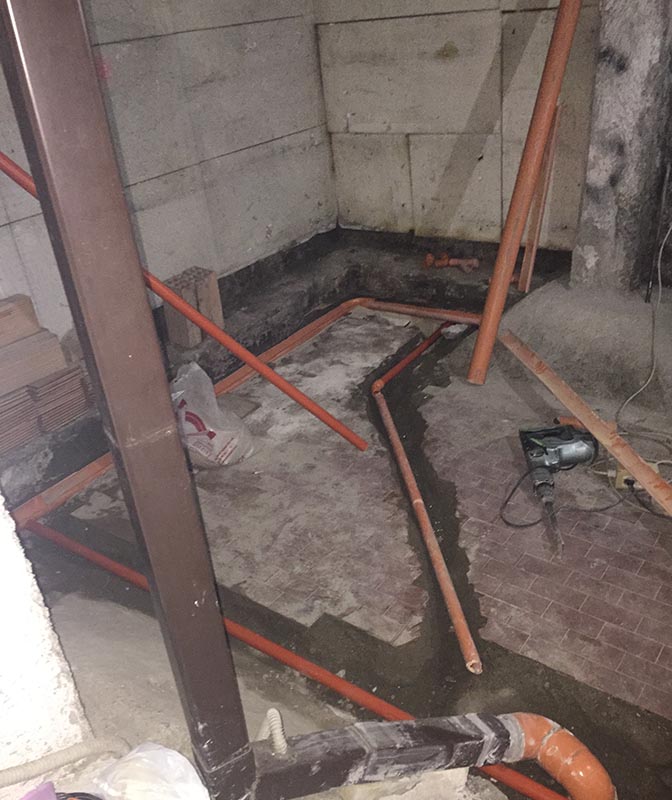
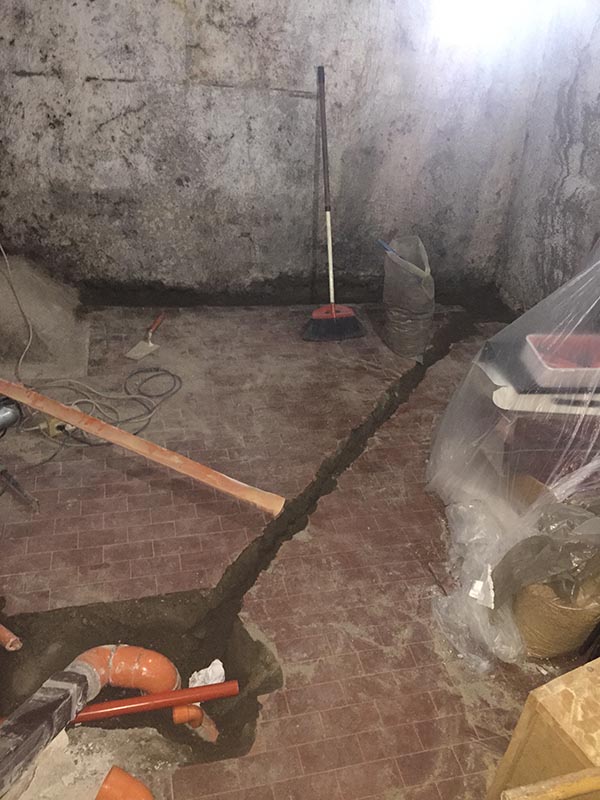
Having to build a soundproofed studio, the first thing to do is to create a room within a room. This gives us a way to be ingenious and try to solve the water problem in a rather smart way. On the perimeter walls, where water usually infiltrates, we dug channels and inserted water collection grates, giving them a slope to channel the water into a downspout. In this way, the water that enters from the wall will simply exit through the downspout. To prevent the water from creating long-term problems for the hydro-plates (which will be positioned leaving a small gap between the wall and the plate), it was thought to line the walls with a double layer of polystyrene panels. Subsequently, on top of the polystyrene, rock wool panels will be applied, which offer additional thermal and acoustic insulation. Finally, once the hydro-plates are positioned and connected, there will be an environment totally free of humidity that can still be easily controlled through the use of a dehumidifier.

Here are the photos of the operation.

To be continued...

AttachmentAttachment

Member

Reply 3 by giovannip

Posts
553

Simone, I would also think about raised flooring, the so-called "lost formwork for crawl spaces," to avoid moisture rising from the floor, just to be safer.

Administrator

Reply 4 by Thesimon

Posts
4,504
City
Ariccia, RM

The flooring is actually not raised but insulated with fairly thick (5 mm) plastic mats on which laminate parquet planks will be laid. In any case, the mats are designed to handle humidity regardless.

Administrator

Reply 6 by Thesimon

Posts
4,504
City
Ariccia, RM

2. Wall insulation and soundproofing

We had left off with the construction of the water drainage channels... The next step was closing the tracks containing the drainage pipes and cementing the channels to provide the desired slope.

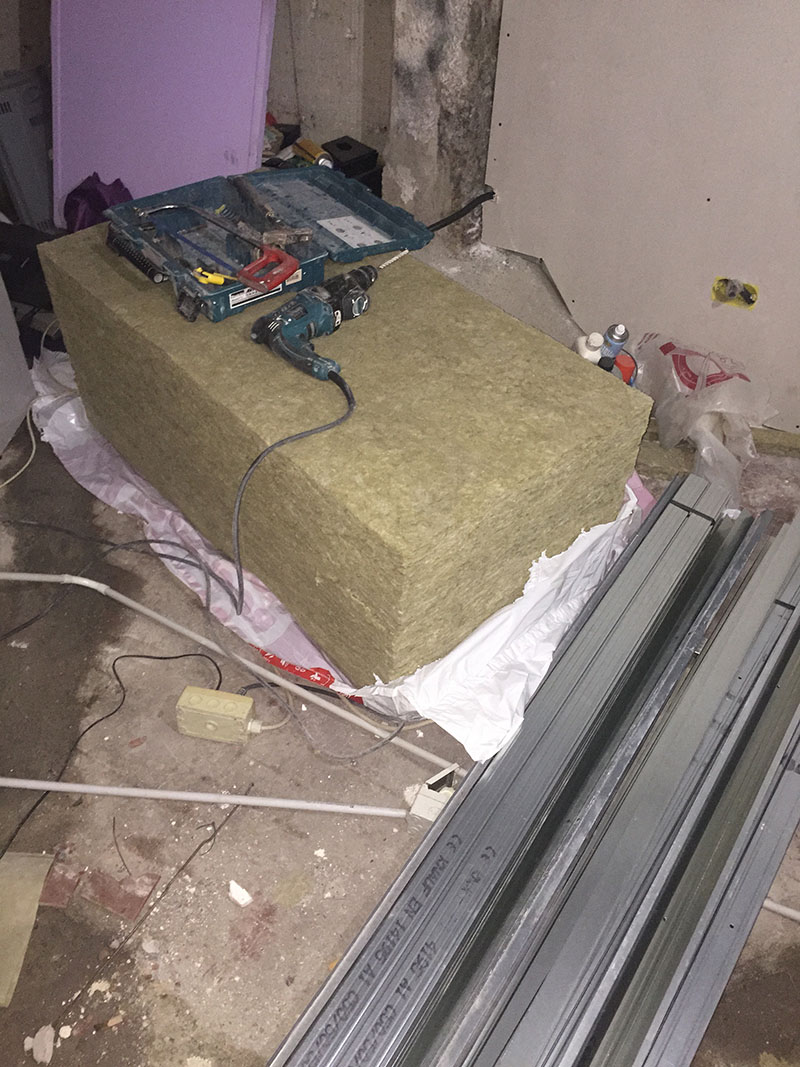
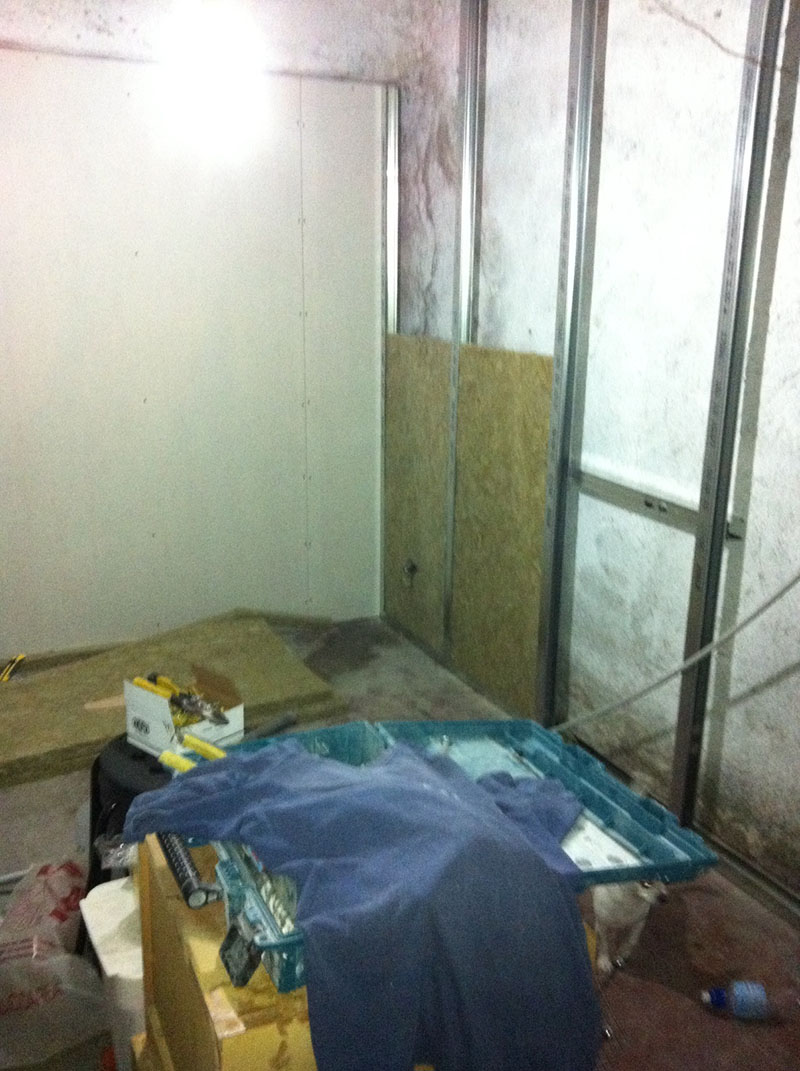
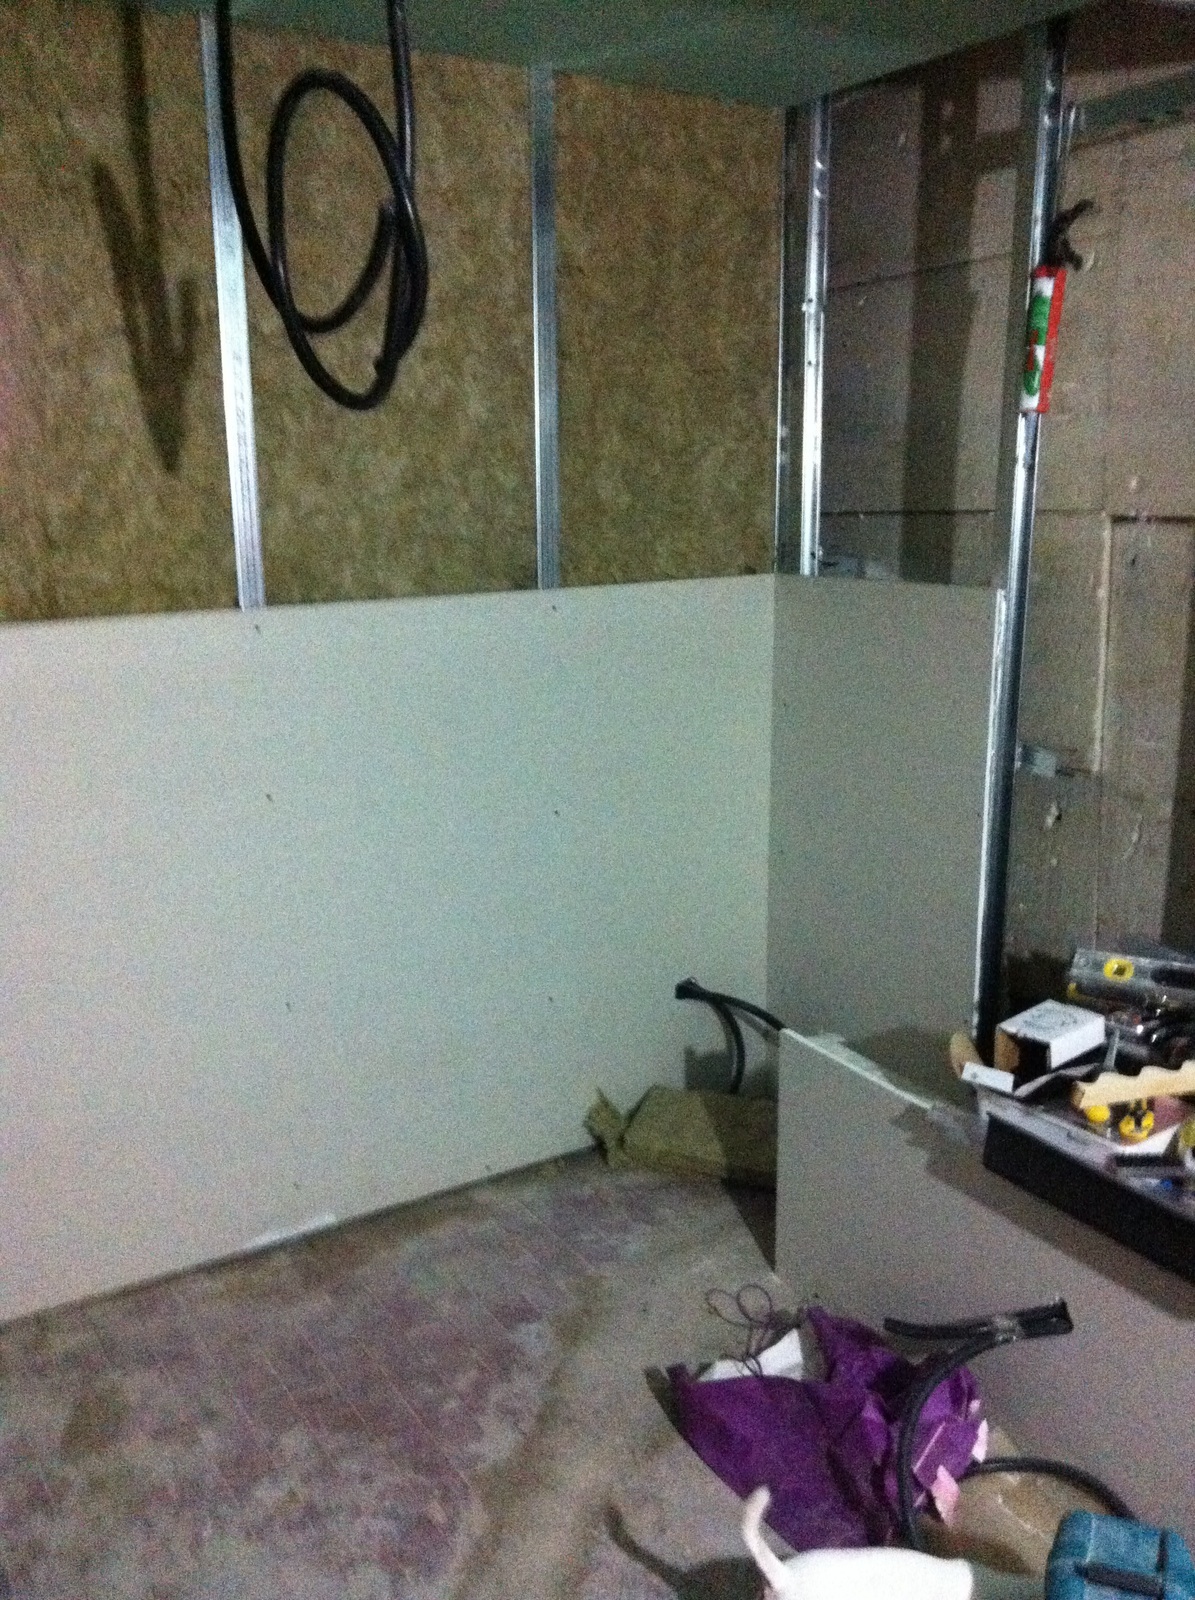
Next follows the phase of placing the fabrics on which to fix the hydro-plates. For this purpose, H-shaped fabrics were used for the insertion of rock wool inserts.

The rock wool slabs are 4 centimeters thick. Being open-cell, they are an excellent acoustic insulator; to further increase the soundproofing capacity, it would have been possible to insert a lead sheet behind the rock wool as well, but since I am in a basement anyway, I don't run great risks of disturbing the neighbors: the ceiling coincides with the floor of a room that my neighbors use as an outdoor living room (derived from a terrace overlooking the garden), therefore they should not suffer any kind of acoustic stress; furthermore, the volumes inside my studio, as required by labeling, must be around 93 dB at the listening point for mixing and mastering and are not so prohibitive considering that the sound wave would have to pass through 1.5 cm of hydro-plate, 4 cm of rock wool, 3 cm of polystyrene, and the entire floor slab; I would say that by intuition, I can be quite calm. To know the dB attenuation well, one would need to know the soundproofing power of these materials. Since I don't have great acoustic insulation requirements, I preferred to go by intuition without wasting too much time on measurements and calculations, which I will instead have to do at the time of the room's acoustic normalization.

The rock wool...

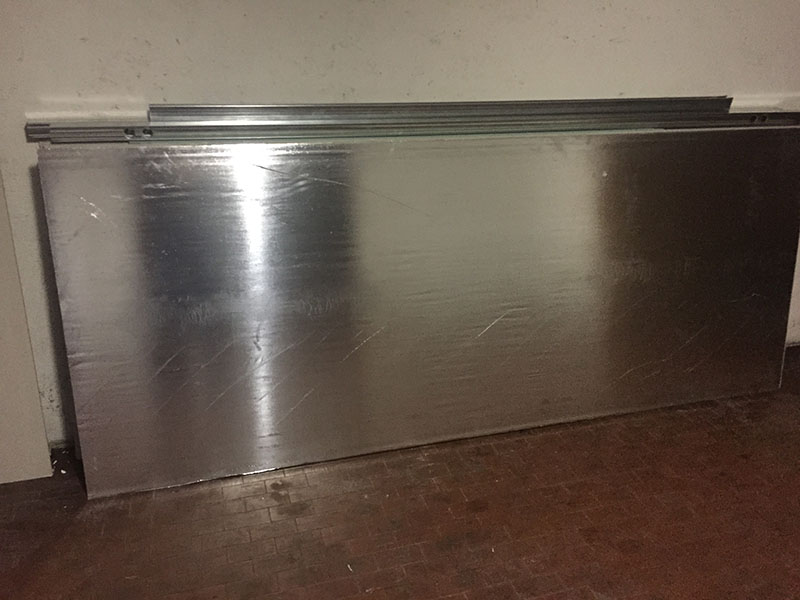
As I was saying, this wool was then inserted inside the frame housings in this way: and then closed with panels having an aluminum foil (waterproof and moisture-proof): .

AttachmentAttachmentAttachmentAttachmentAttachment

Administrator

Reply 7 by Thesimon

Posts
4,504
City
Ariccia, RM

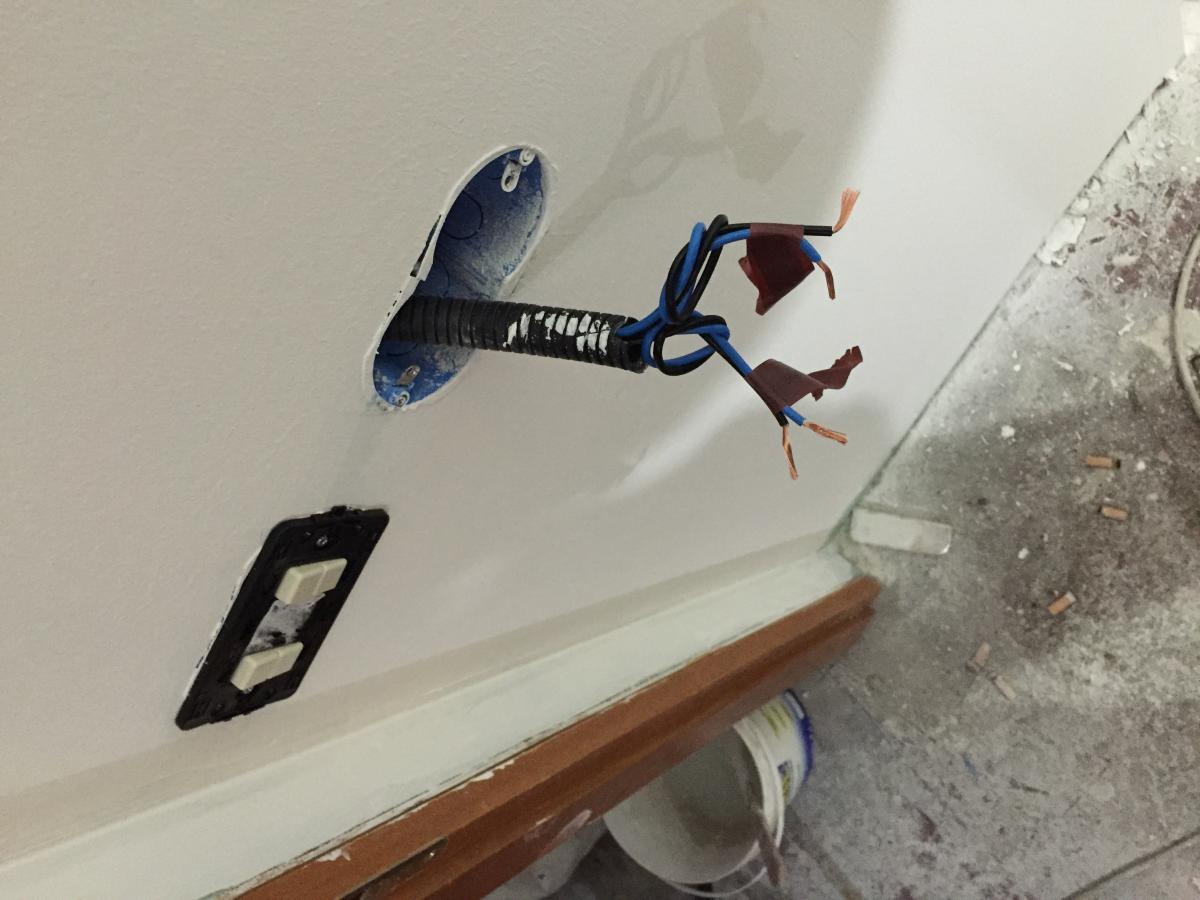
3. Plastering, skimming, painting and electrical system

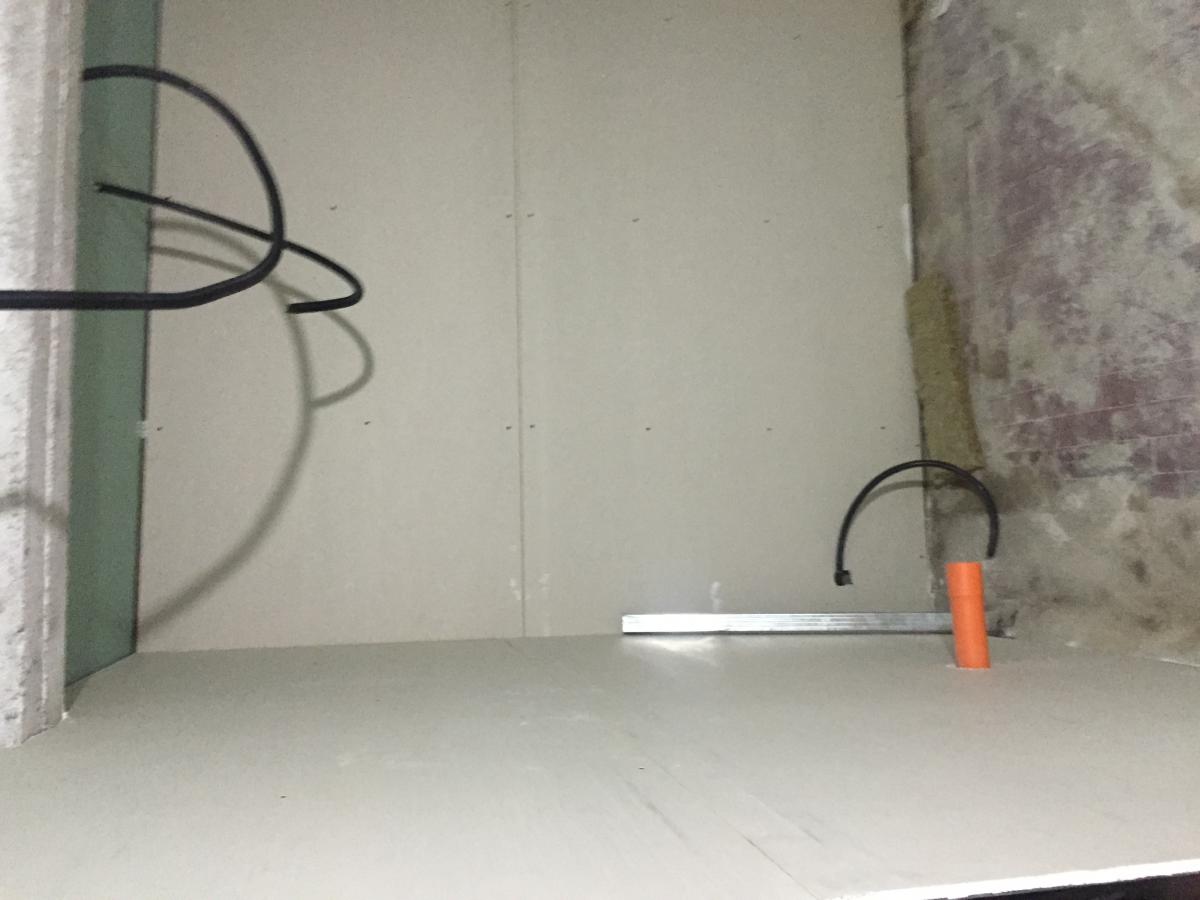
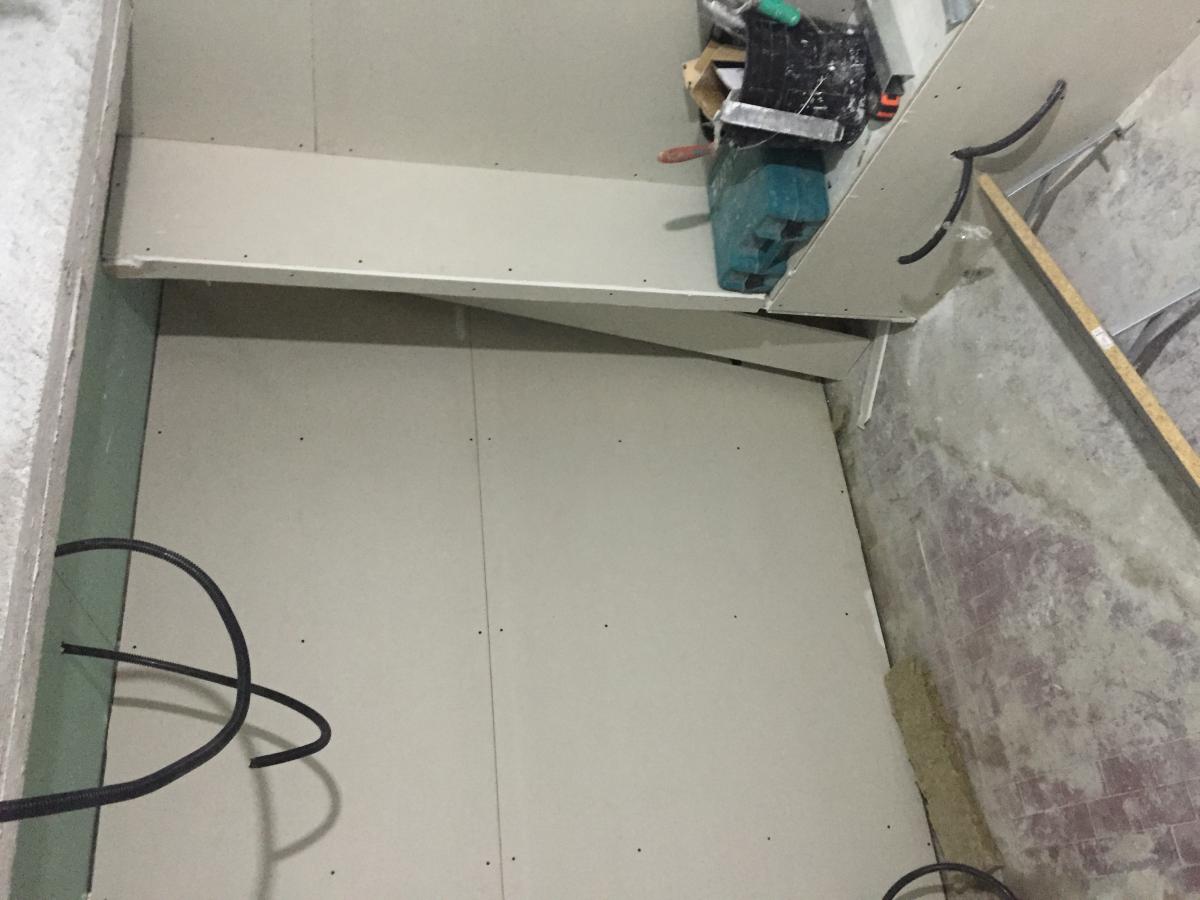
We left off with the insulation. Once all the panels are mounted, it is time to perform the joint plastering and insert the corner pieces (L-shaped bent iron strips with holes to facilitate plastering).

To then move on to the electrical system...

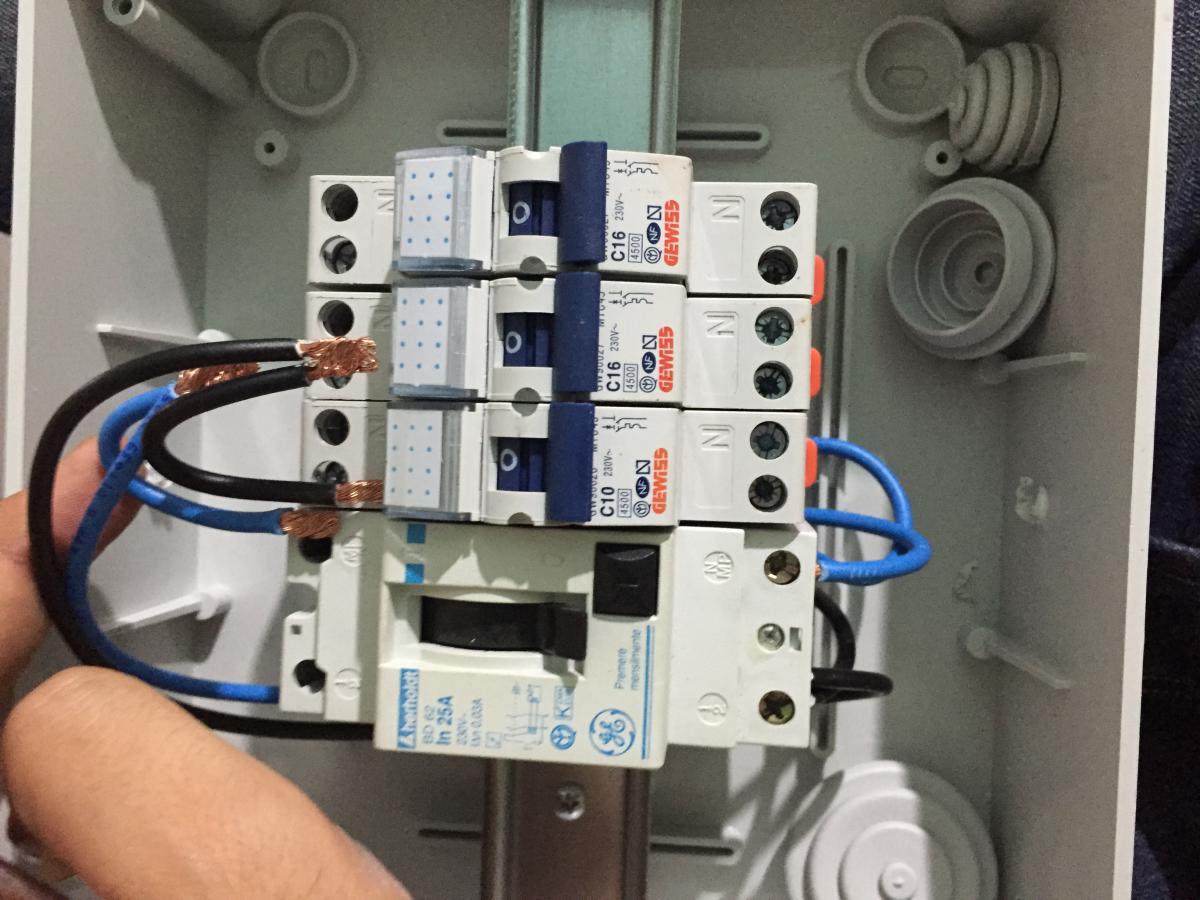
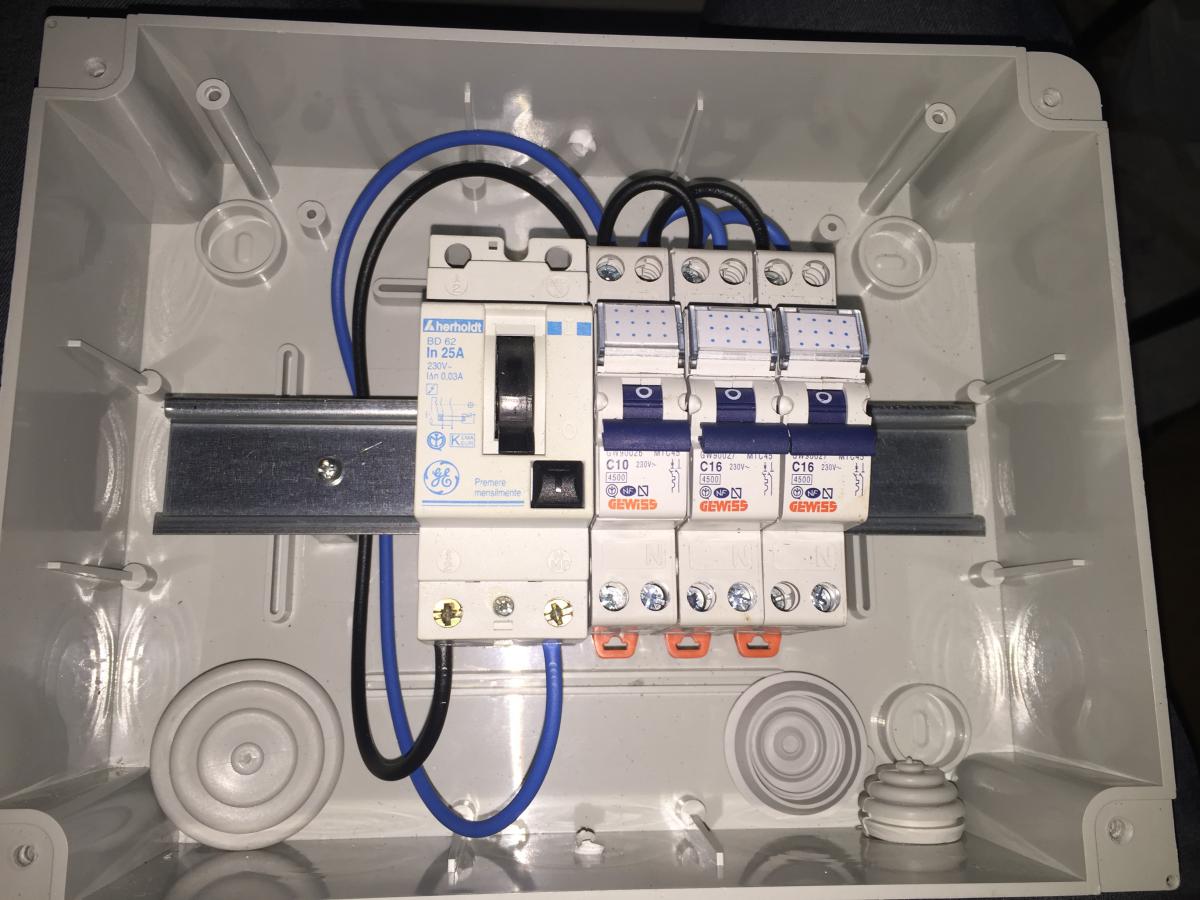
In the panel, I inserted a residual current device and three circuit breakers. Since I have to create two rooms (one for mixing and one for tracking), I divided the loads into:

- Power: on the 16 Amp circuit breaker

- Lights: on the 10 Amp circuit breaker.

- Tracking room: on a 16 Amp circuit breaker. In the tracking room, excessively high loads will not be connected (at most the power supply of a tube microphone or a dehumidifier), therefore I thought that in this case everything could be grouped under a single circuit breaker.

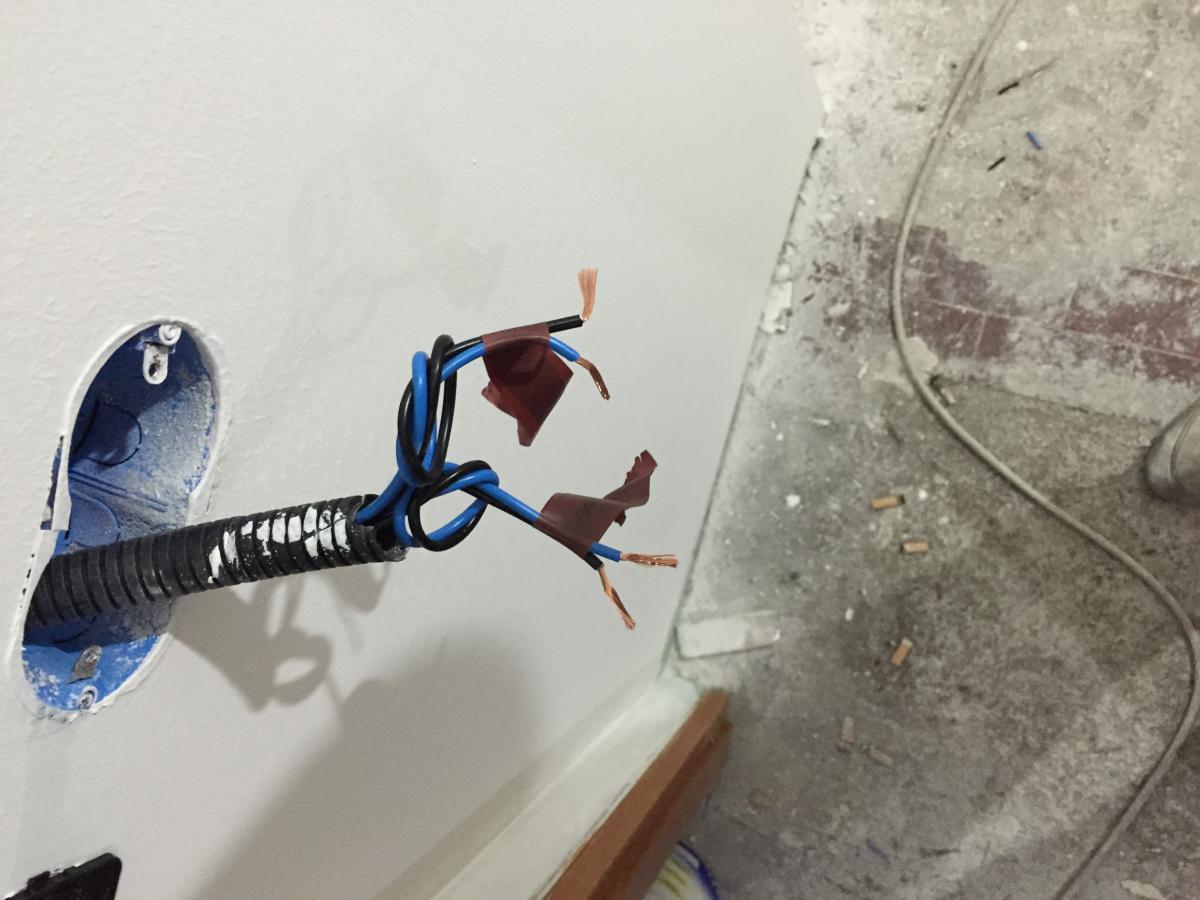
As far as the wires are concerned, I used 2.5mm wires for both lights and sockets, even though for the lights it would have been luxury to use 1.5mm wires, given that the load consists of LED lights which consume about 80W all together.

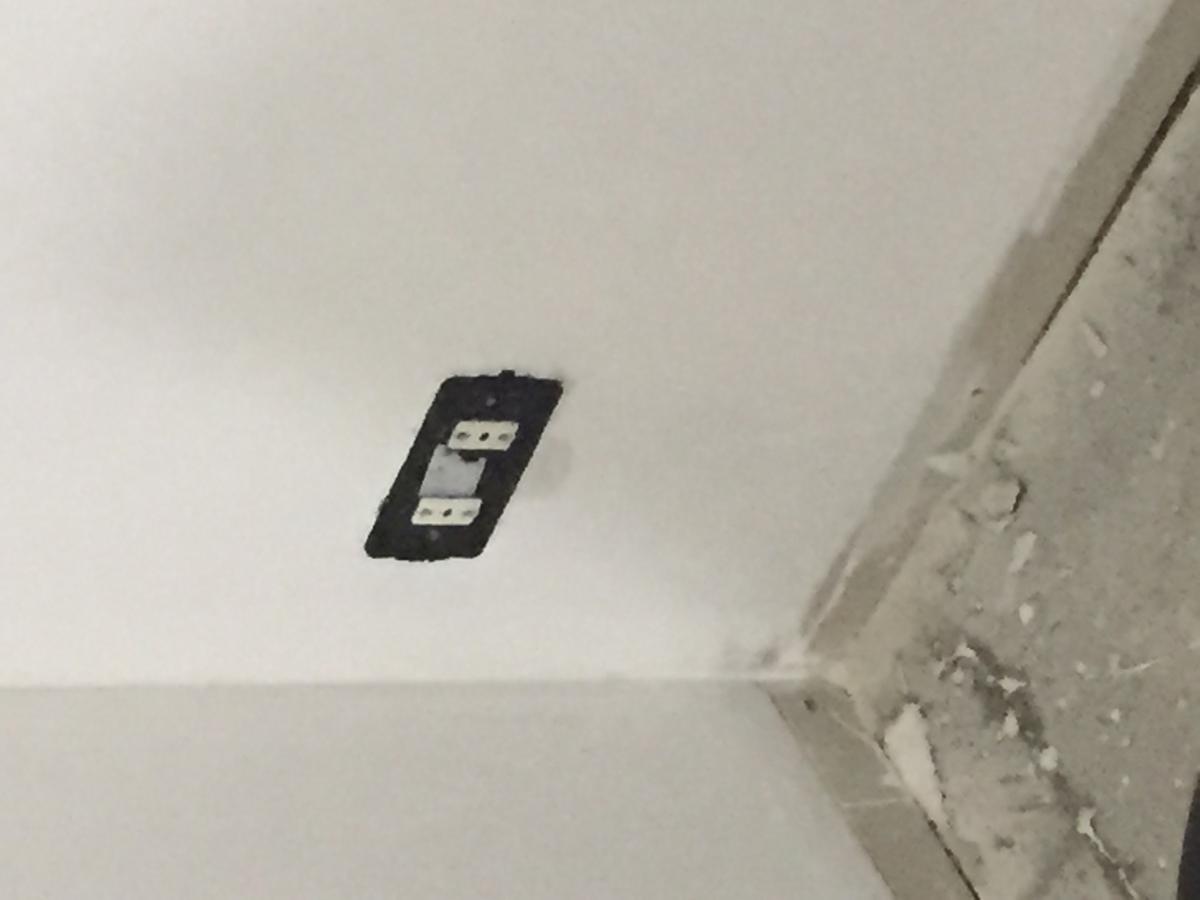
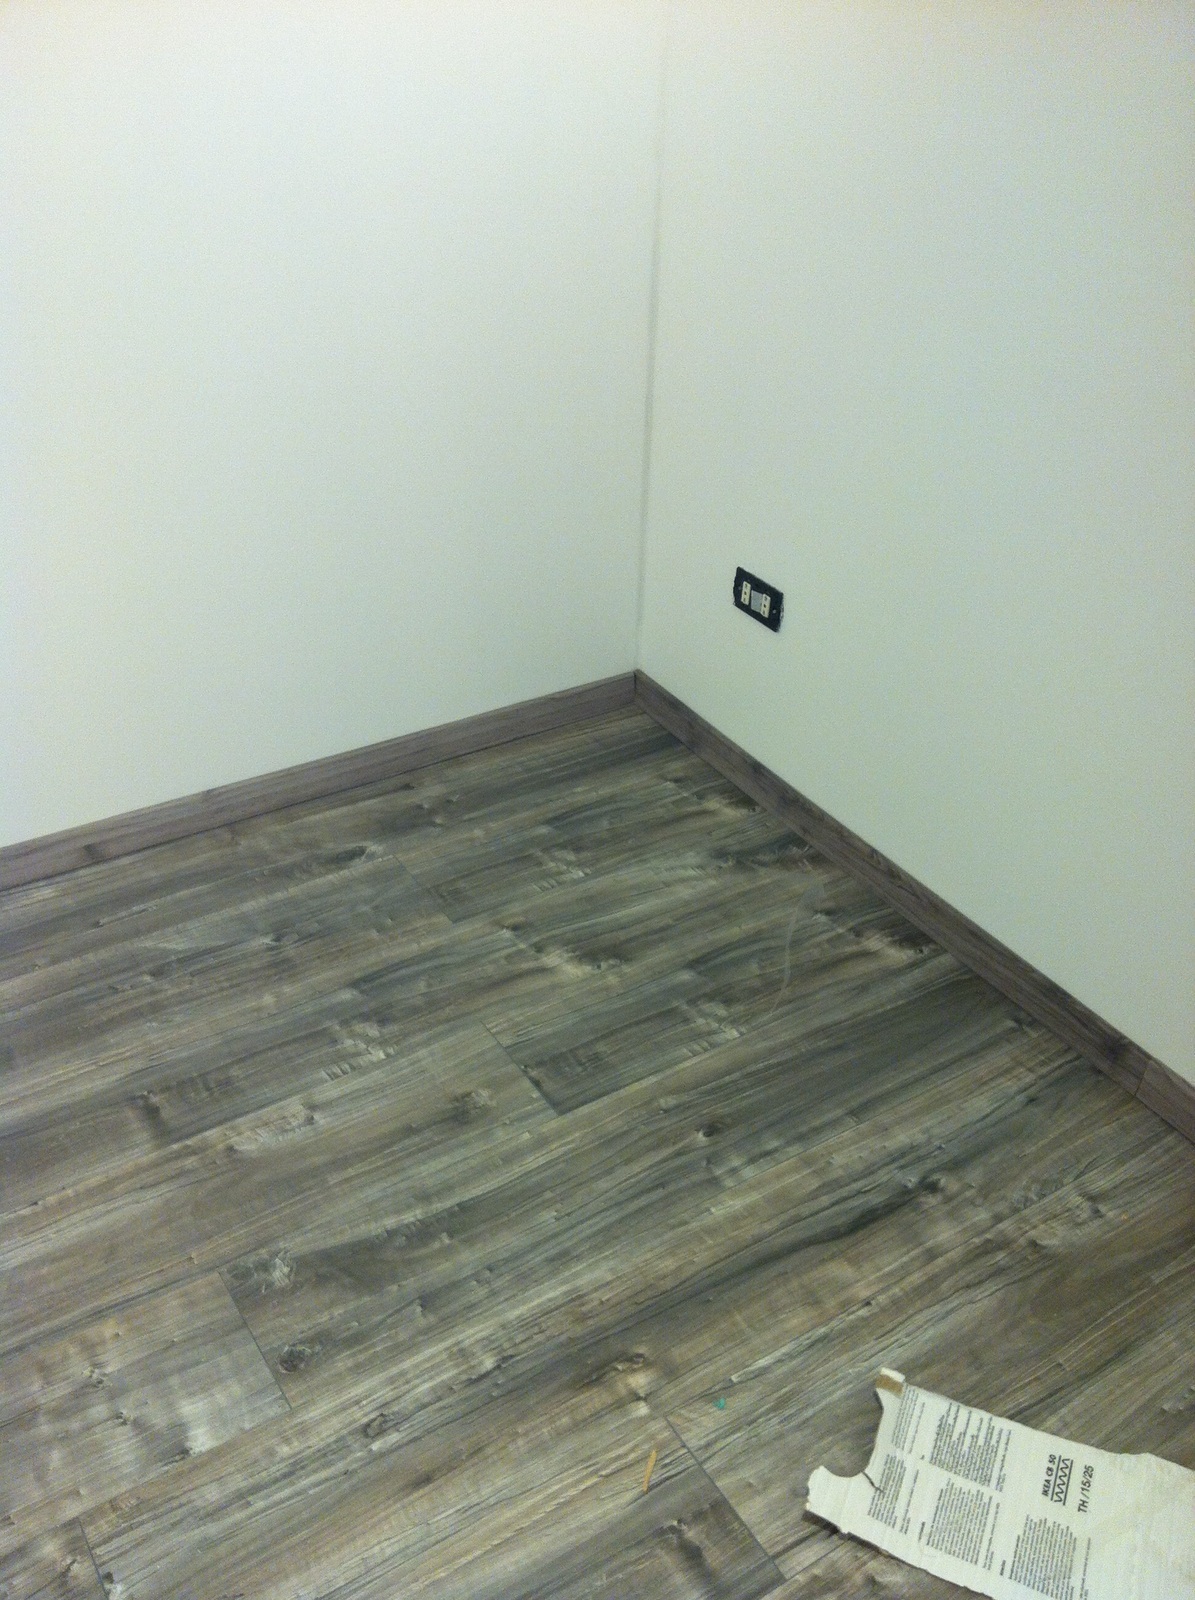
Once plastered, skimmed, and painted, we proceed to make the connections and install the plates and sockets.

Finally, the floor is positioned, under which a layer of damp-proof membrane was inserted, then an underlay for the laminate installation, and finally the laminate. Lastly, the baseboard.

The next stage, the most interesting one, will be measuring the room acoustics, the isolation index, and normalization.

Stay tuned...

AttachmentAttachmentAttachmentAttachmentAttachmentAttachmentAttachmentAttachmentAttachmentAttachmentAttachment
Log in to participate