I am asking for advice on the correct procedure to replace the keyboard felts of a grand piano, both the central ones that act as a pivot and those located at the beginning of the key:
How to unglue them, how to reposition the new felts, what glue to use, whether it is necessary to use spacers to make the felt adhere better during gluing...
Furthermore, if the circular hole in the wood is slightly ovalized, is it better to act on it before or after replacing the new felts?
Sorry, I don't understand, I believe you are referring to Kasimir's cloth felts that line the key guide slots (mortises). I believe you are also referring to the soft iron pins on which the mortises slide and their relative hole.
T
Tiziano
Member
Reply 3 by Tiziano
Posts
13
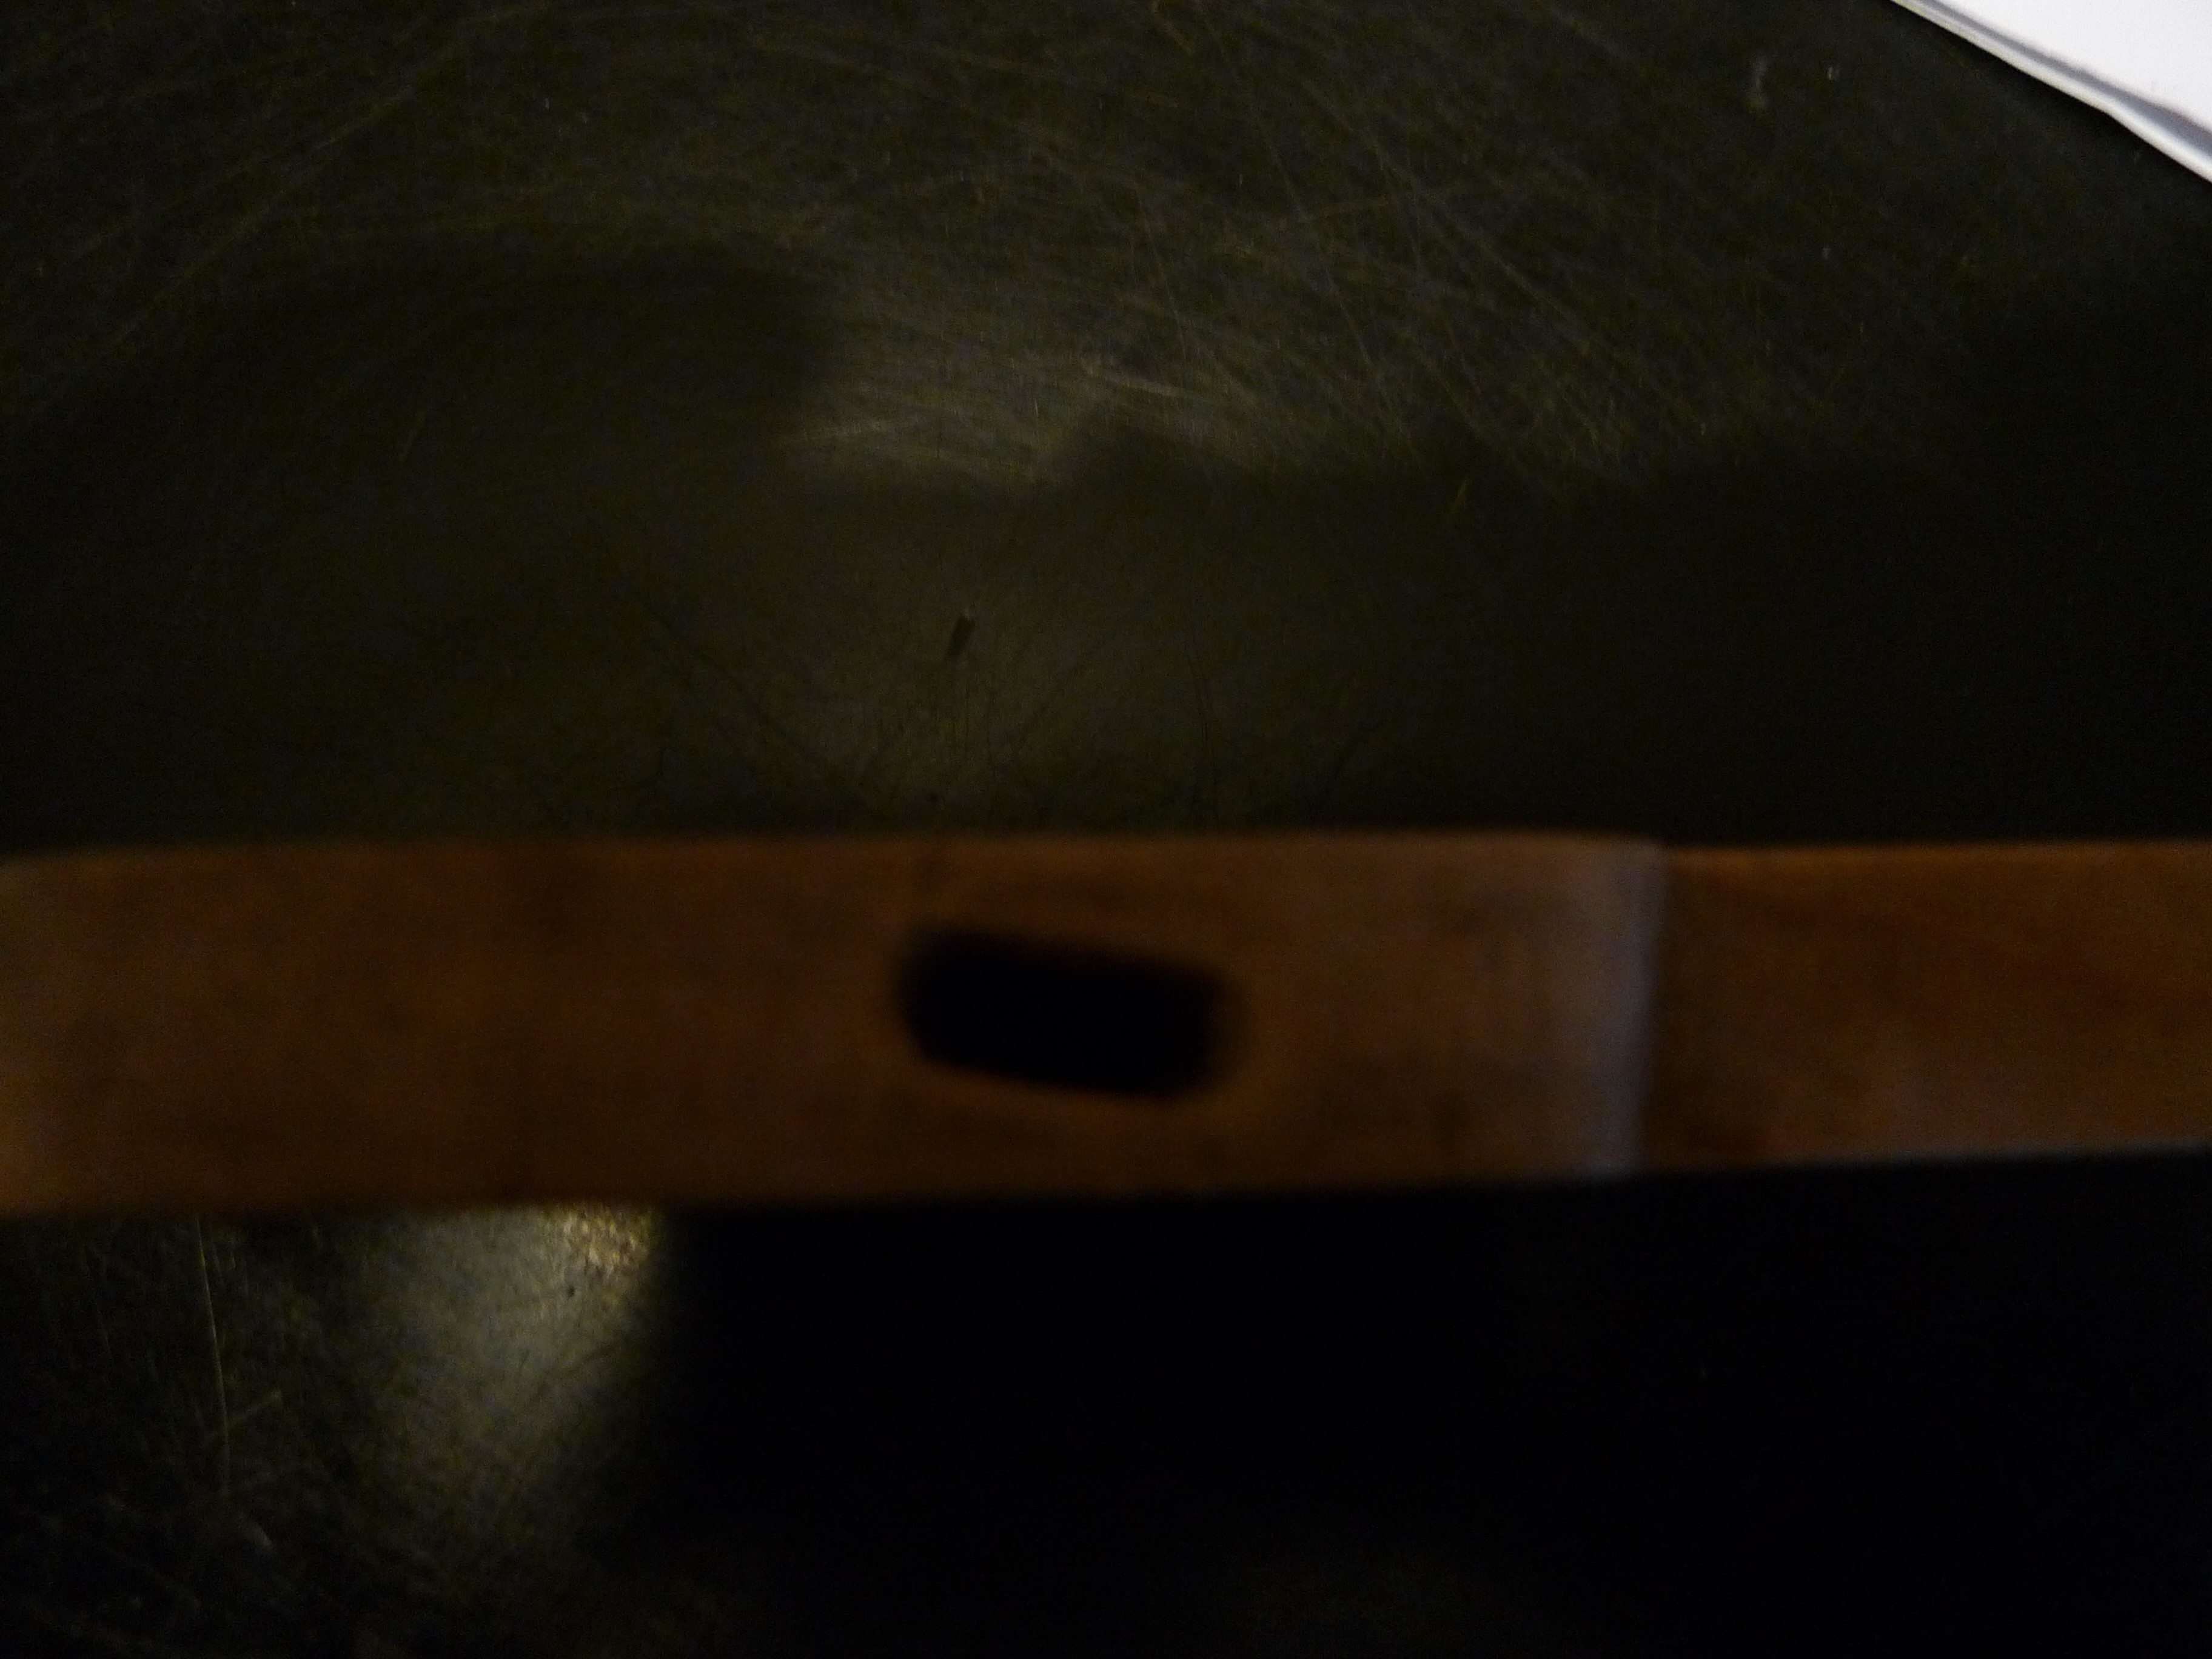
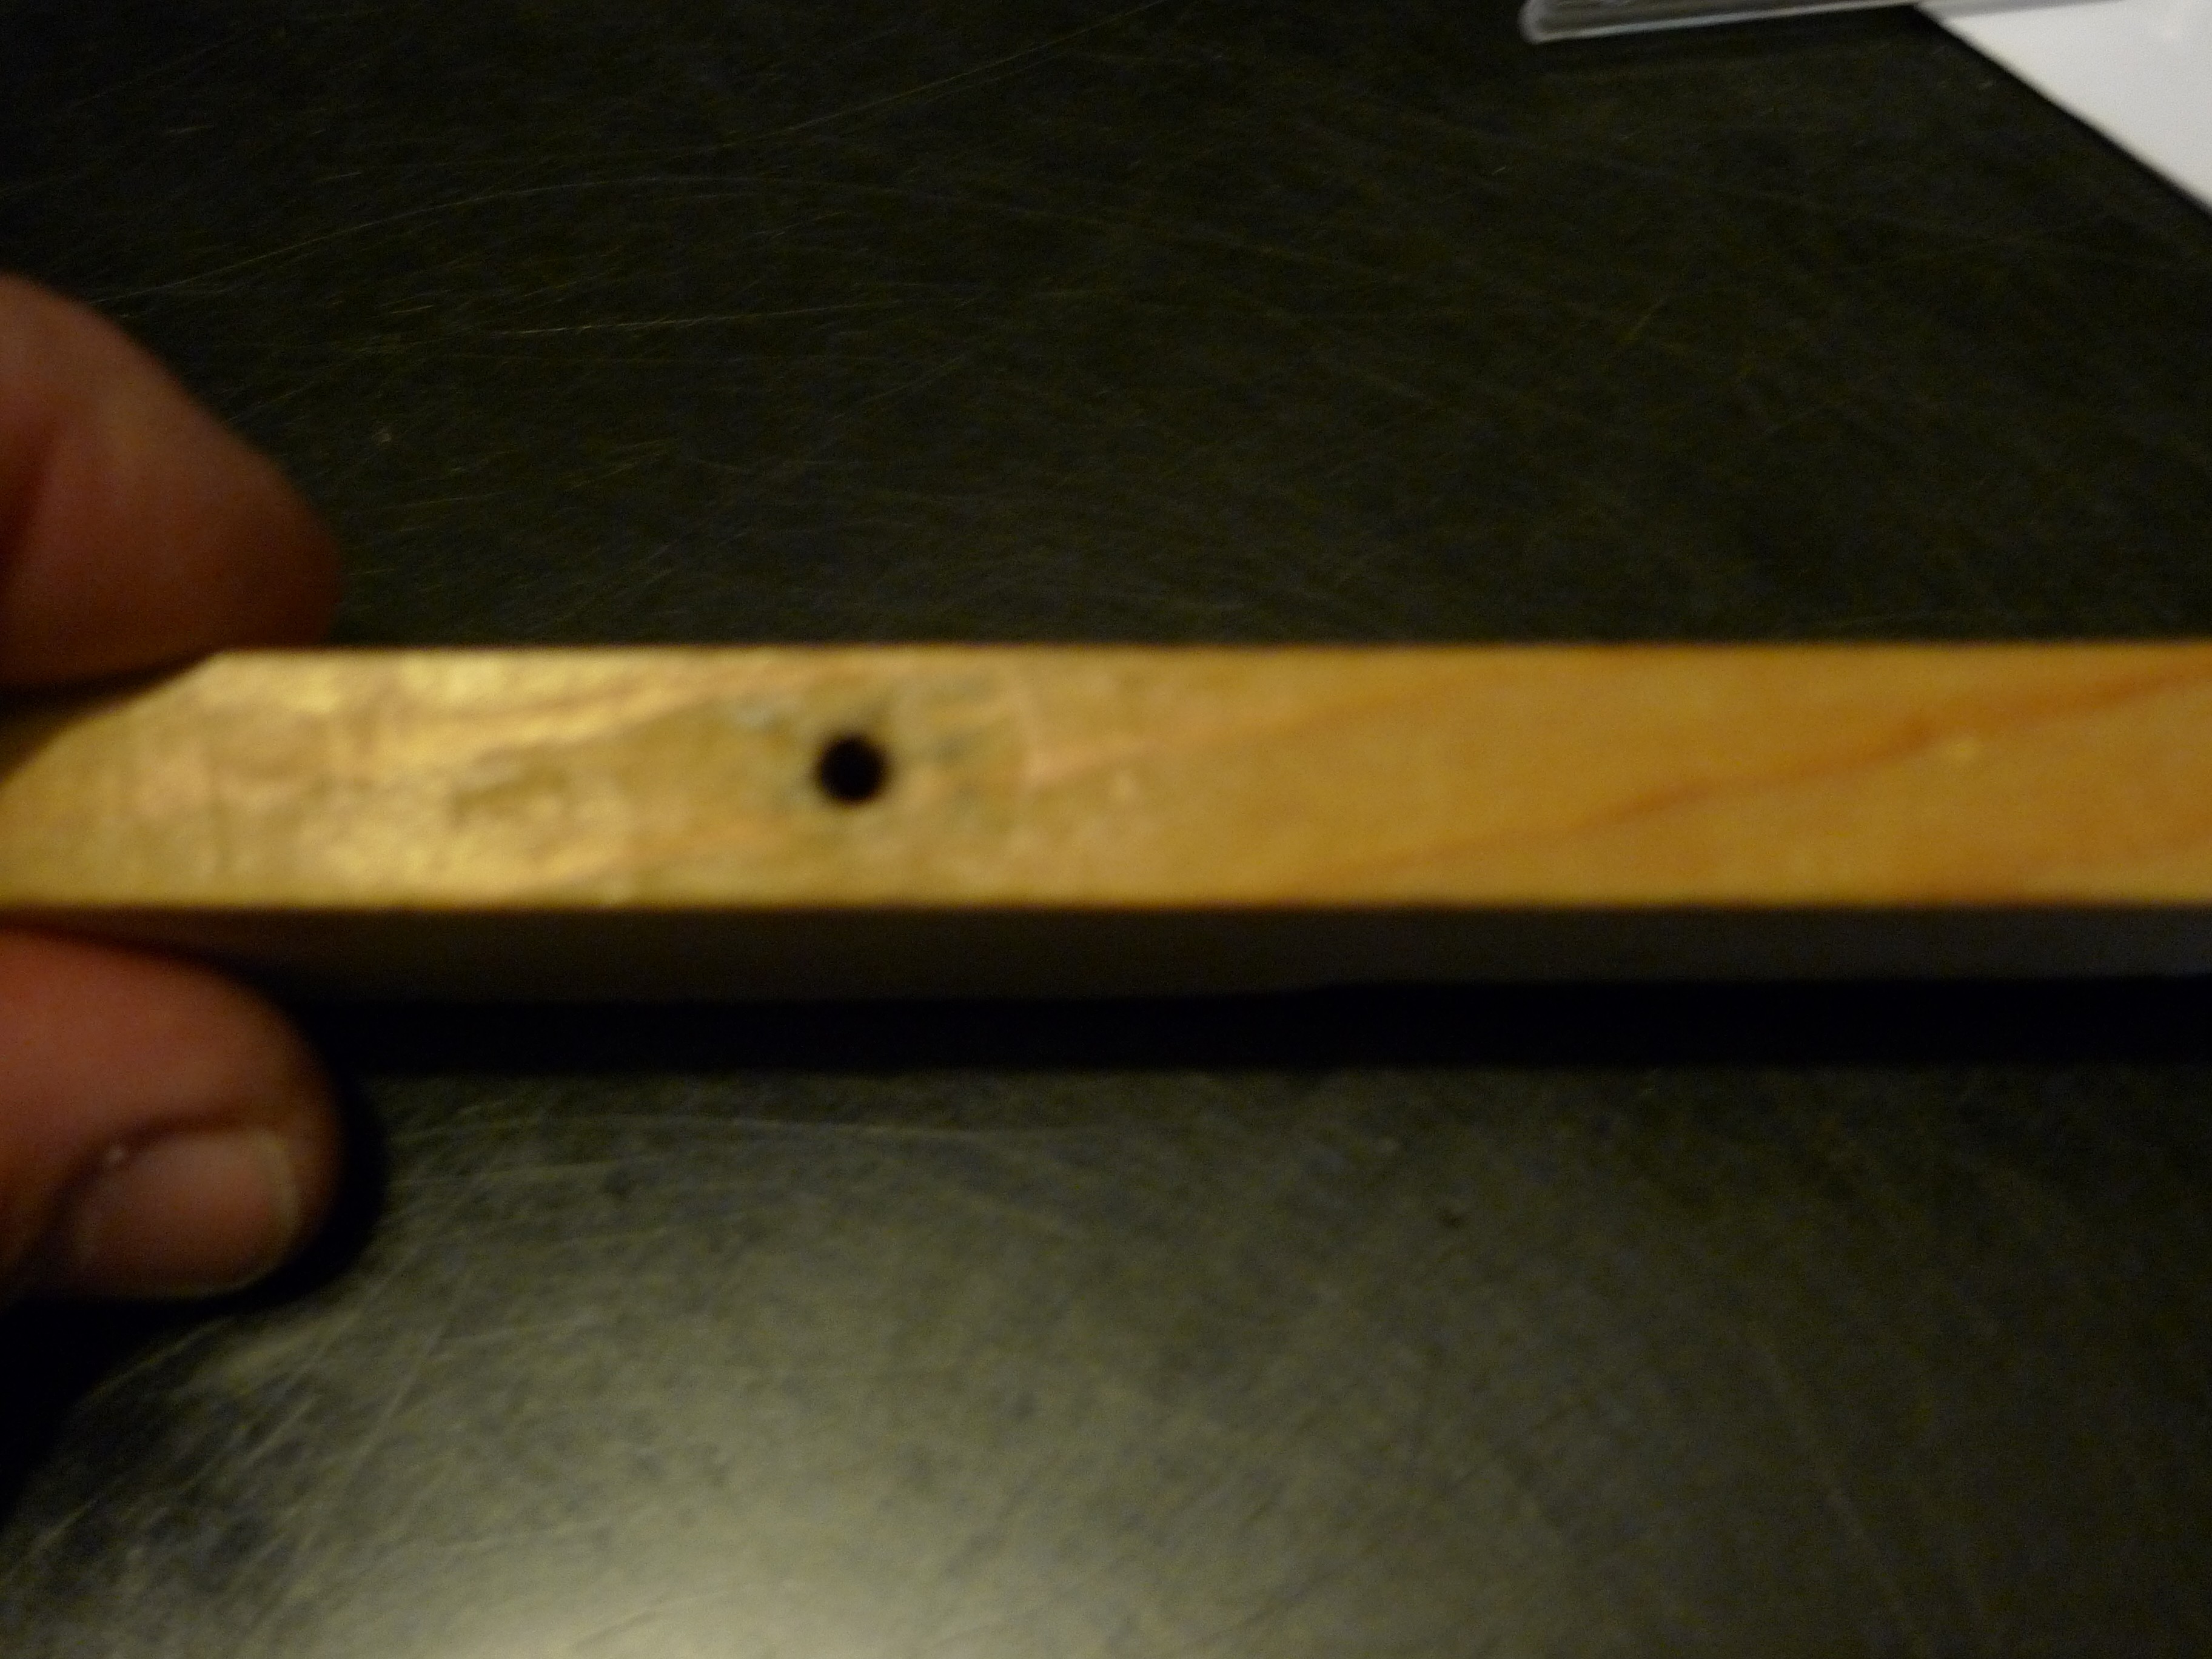
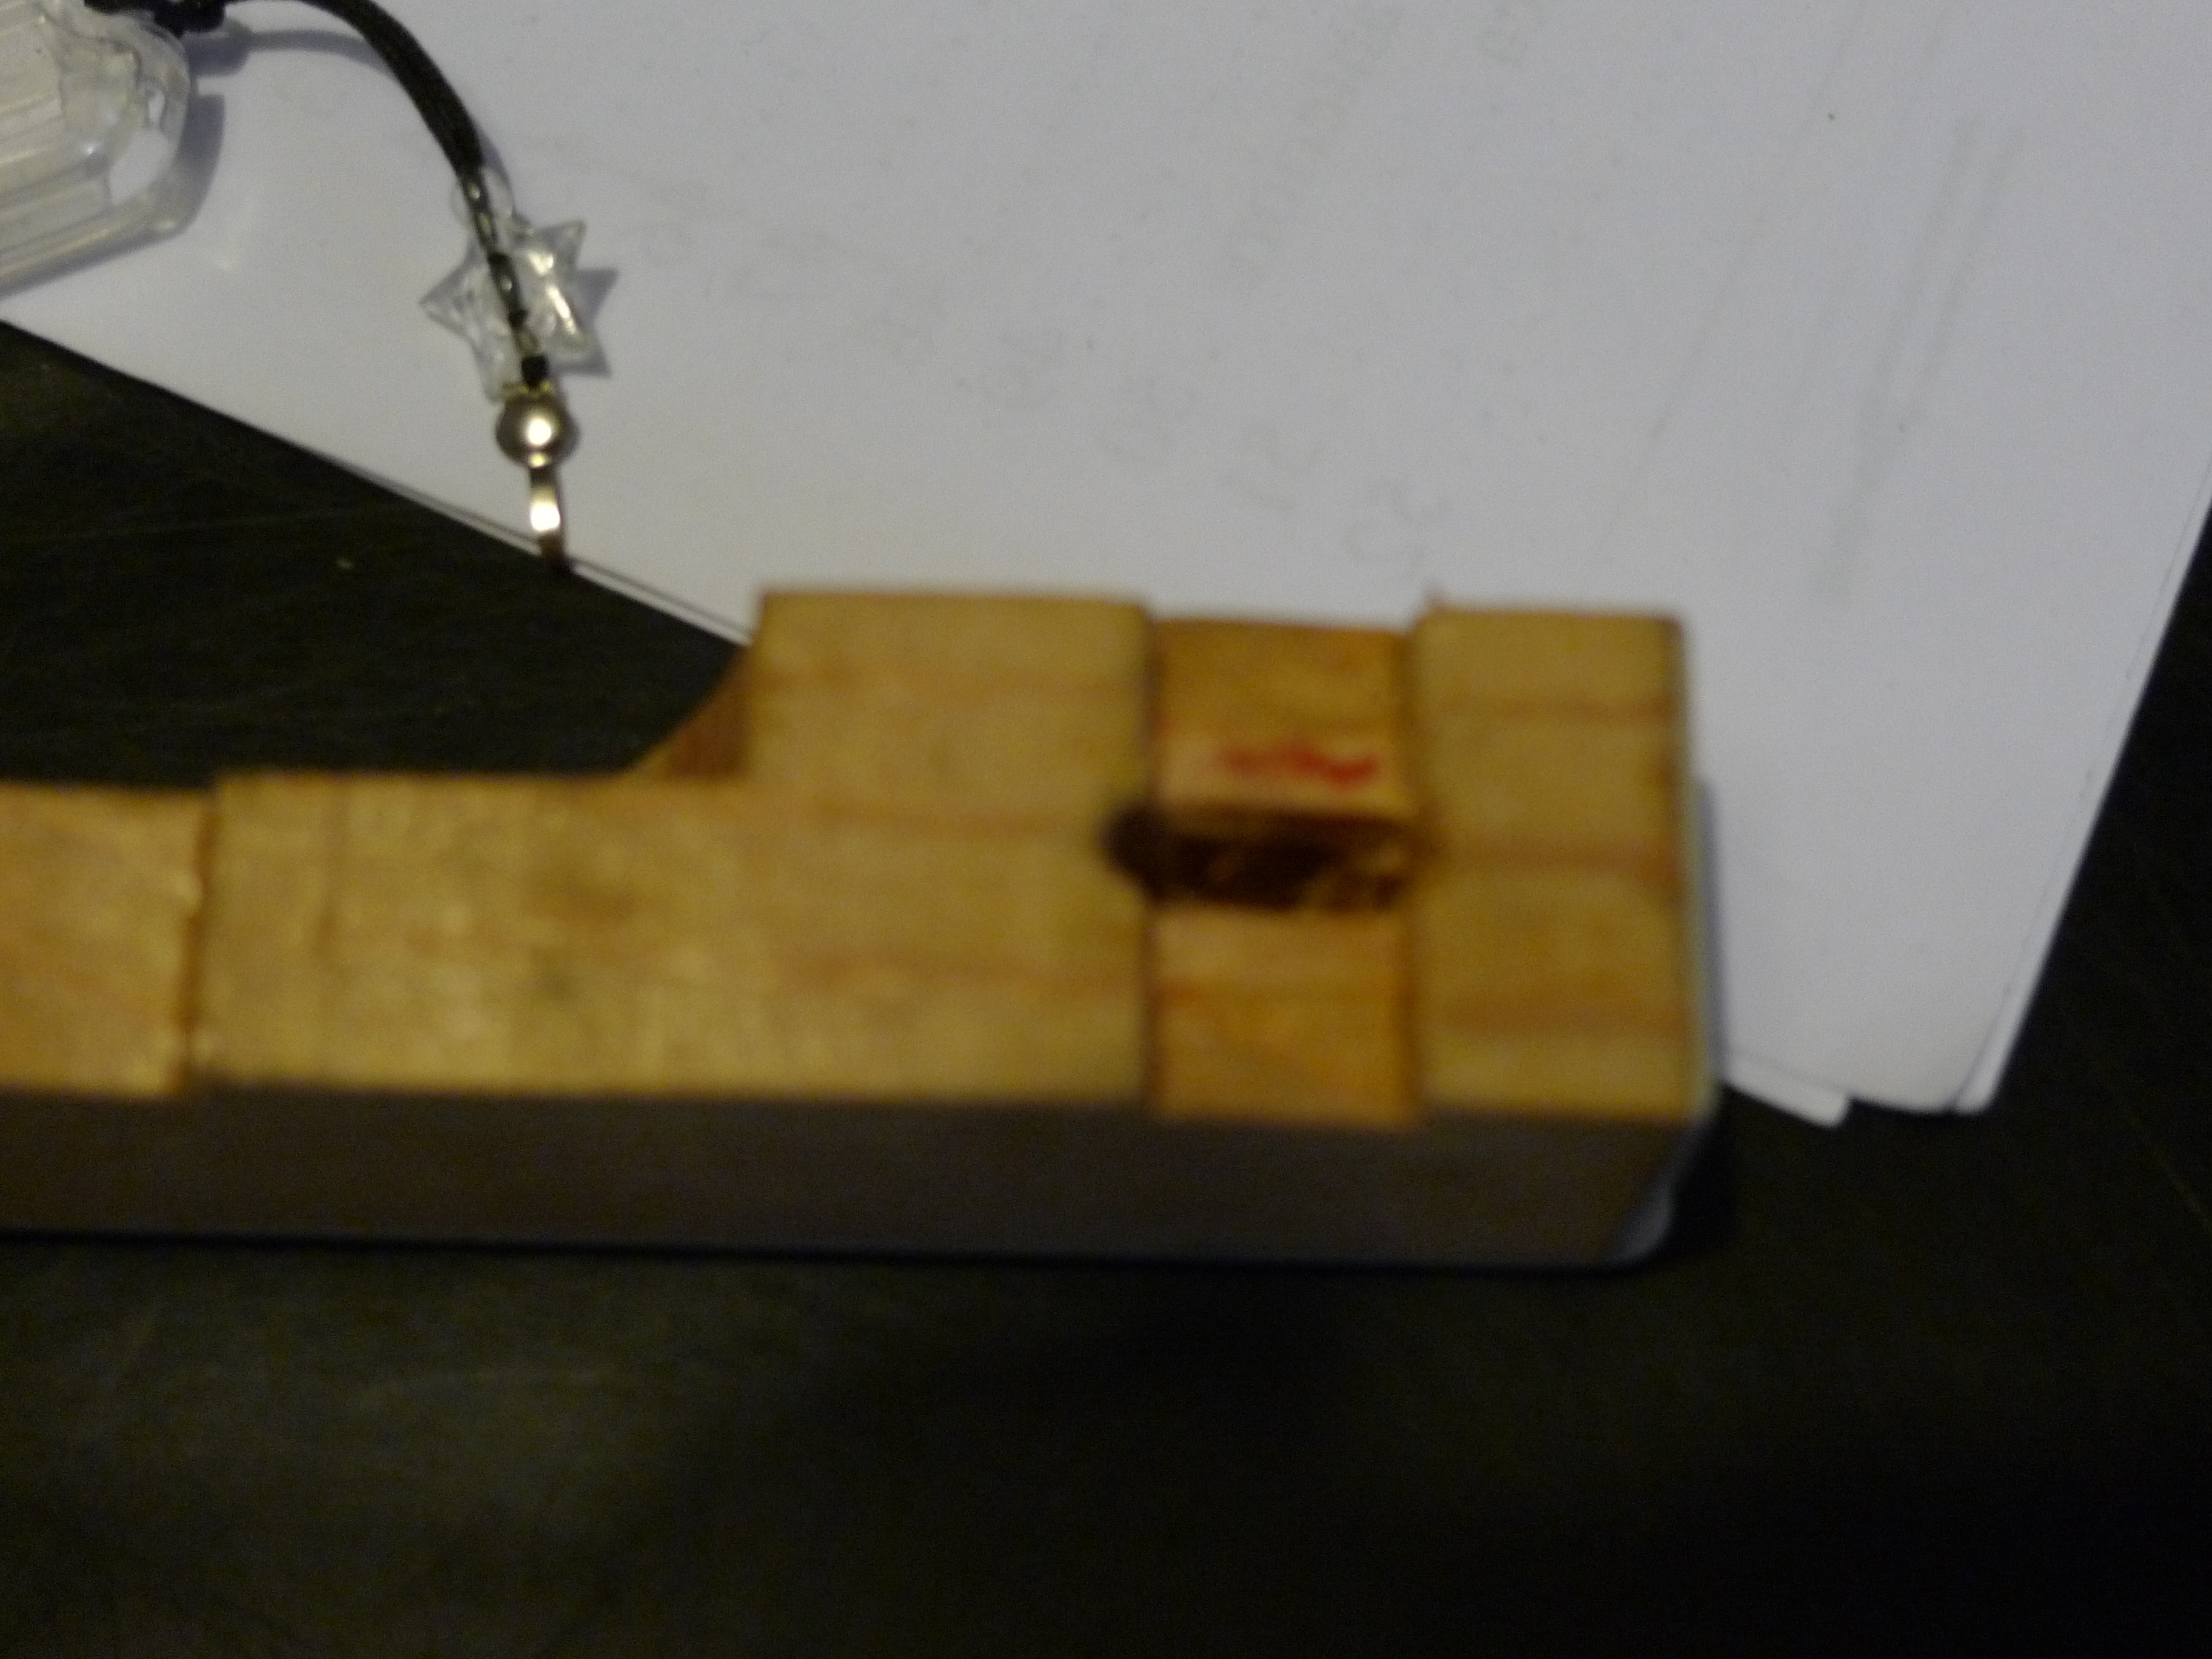
I am attaching three photos given my incorrect terminology. The photos refer to an old upright that I use for practice. I would like to replace all the red felts of my grand piano because they seem excessively worn out to me and I wanted some advice on how to proceed
A seemingly easy job, but one that requires experience. It is important to know which equipment to use and what quality of Kasimir. There is a video that talks about this. The glue: hot glue beads. The difficult part is creating the internal faces of the bushing perfectly parallel, and this is only possible with special brass cauls used hot. Other systems are also possible, but one must achieve minimum key play relative to its pivot. Ensure that the pivots are not oxidized. If they are, they can be polished or replaced. Even the thickness of the Kasimir is important and depends on the caul chosen (whether it be brass or plastic).
Bushings for the central mortises involve the transverse control of each key. The front ones act on the spacing. In short: good equipment, care, and sensitivity will lead to a good result. Good luck with your work.
Be careful, Kasimir cloth is not just simple "red felt" and must be of first quality.
T
Tiziano
Member
Reply 5 by Tiziano
Posts
13
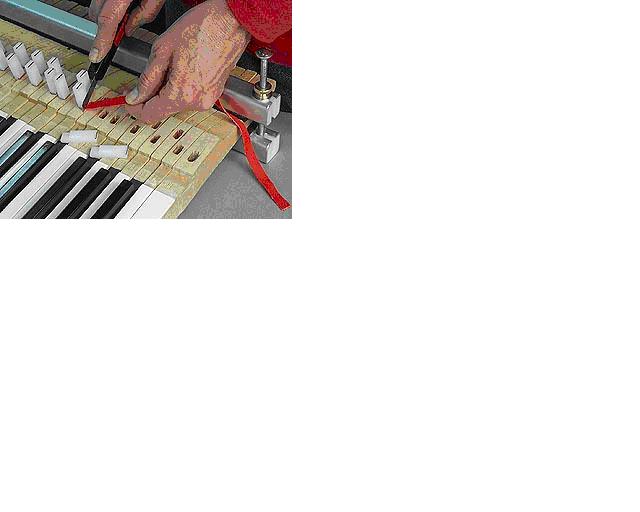
I imagined that some Cleats would be needed and I built about twenty out of plexiglass. The original glue seems to me like water-based glue. How do you detach the old Kasimir? On an English website, they recommend using water or steam and then inserting sized Cleats to keep the mortise faces perfect. Is it better to glue one face at a time or both? Is the procedure correct as shown in the attached photo, or is it better to cut the Kasimir to size first and then glue it?
Kasimir in strips. Hot glue in beads heated in a bain-marie. Unsticking by means of steam.
The cauls in the photo are used in two steps. First, one side is done and an intermediate caul (thicker than the final one) is placed, then it is repeated by doing the second side and placing the final caul.
The difficult part is calculating how much clearance is needed relative to the pin. Not too much and not too little. The more perfectly parallel the faces are, the more minimal the clearance will be. It also depends on the thickness and elasticity of the Kasimir.
Good work
T
Tiziano
Member
Reply 7 by Tiziano
Posts
13
Thank you, I think I understand, I will try some keys to optimize the thickness of the cauls.