

I am sharing with you yesterday's operation on my digital keyboard which, located in my small music room, was flooded due to a burst pipe. Obviously, the keyboard was not working. I am also attaching photos of the intervention... Perhaps it can be useful to someone having the same problem.
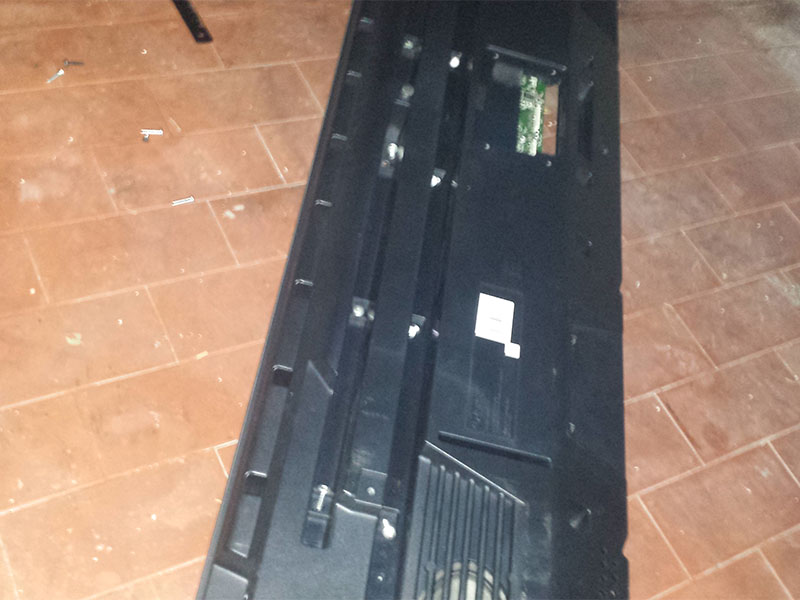
First step is to turn the keyboard upside down and remove all visible screws.
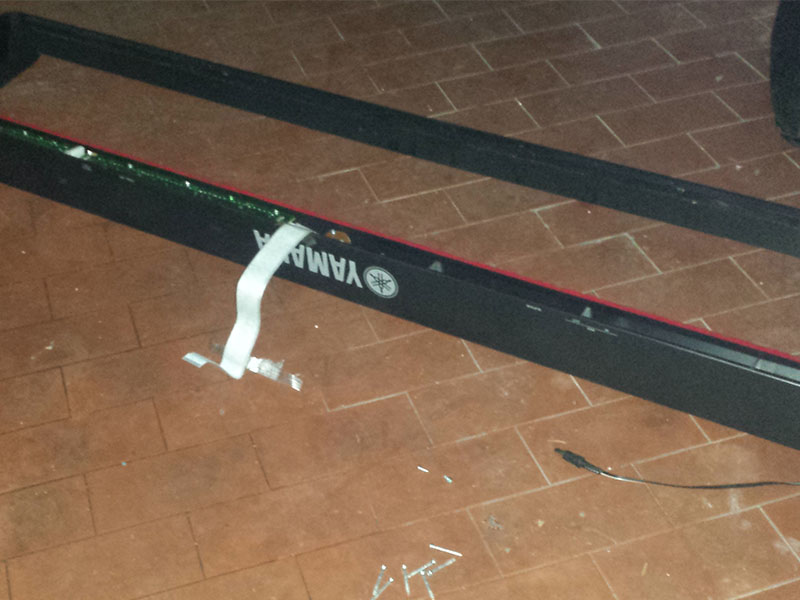
We then proceed to remove the bottom plastic, paying particular attention to any connected ribbon cables. If you were to pull it without caring about the ribbon cables, irreparable damage could be caused, if not requiring the replacement of the connectors and the ribbon cable. Connectors can only be replaced with special equipment: an IR soldering iron or a hot air soldering station.
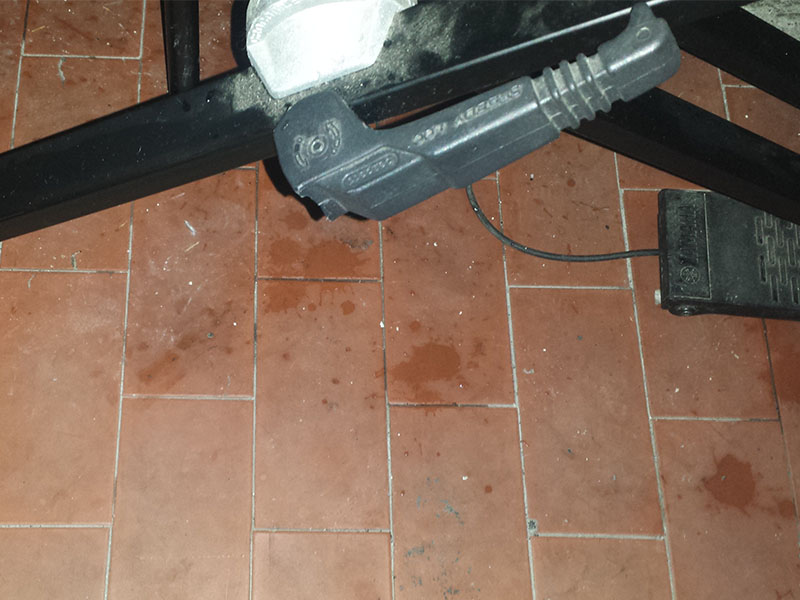
I point out in the following figure the water that fell on the ground upon opening the keyboard.
Subsequently, we remove the other screws inside the keyboard that hold the mechanics attached to the top plastic.
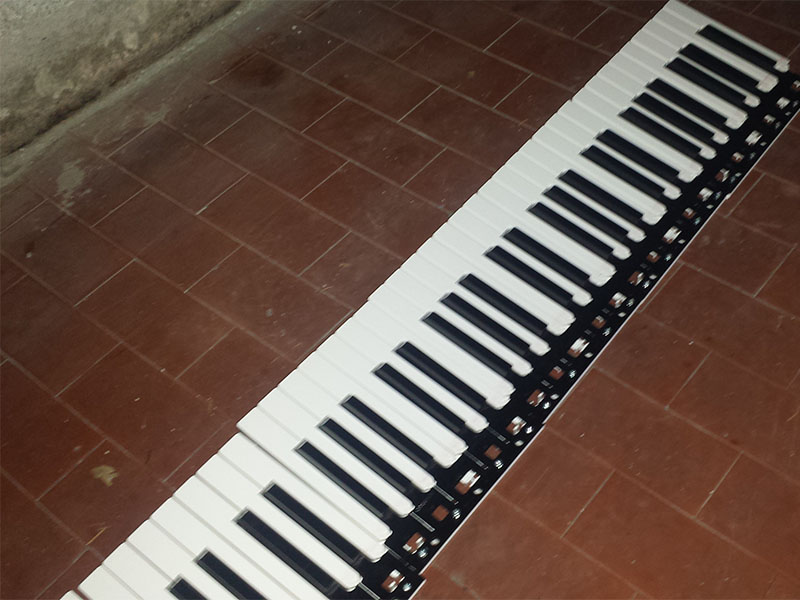
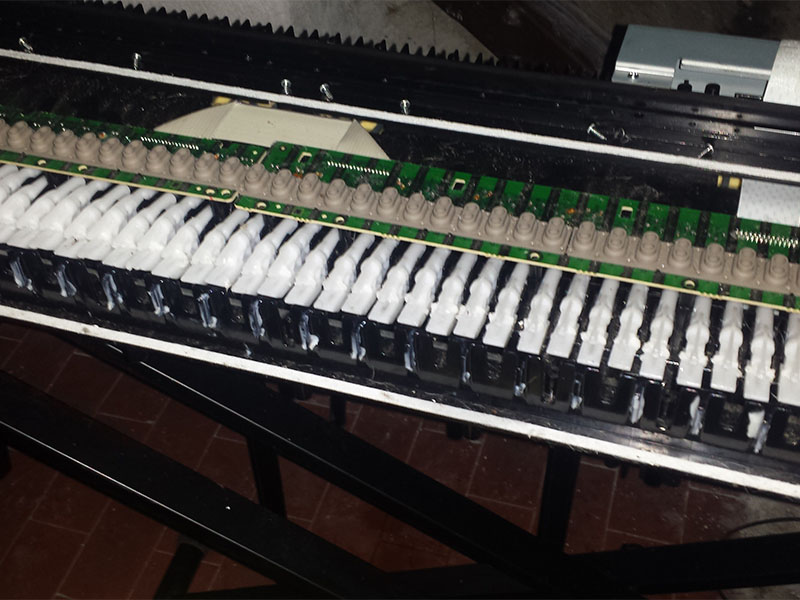
Now that all the plastics have been removed, we are left with the bare mechanics. We completely remove all the keys by removing the screws at the top end and place the keyboard in a safe place following the removal order.
Once the keys have been removed, we should find ourselves in this situation.
Now it is necessary to extract the row of electronic boards connected to the audio board. We remove the screws and very carefully extract the ribbon cable located at the bottom of the central electronic board.
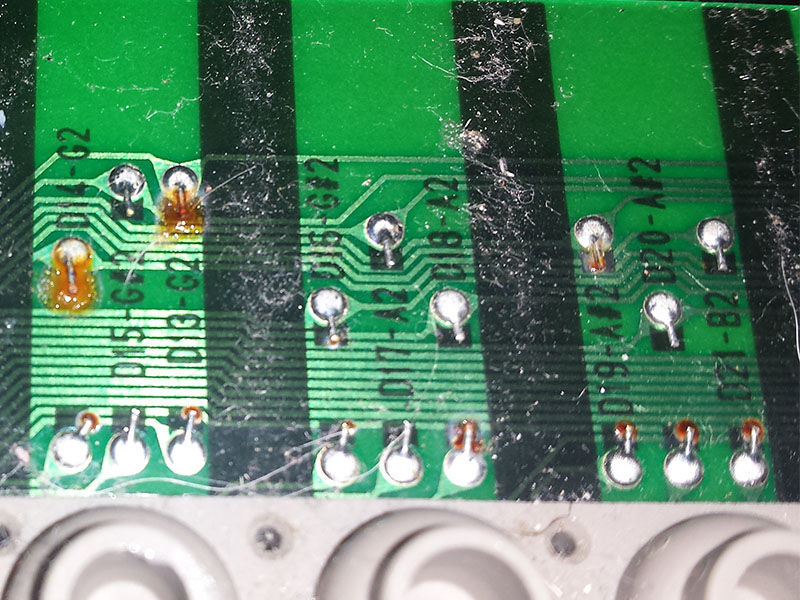
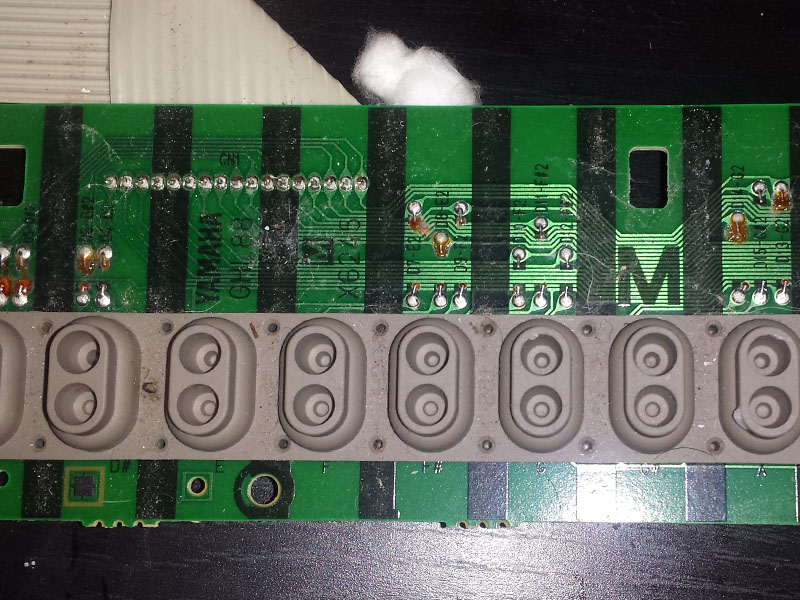
It is possible to immediately notice the problems caused by the water. Many connections have rusted.
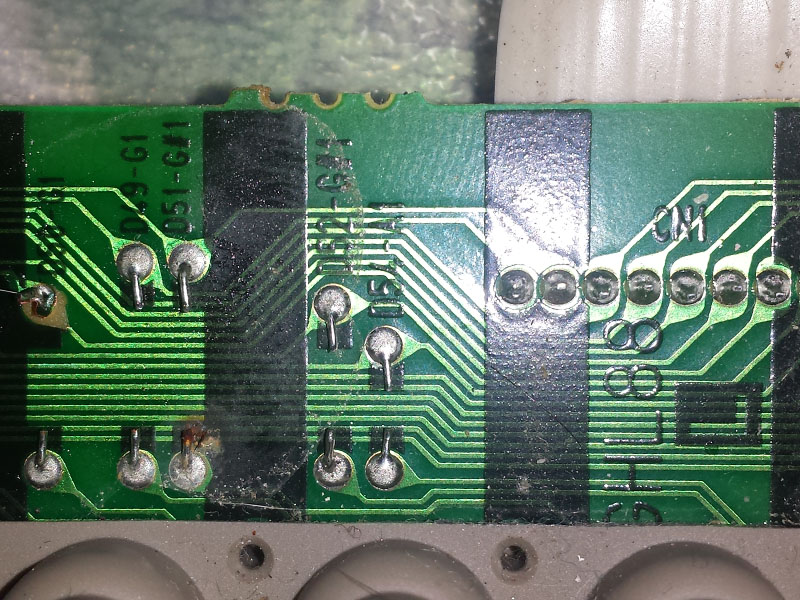
Some tracks have been completely corroded by rust, which, once removed, shows the broken track (on the far left of the photo).
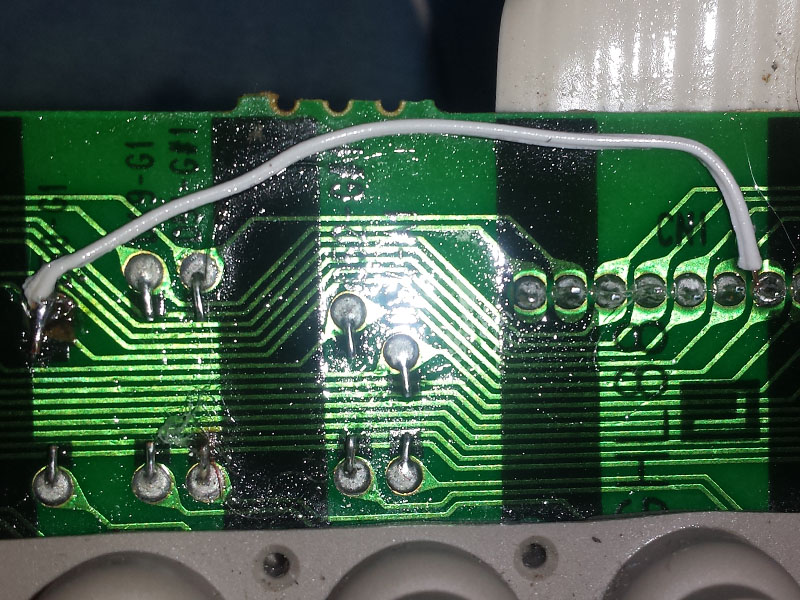
To restore the tracks, they are followed up to the next connection point and a bridge is created.
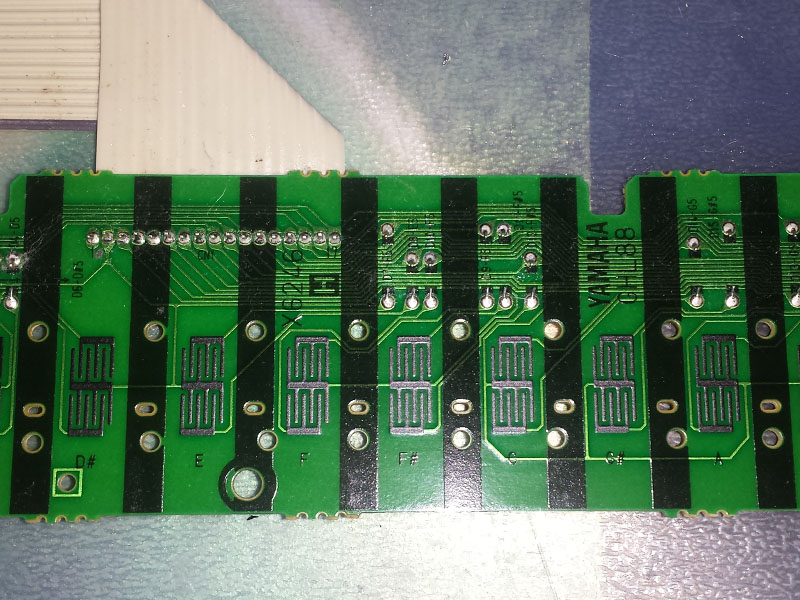
In cases where the tracks are not worn out but only have rust issues...
One proceeds with simple cleaning, also removing the strip of plastic and graphite conductors.
Subsequently, everything must be reassembled following the procedures in reverse.