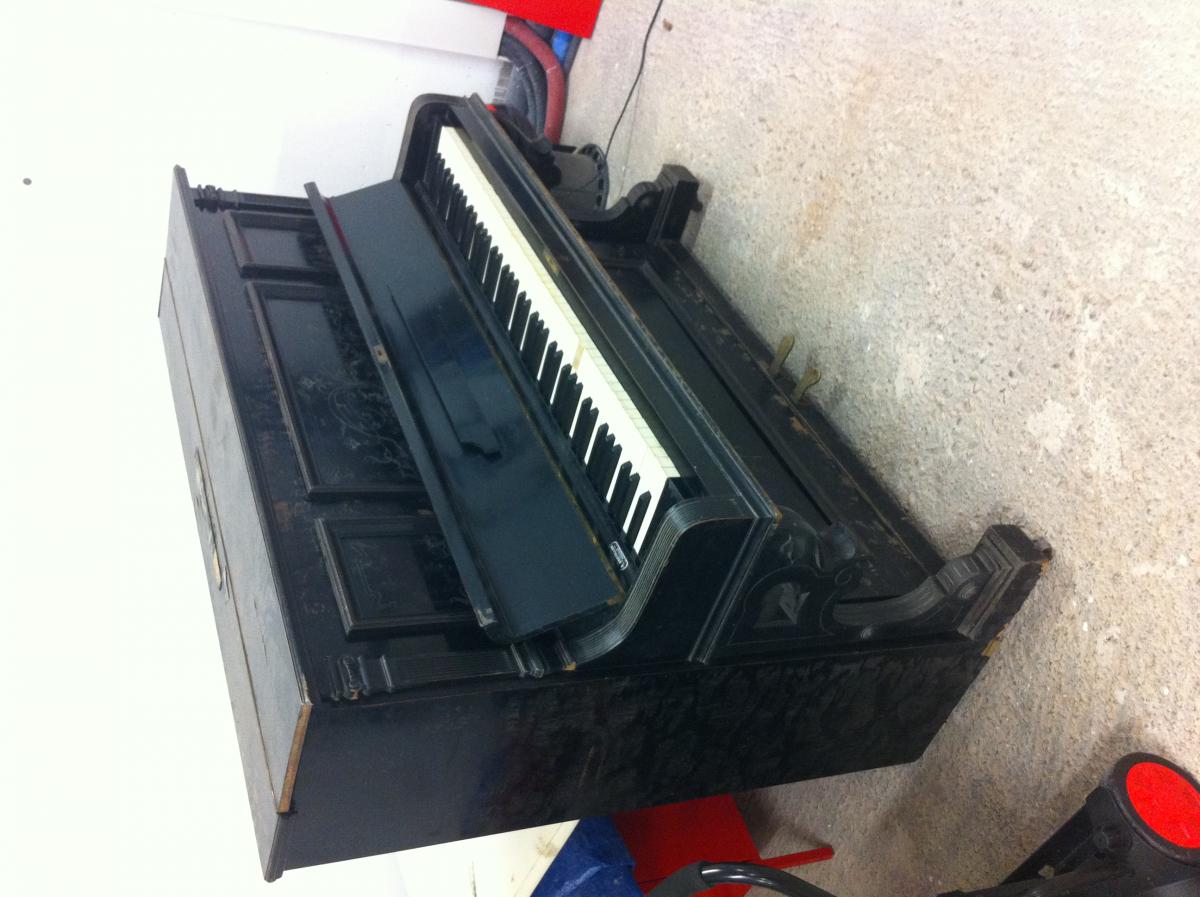
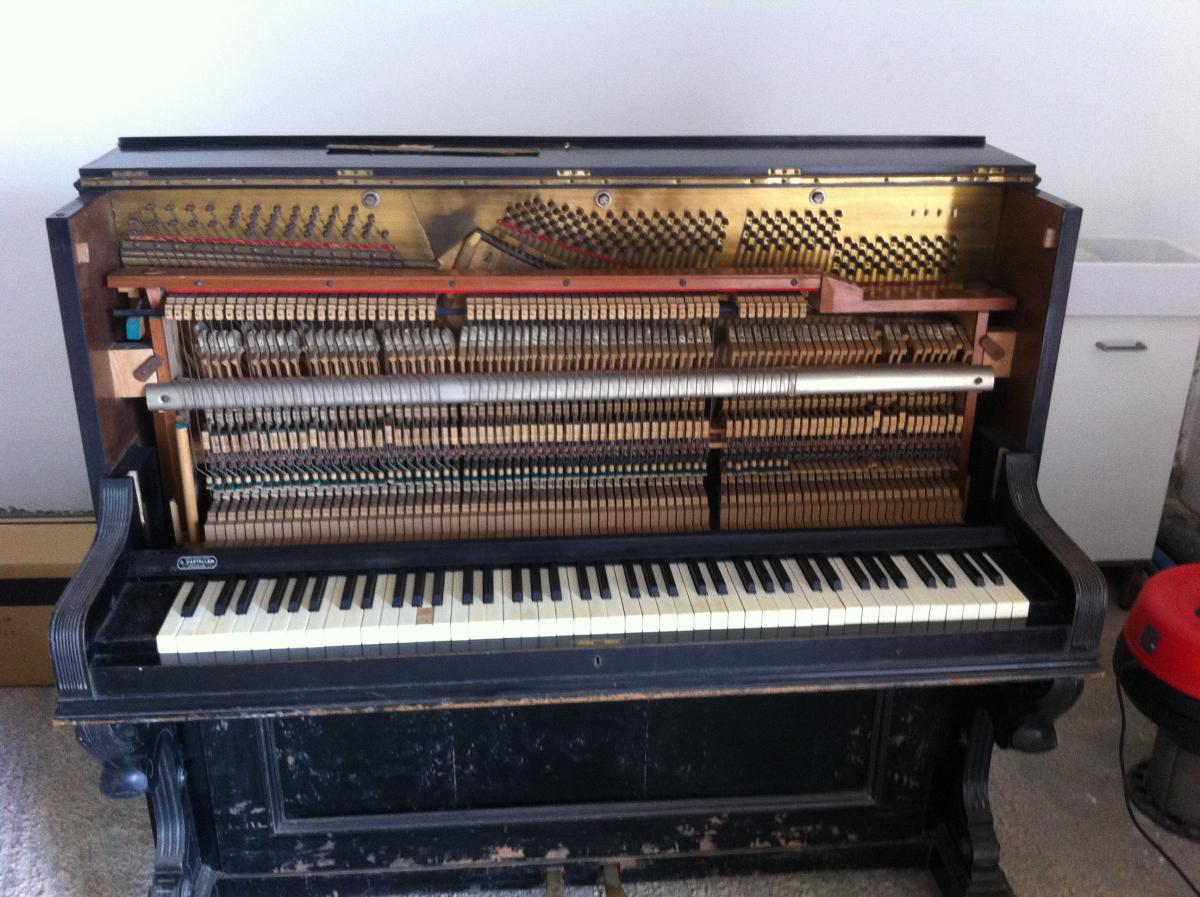
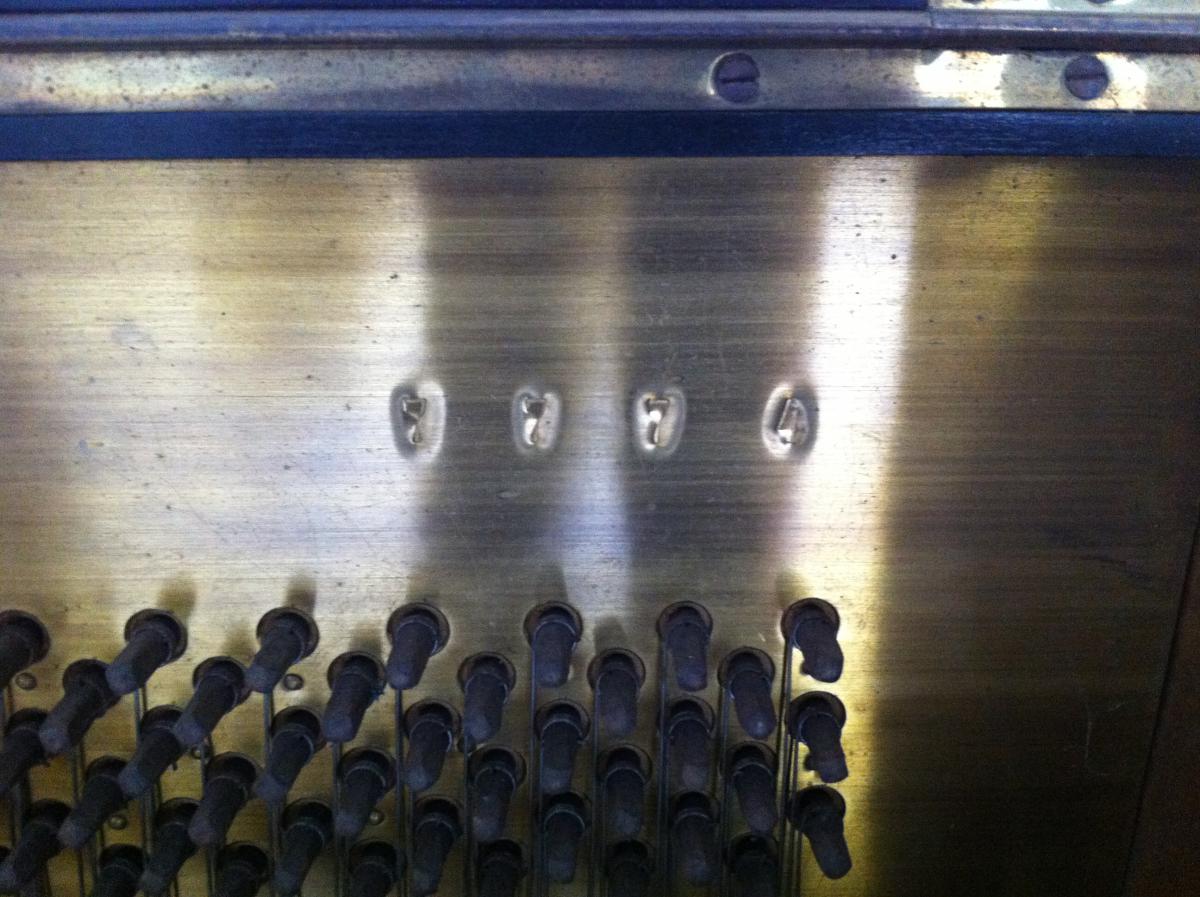
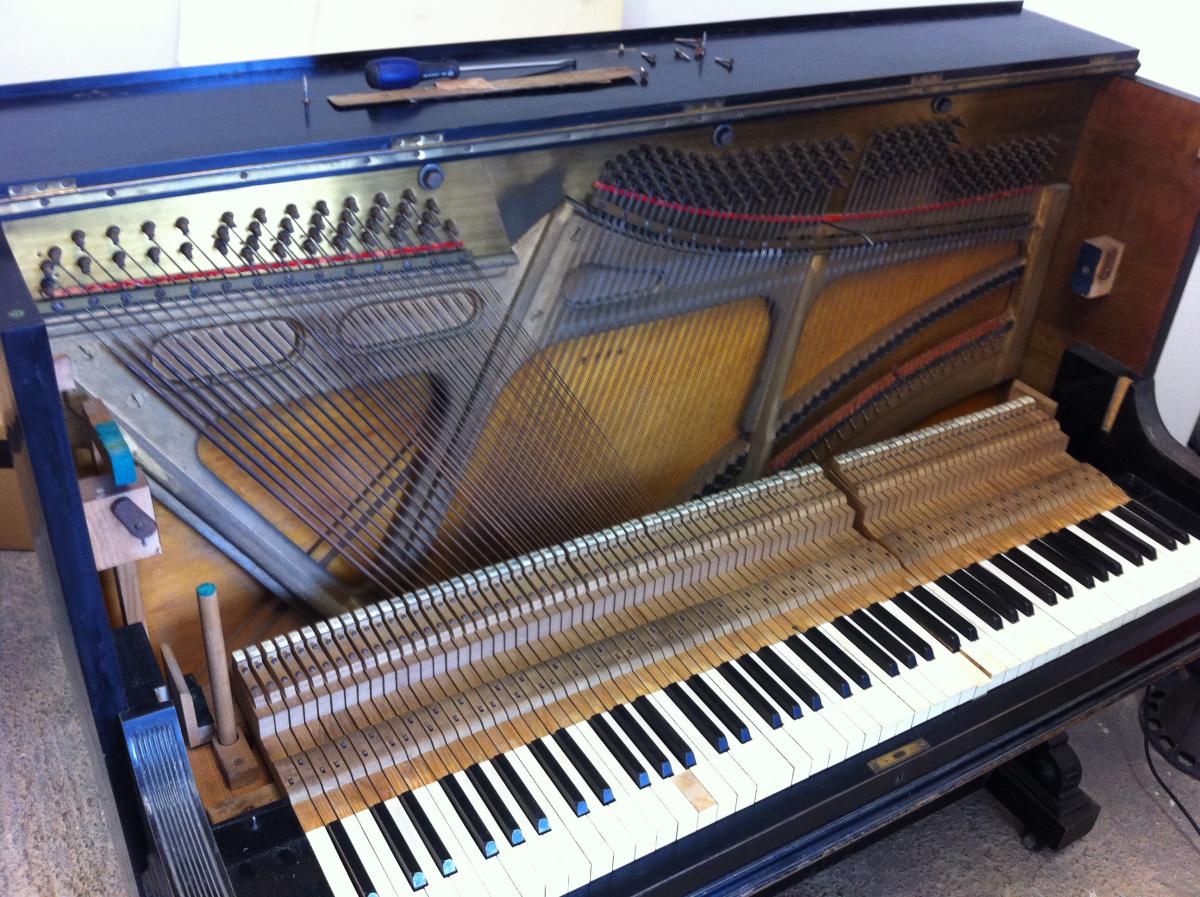
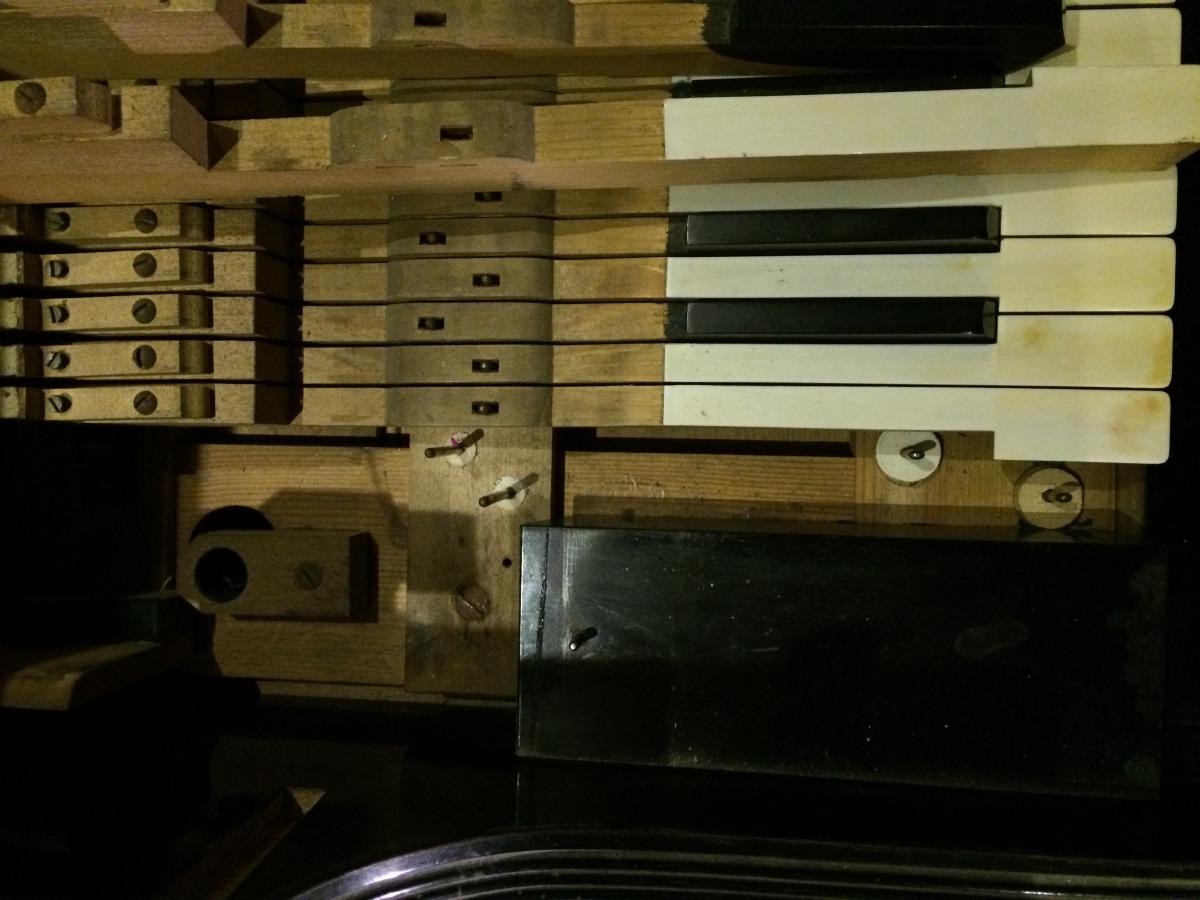
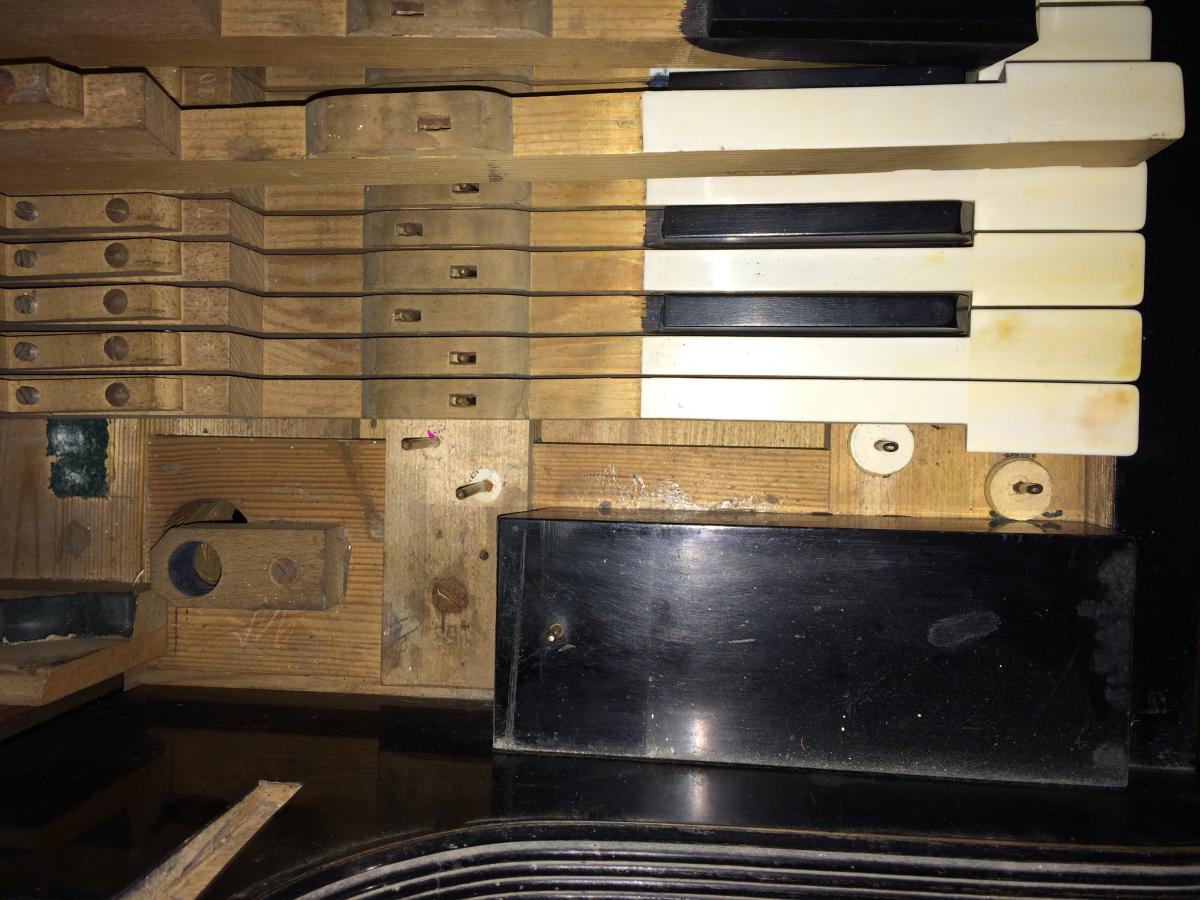
I was given an old piano as a gift, which has certainly absorbed a lot of humidity and has remained unused for years and years... (they were going to throw it away)
I started tuning it and it seems to hold its tuning; I would like to make it work, I'm not asking for much, I simply want to solve some small problems.
I have already shown the photos to a technician and I was told that given the bayonet action and the humidity it has absorbed, it is not worth repairing.
However, I would like to manage to make it sound; I don't care if it's good or bad, it would be enough if the action returned...
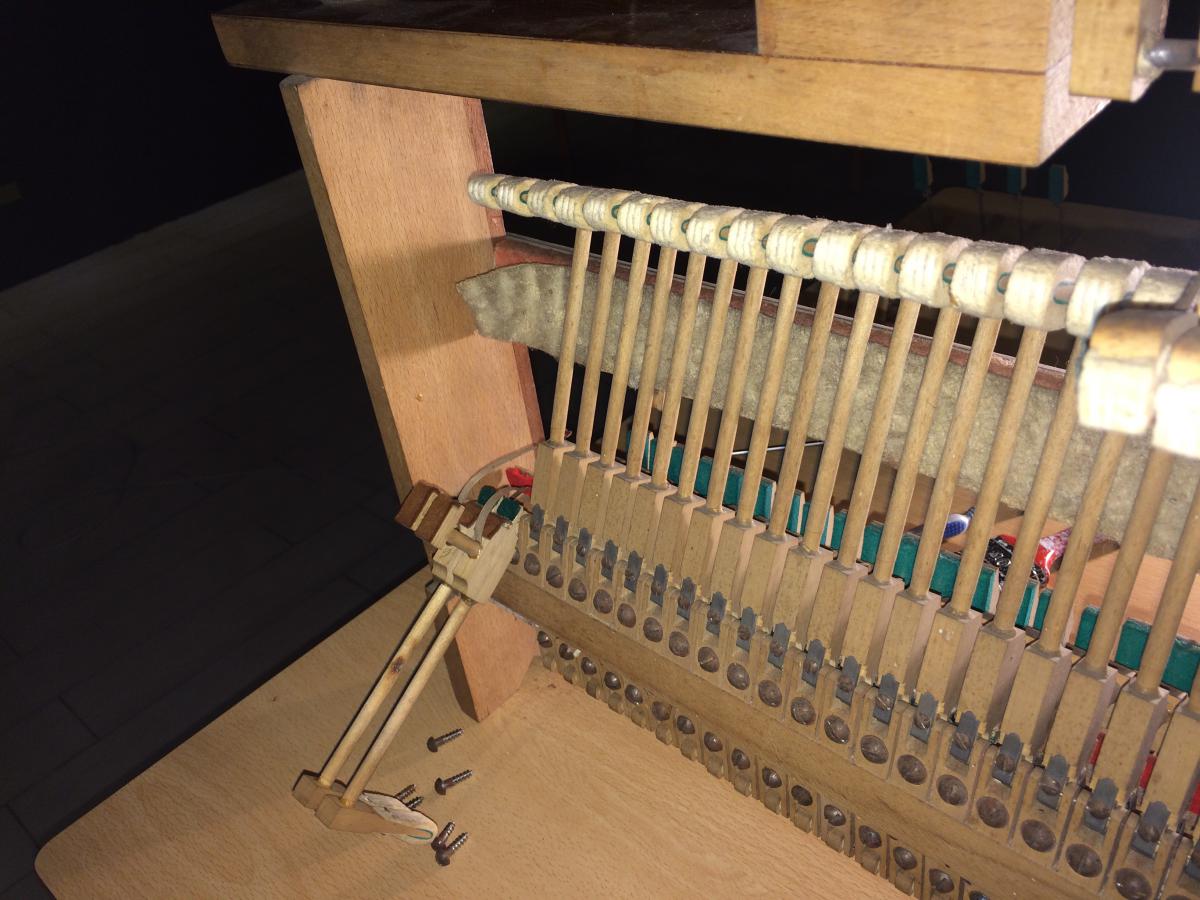
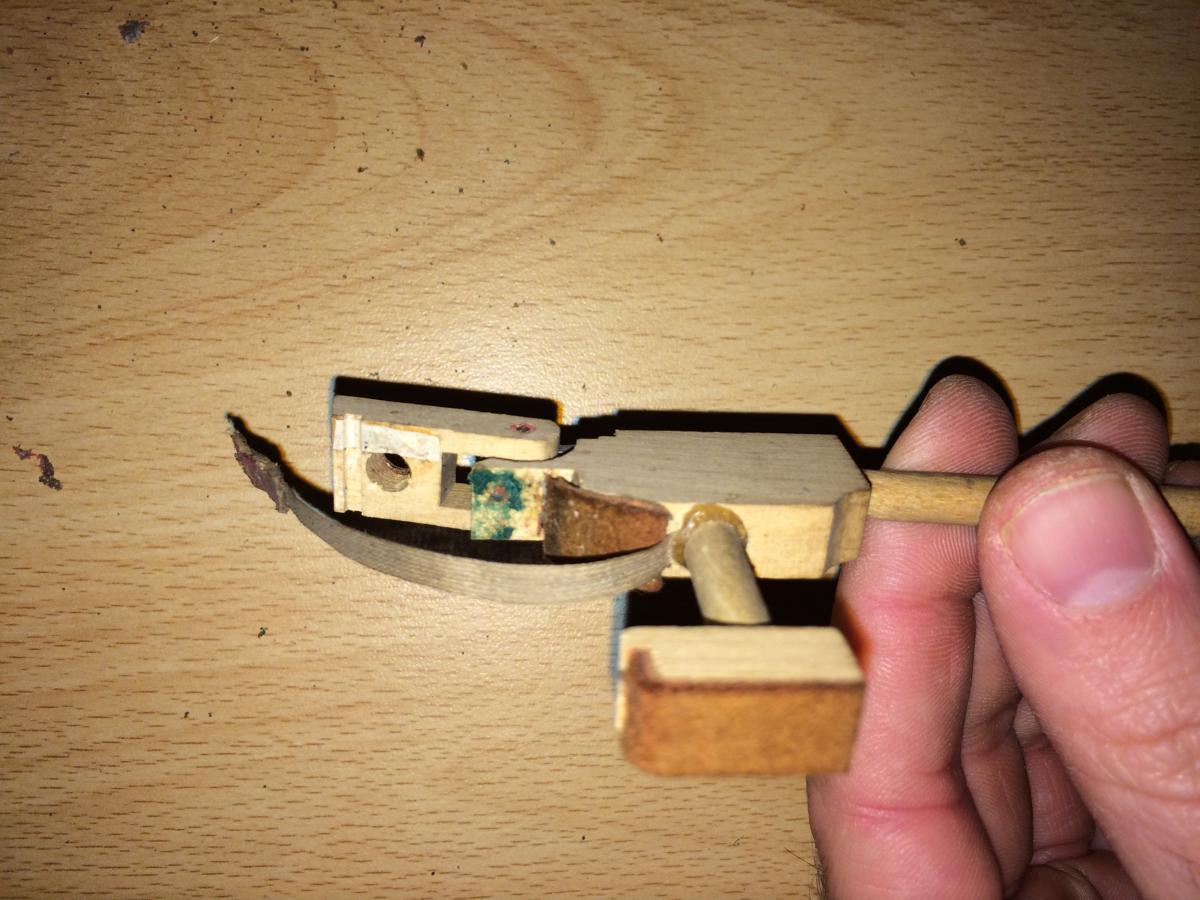
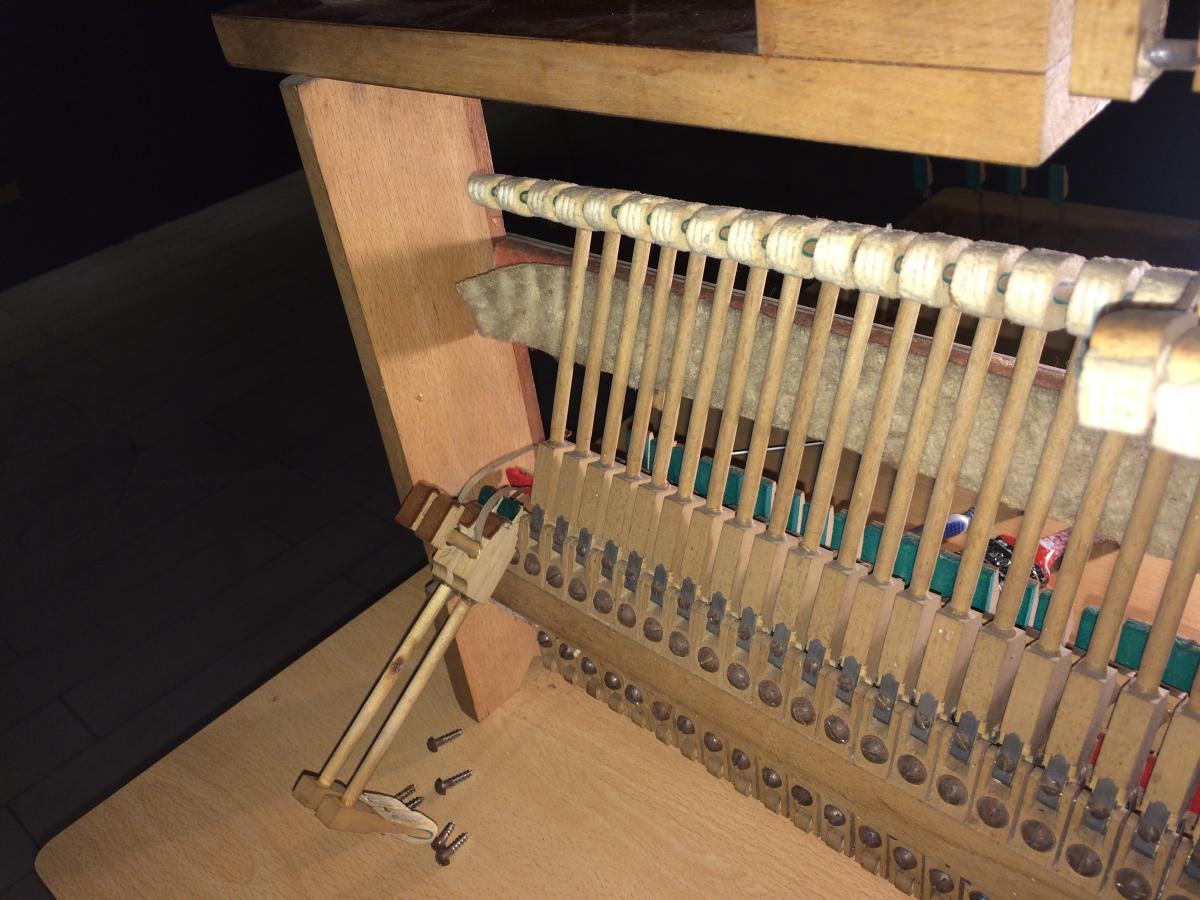
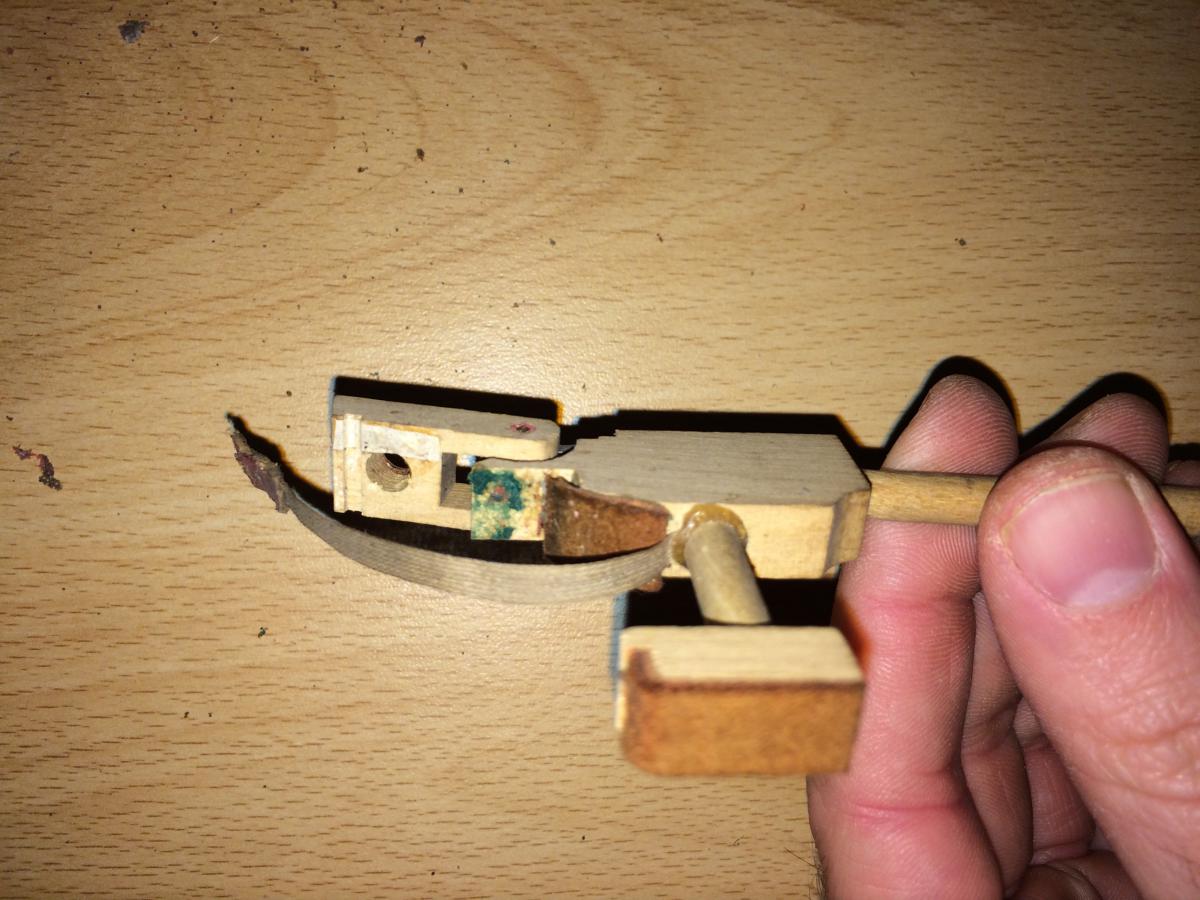
In fact, the problem I have is that due to the humidity, the fork pins have become stiff, the hammers do not return or the shifters do not return under the effect of the spring
How can I improve the friction?
Also, a lot of felts are missing under the keys, but I think that is a minor problem...
thanks to everyone in advance and compliments on the portal!!
HA
Historical author
Reply 2 by Historical author
Hello,
unfortunately humidity is the piano's number one enemy!!
It is necessary to do an initial test; even if it is out of tune, try to play a loud chord and count how long the sound lasts.
The sound must last.
If it does not last, it means that due to the weather and humidity, the soundboard has yielded a bit, which would be a big problem.
If this test yields a good result, find a technician who can restore the correct friction values not only for those hammers that are not working correctly but also for the others.
The felts under the keys will be inserted later during the regulation intervention.
If you venture into trying to do the work yourself, it can be a good exercise; otherwise, your technician gave you good advice at the expense of his own job... It's not worth it.
If you want to try to get it working again without too many expectations, you must follow the procedure described more and more often in this forum and also described in the technical literature.
You can certainly try as Giovanni suggests. Start with the easiest things. Replacing the center pins of the action is not easy and you need to have experience and the right equipment. Don't think about replacing the damper felts. Instead, adjust their proximity to the strings so that no sound decay remains. Good luck with your work
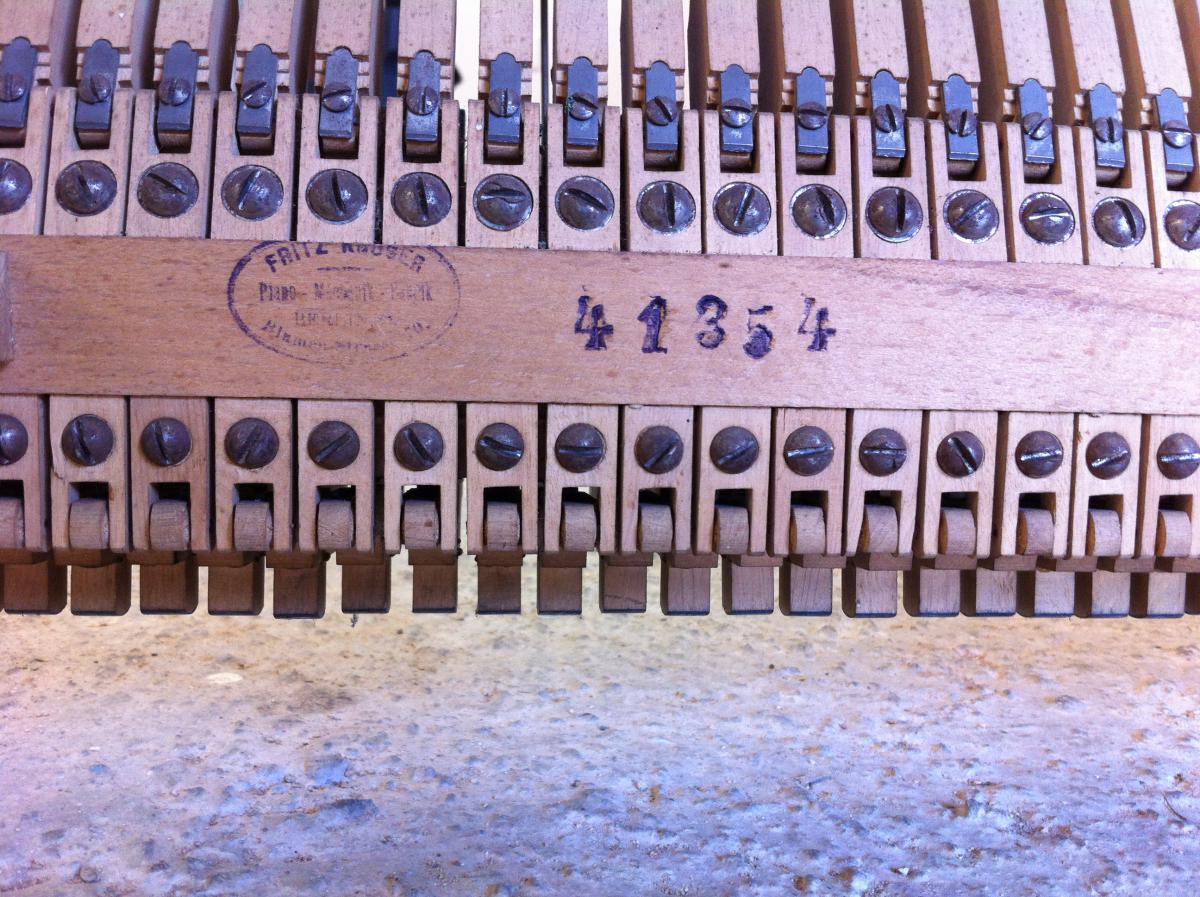
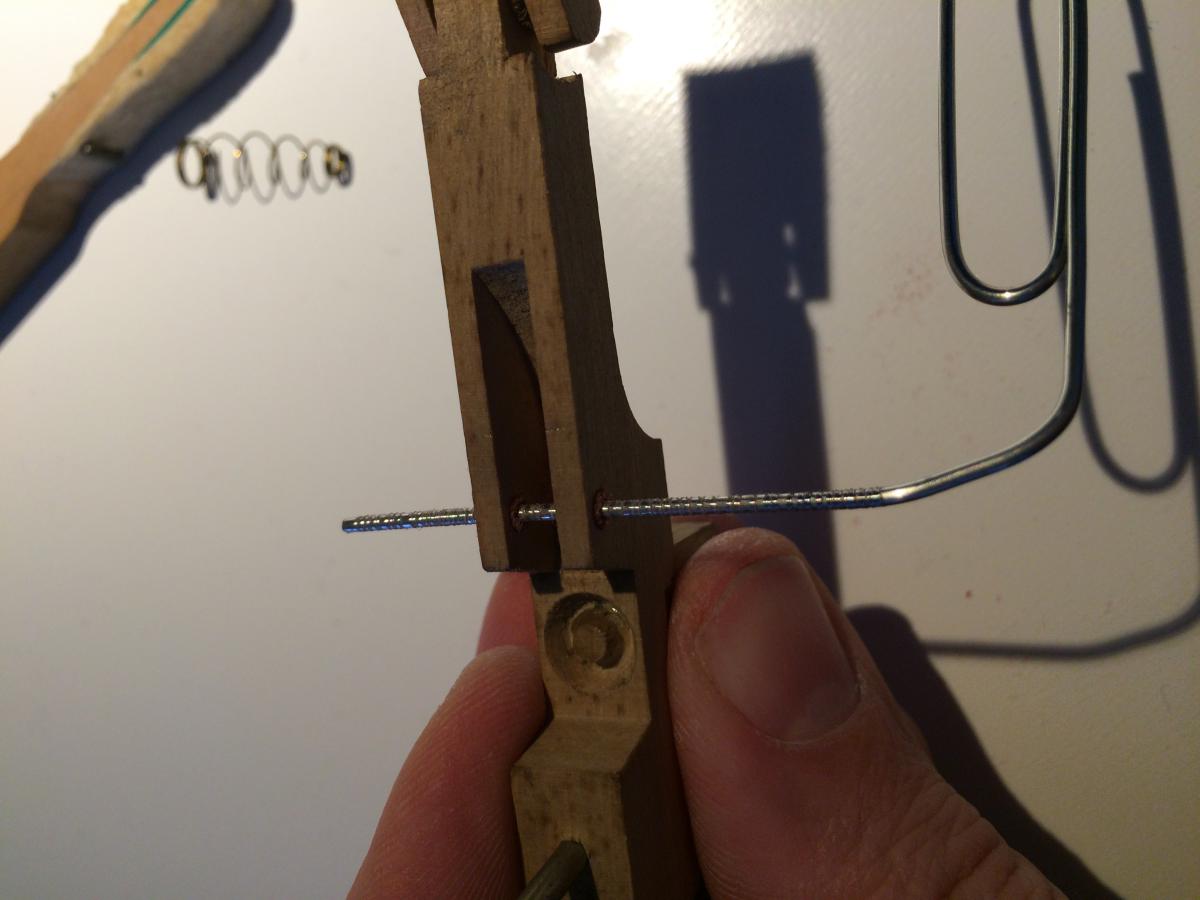
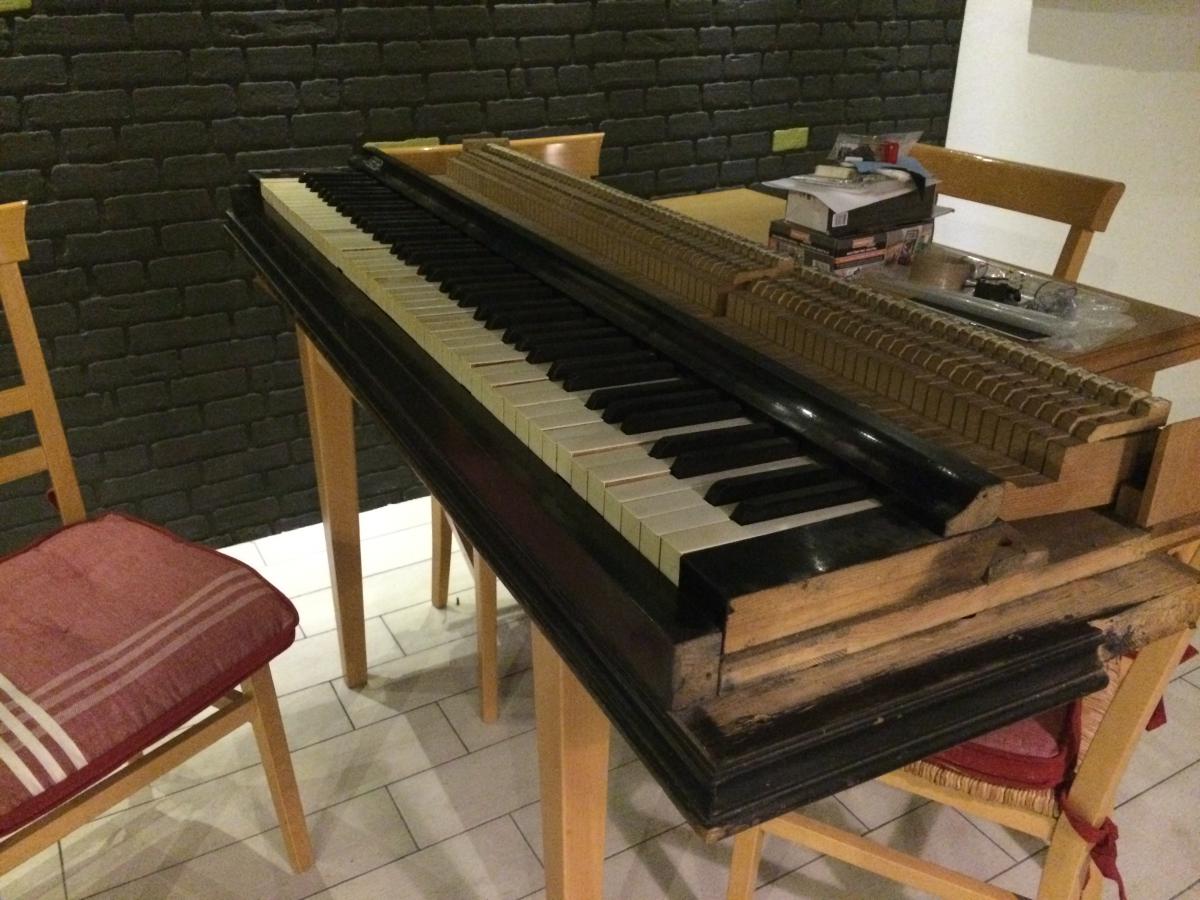
I disassembled everything (numbering it with a pencil). I made myself a small file for the pin holes using a paperclip notched with wire cutters, and I filed the felt in the hammer throat holes just enough to restore the correct friction. Now I am waiting for them to provide me with the pins for the jacks and tangents so that I can replace them after I have also slightly enlarged those holes...
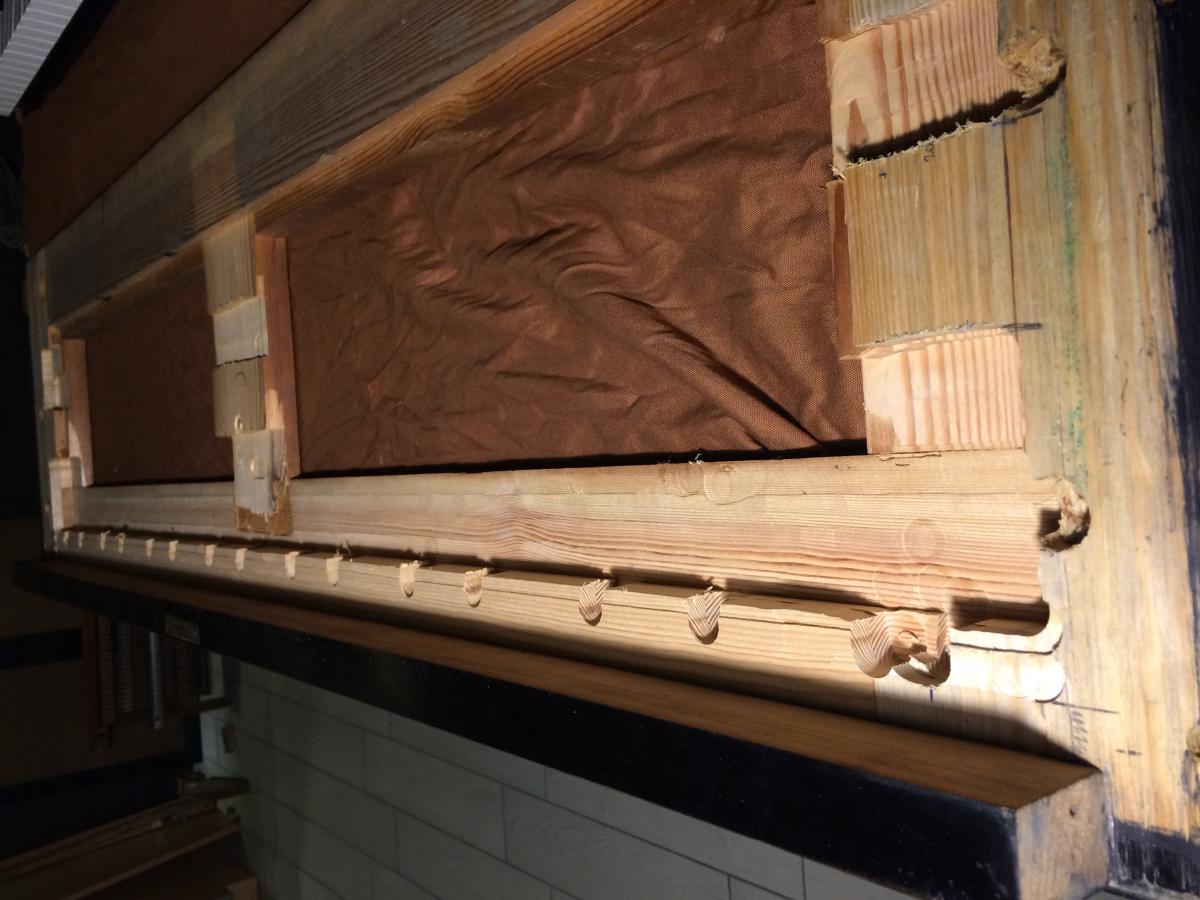
The damper felts are okay; it's the hammer felts where the jack rests that I will have to replace because they are rotten. Furthermore, almost all the felts under the keys (in front and on the balance rail) are missing, which I will replace once I have confirmation that the action is unlocked...
Some of you will probably be horrified seeing the way I am attempting to repair it, but as I was saying, I don't have high expectations...
I will keep you updated...
Happy Sunday!
HA
Historical author
Reply 6 by Historical author
Hello,
be careful to proceed with extreme caution so as not to file too much; from the image, I cannot clearly see the tool/file used.
The pin must then be replaced with one that is 0.025 mm larger.
Once the operation is finished, the fork must descend smoothly under the weight of the screw.
At the beginning of the post, I read that you have numbered them. Good.
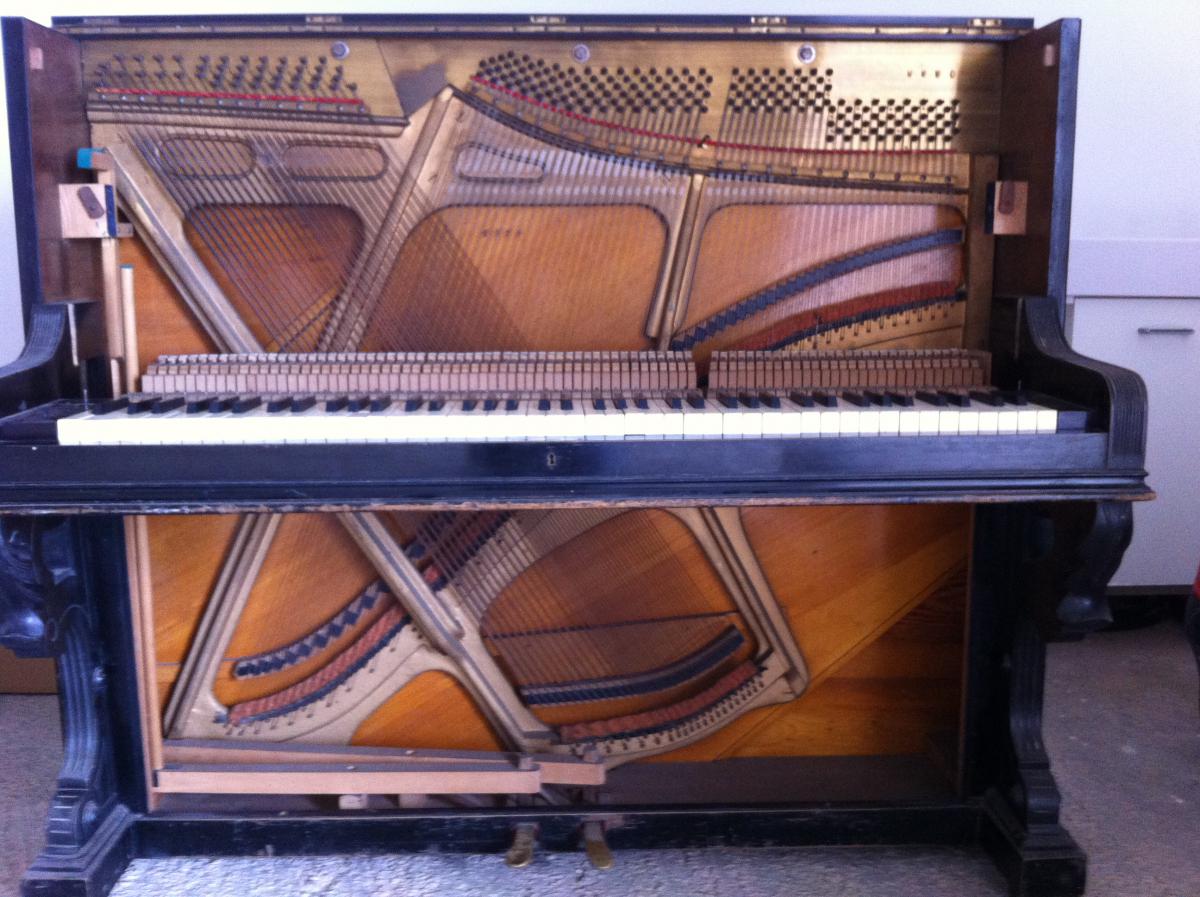
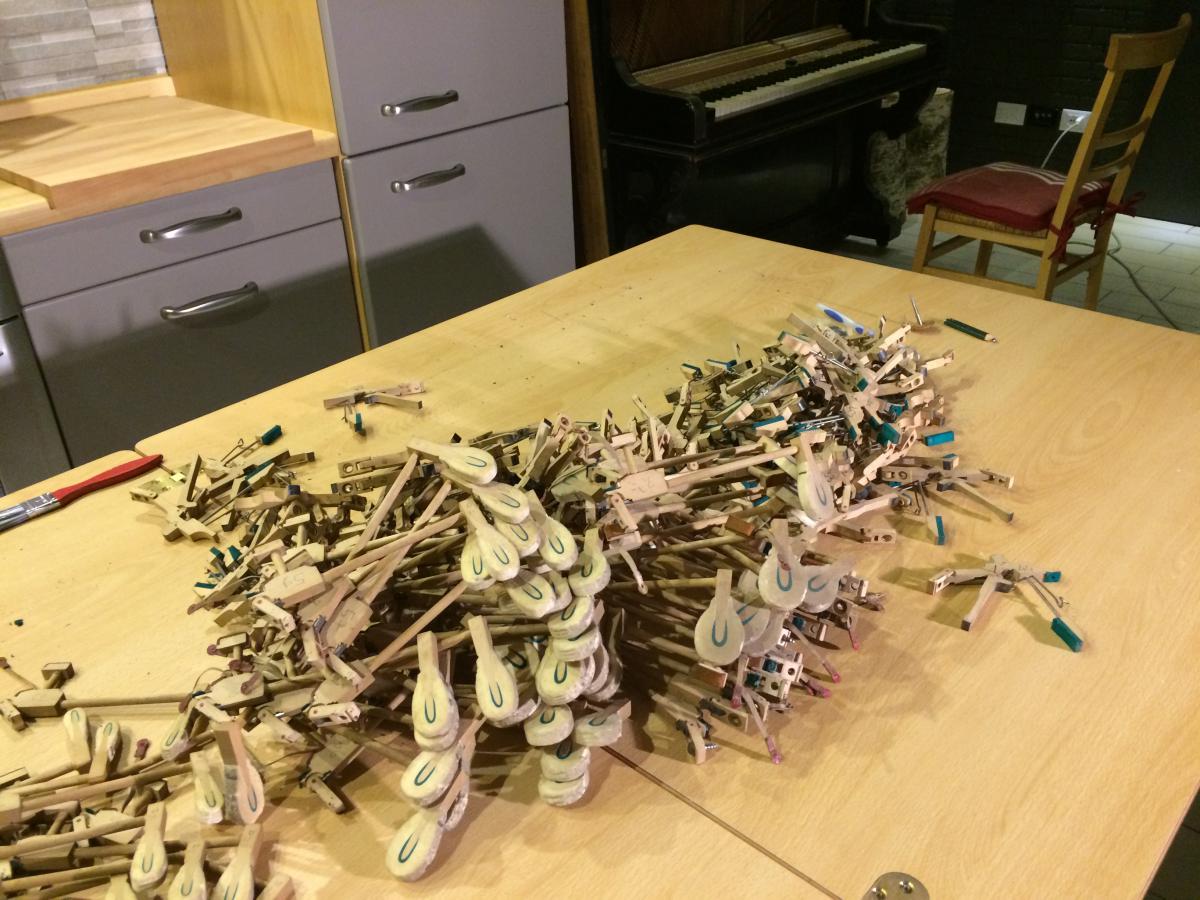
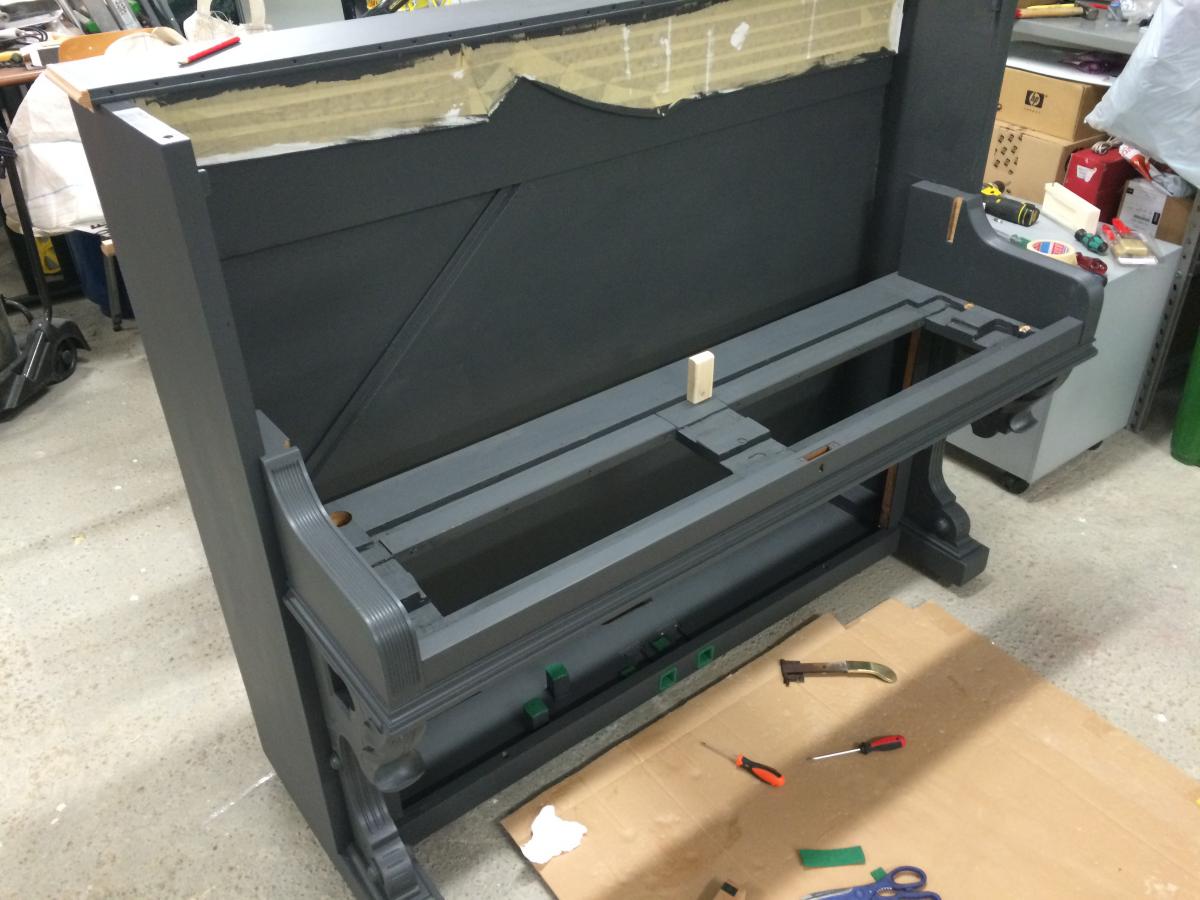
The last image (mechanics completely disassembled) makes me ask you:
have you numbered absolutely everything (hammers, keys, repetitions/cavalletti)?
I agree with Pianoaccordatore; the last image leaves me a bit perplexed when I think that I, just to change the strings on the walnut hitchpin, arranged all the hammers in progressive numerical order without even mixing up the screws. See the topic "It's all the fault of those little strings".
Perhaps mine is a maniacal excess, but I think that a bit of order doesn't hurt, even if, as you said, you don't have great pretensions.
Good luck with the work, continue to document the work with photos, it is very interesting.
HA
Historical author
Reply 8 by Historical author
Bravo magnalf, in these processing stages it is much better to be more meticulous and attentive than usual.
It is much better to ream the bushing several times in small amounts, rather than reaming too much and having to remake the entire bushing on the forcola because too much was removed.
A hammer nut forcola should not drop under its own weight, but should move under the weight of the forcola screw.
Another way to perform this test is to hold the forcola in one hand with the hammer (or the nut and the hammer) hanging downwards, lift the hammer on one side with the other hand, release it, and count how many times it swings back and forth, counting "forward" as one, "backward" as two; the hammer should swing five or six times before stopping.
A pillar, with the spring removed, should move under its own weight when the trestle is gently bent back and forth.
A trestle forcola, on the other hand, should be a bit firmer, and should barely support the weight of the forcola screw until the trestle is tapped on the side, causing the forcola to move slightly.
I have numbered everything, the checkers and the hammers. The keys are still in place, I removed a couple to take some photos... I'll deal with those as soon as I finish with the action...
after 3 weeks of tuning and retuning it, I realize that it won't hold the tuning... in fact, many pins are so loose that there is no way to make them stay in tune (they even lose 1 or 2 notes...)
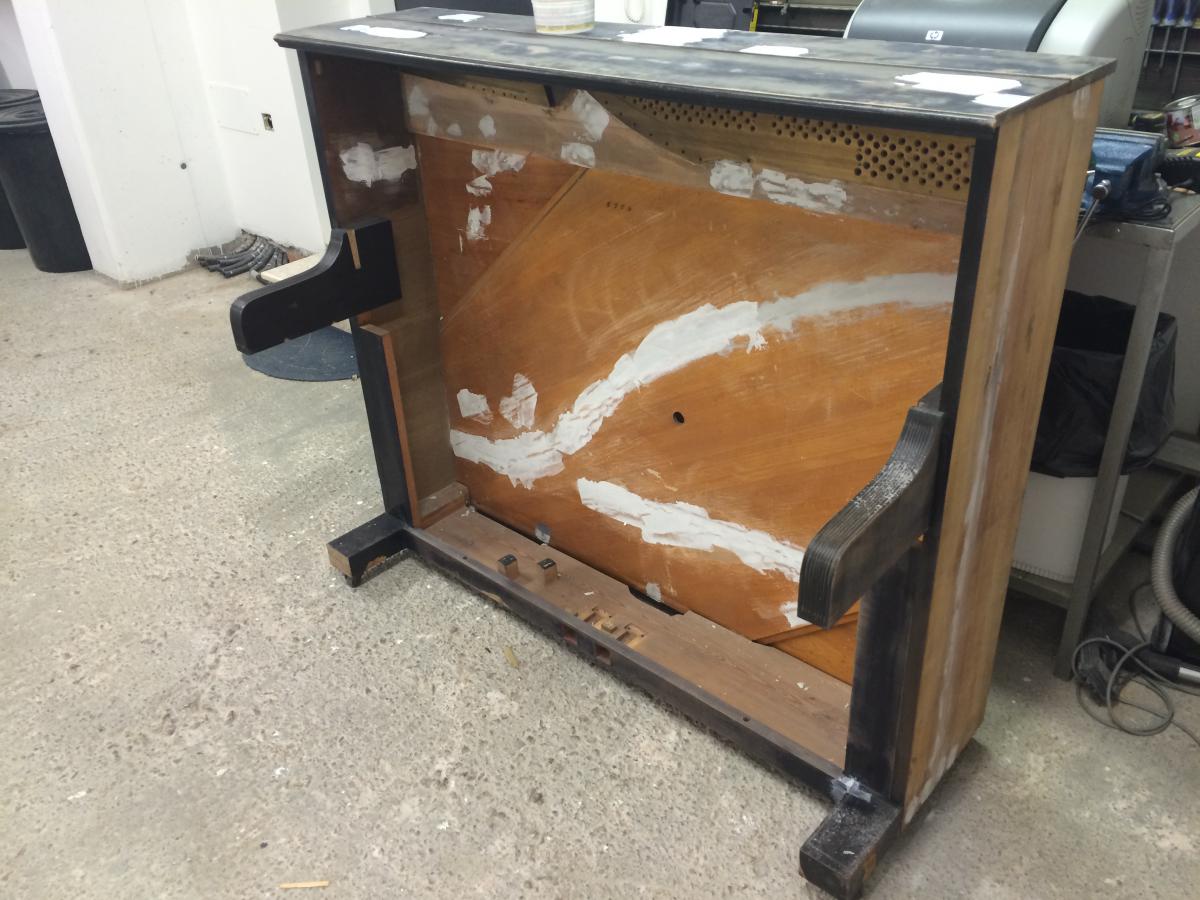
With extreme regret, I am starting an acoustic/digital conversion. I have disassembled the harp and everything that wasn't needed; now I am patching it up and then I will install a digital piano.
Despite having found some projects here and there on the web of people who have inserted a digital piano into an acoustic piano cabinet, I want to do something more aesthetically satisfying.
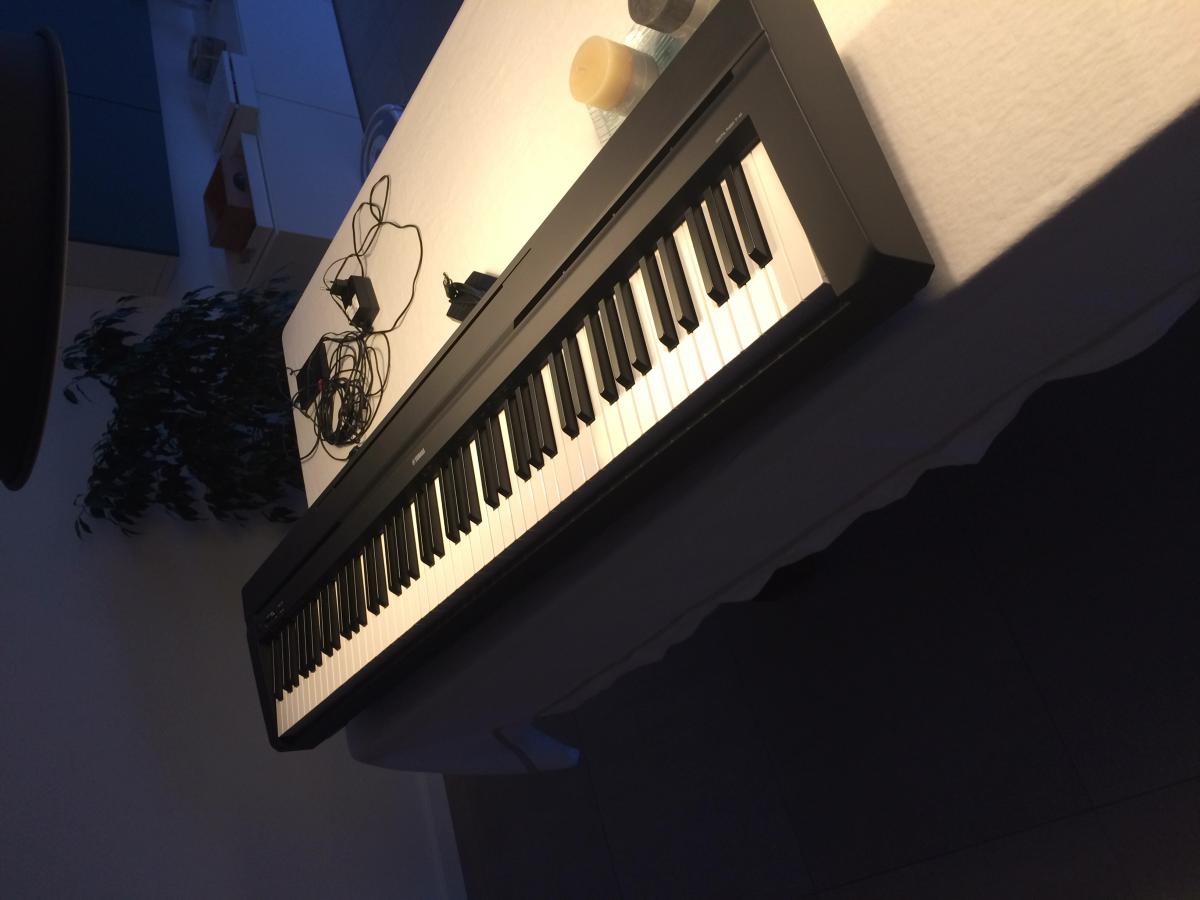
I have chosen a very simple digital piano (also because my budget is limited). I chose the Yamaha p-45 for 3 reasons:
the price (399)
simplicity: it does not have a display or excessive buttons
the build
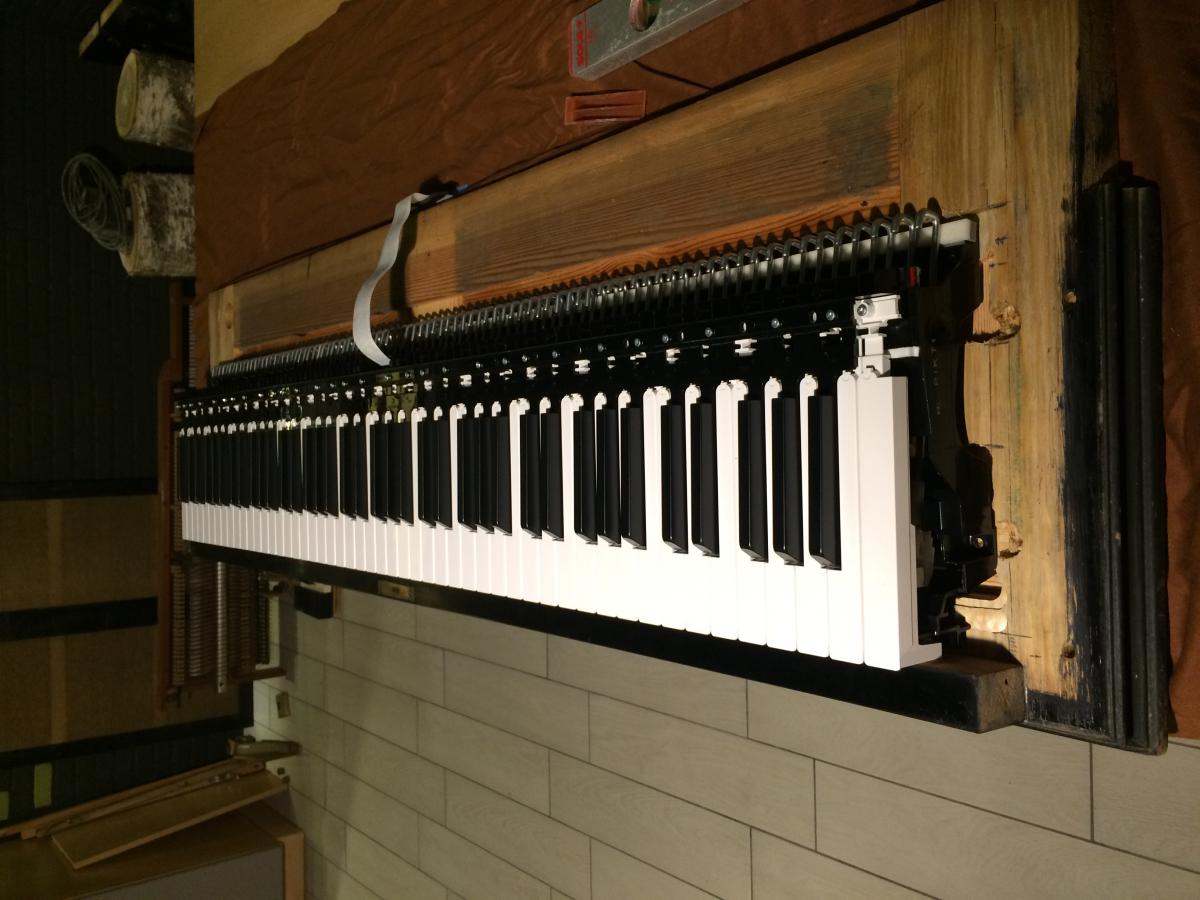
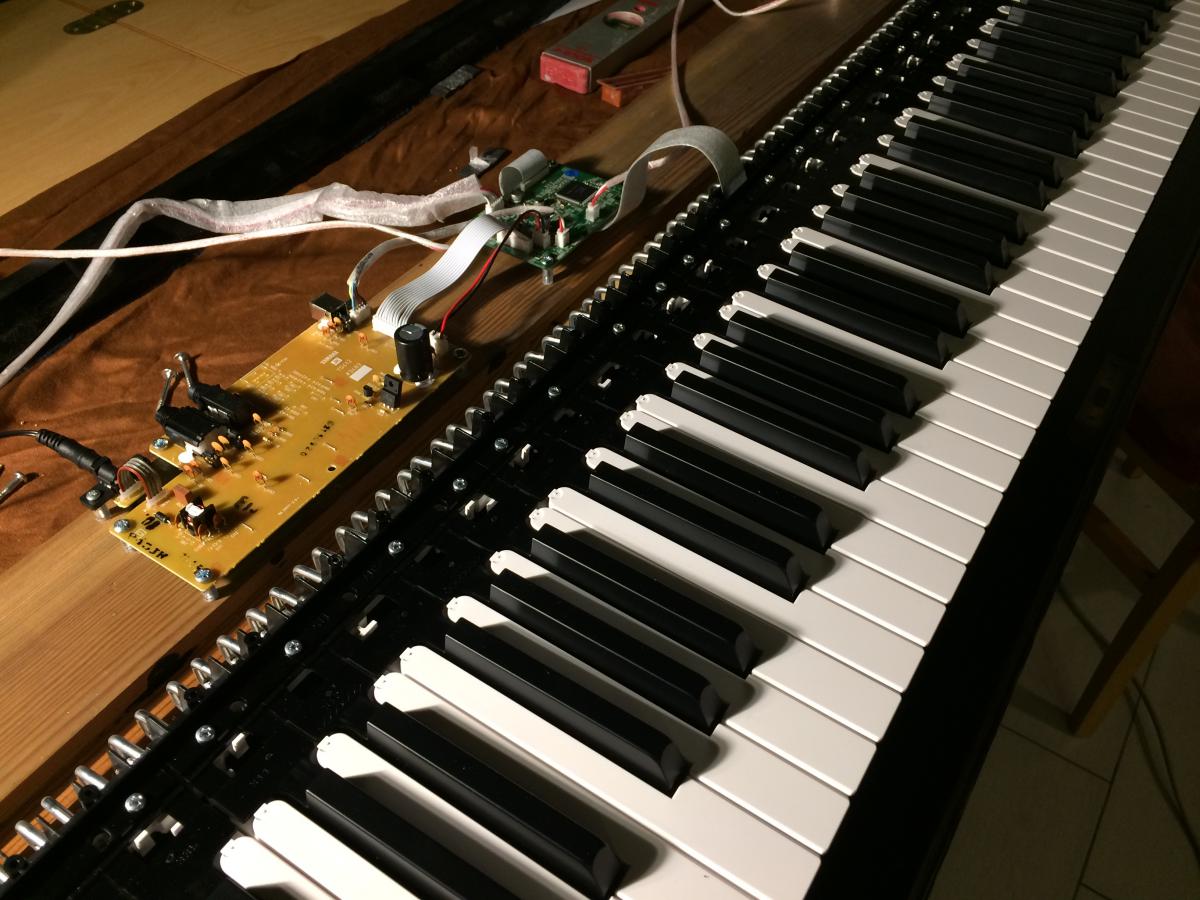
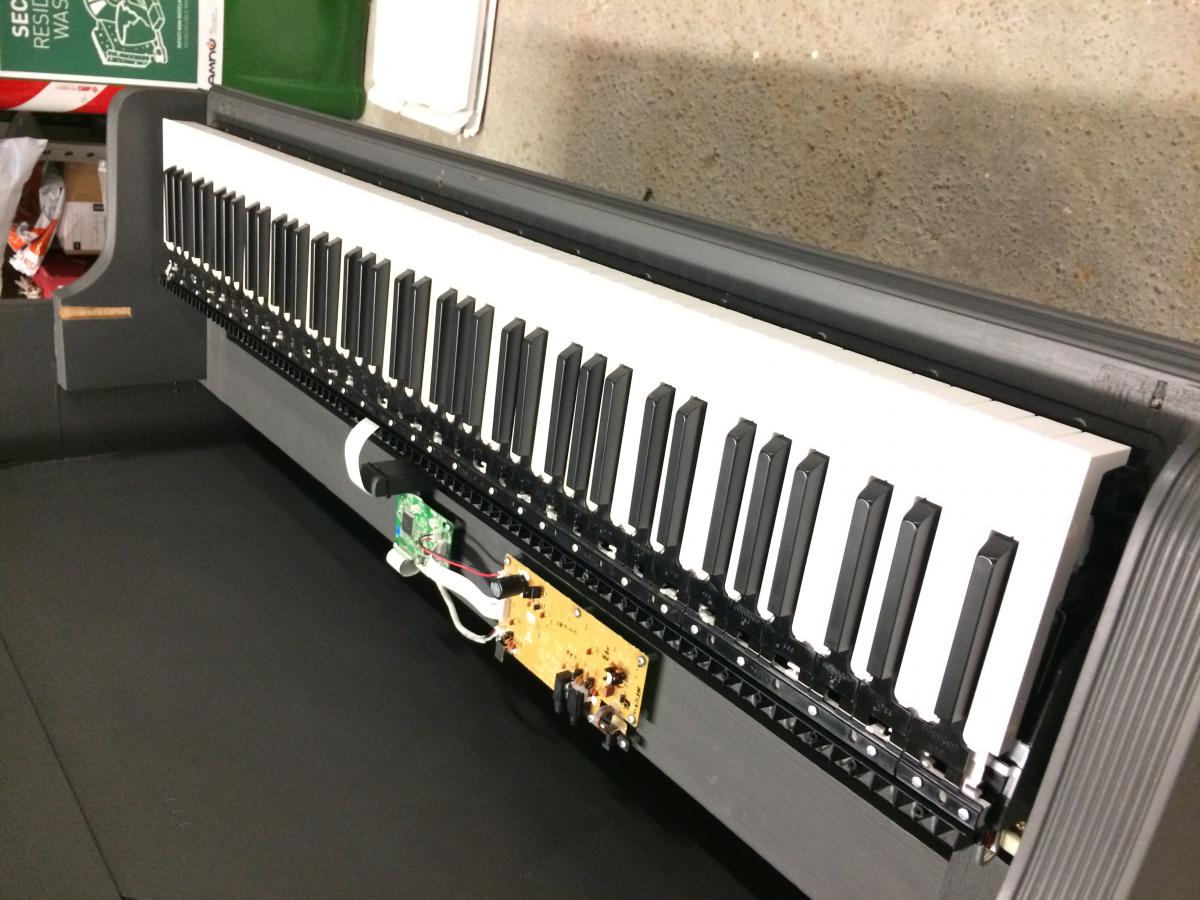
In fact, this digital piano has an internal block with the key system that will allow me to remove it from the upper and lower casing and install it in the cabinet without modifying the aesthetics. With the necessary modifications, I should be able to install the keyboard in place of the old one, making the piano look like a "real acoustic."
the internal amplification of the yamaha p45 is terrible... two 6w cardboard speakers... In fact, it sounds good in headphones, but on its own it's pretty crappy... I'll have to add a pair of powered speakers or something similar inside the furniture... at the moment I'm still working on the keyboard...
If you want an idea, I would do the amplification this way...
Since the thicknesses of the soundboard should not be homogeneous but calculated based on the position of the bridge and the frequencies to be grouped, I would divide some areas of the soundboard into frequency bands and place one speaker for each band. E.g., from 20 Hz to 100 Hz, then from 100 to 200, from 200 to 400, from 400 to 800, and so on. You can choose progressively smaller speakers as you move towards the highs and you can create crossover filters. In this way, by positioning these speakers along the bridge line, you could exploit the soundboard to group the frequencies for which it was designed, and even the outward sound diffusion could more closely resemble that of an acoustic piano, certainly more than placing two stereo speakers inside the piano. A benefit of using crossovers is also the spatialization of the sound (faithful to that of an acoustic piano): lows on the left, mids in the center, and highs on the right.
Depending on the number of speakers you decide to install, you will have to take into account the total impedance (also considering that of the filters). However, in my opinion, it could be a nice little project for an analog-digital hybrid.
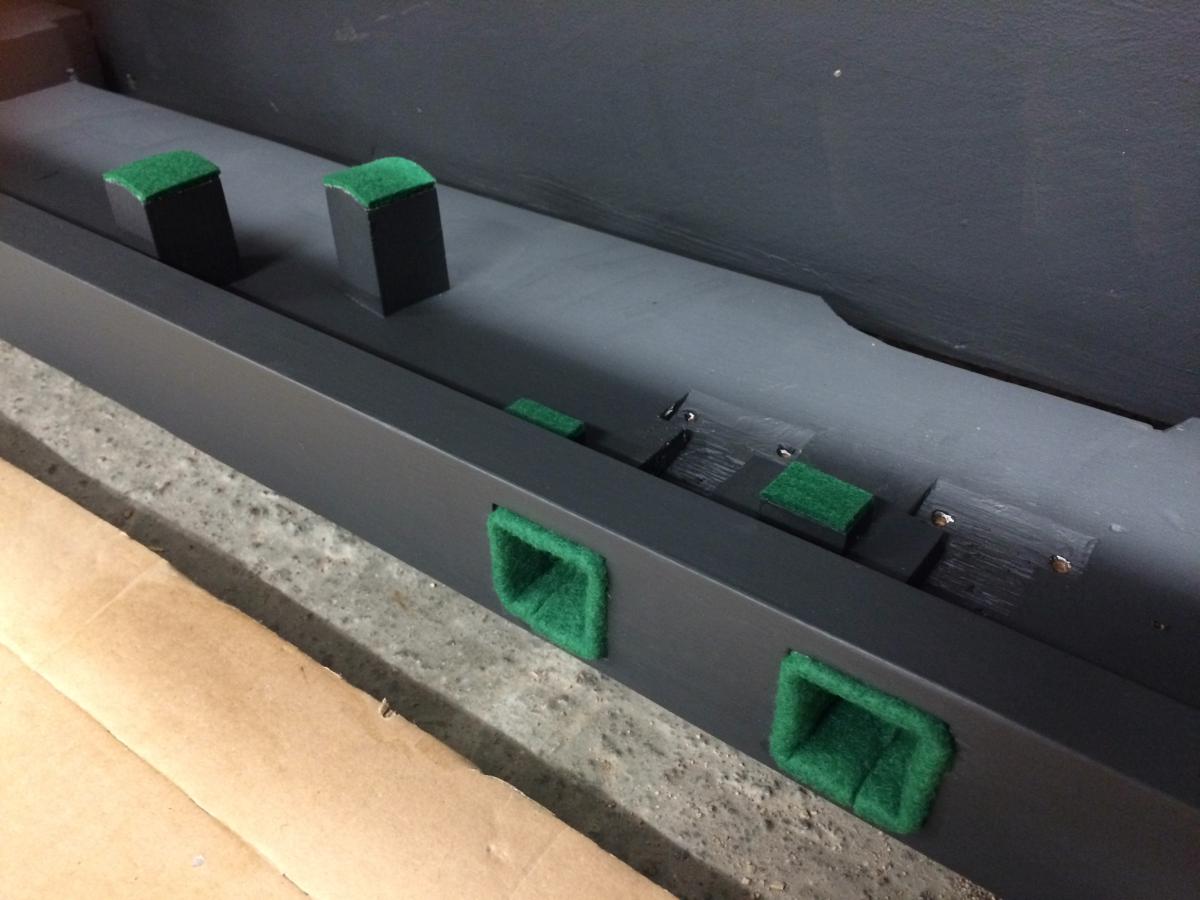
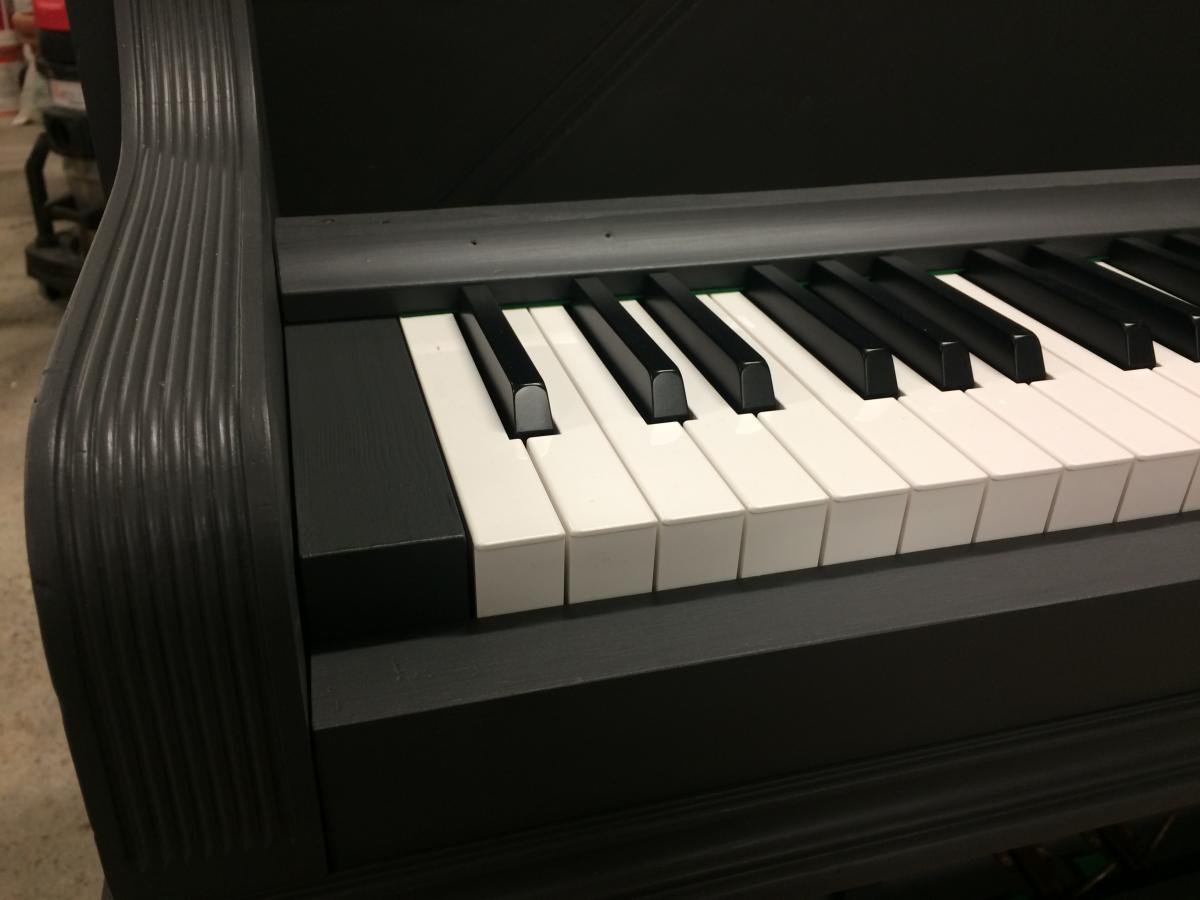
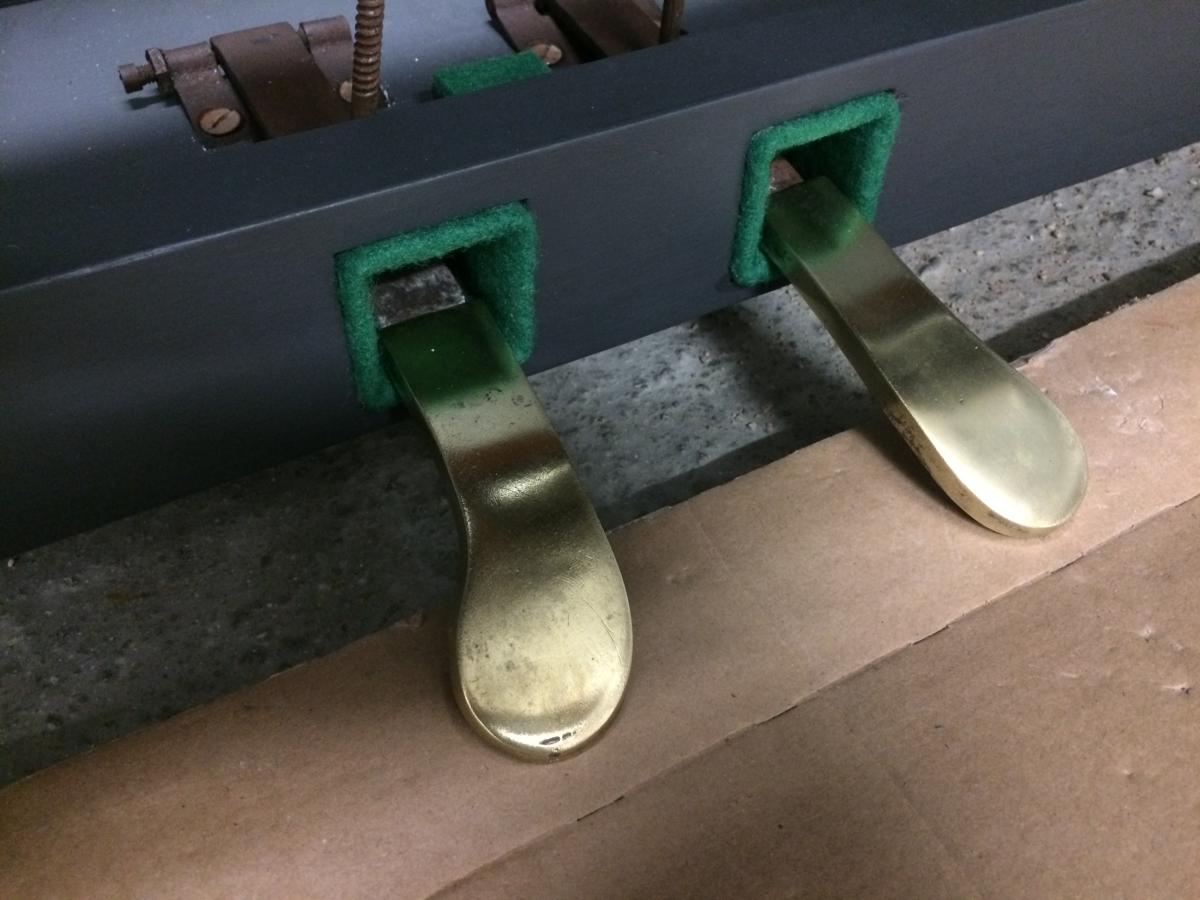
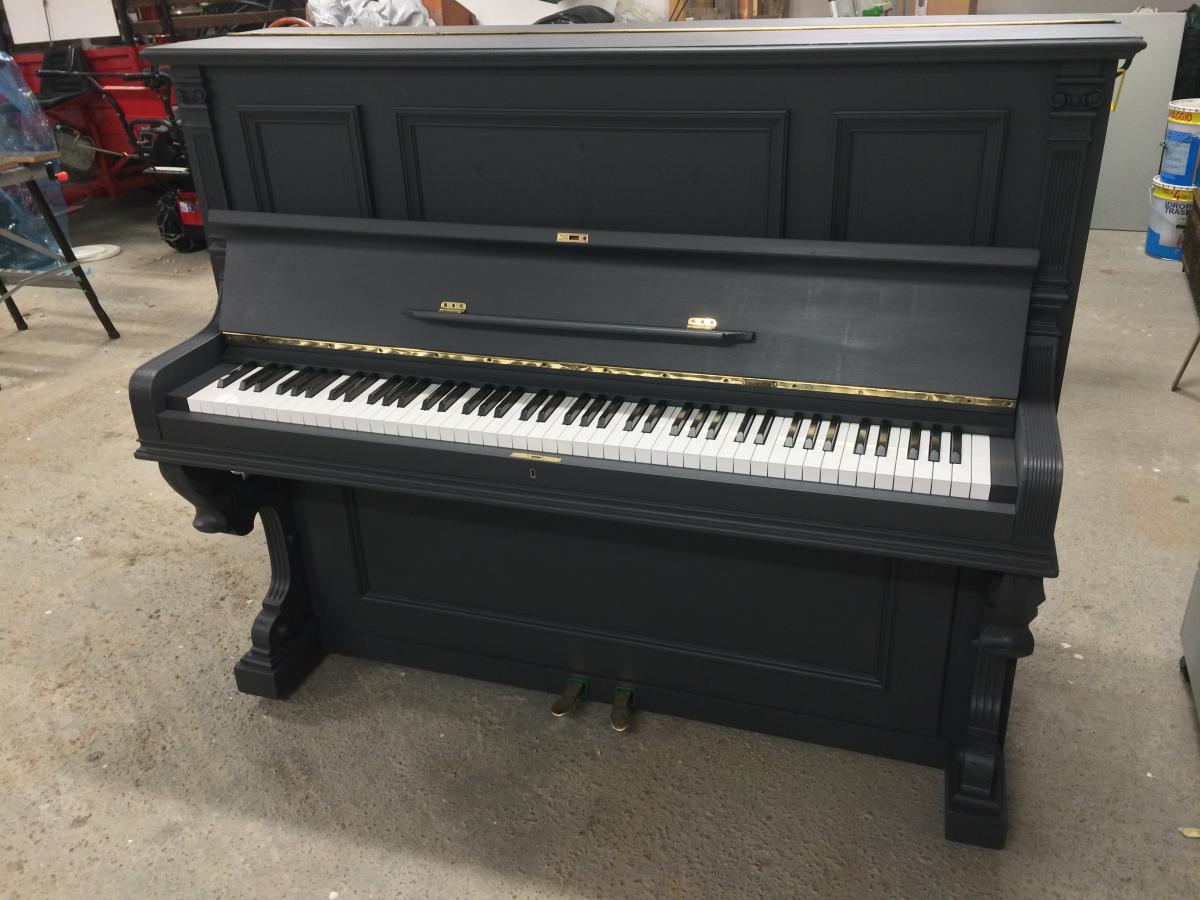
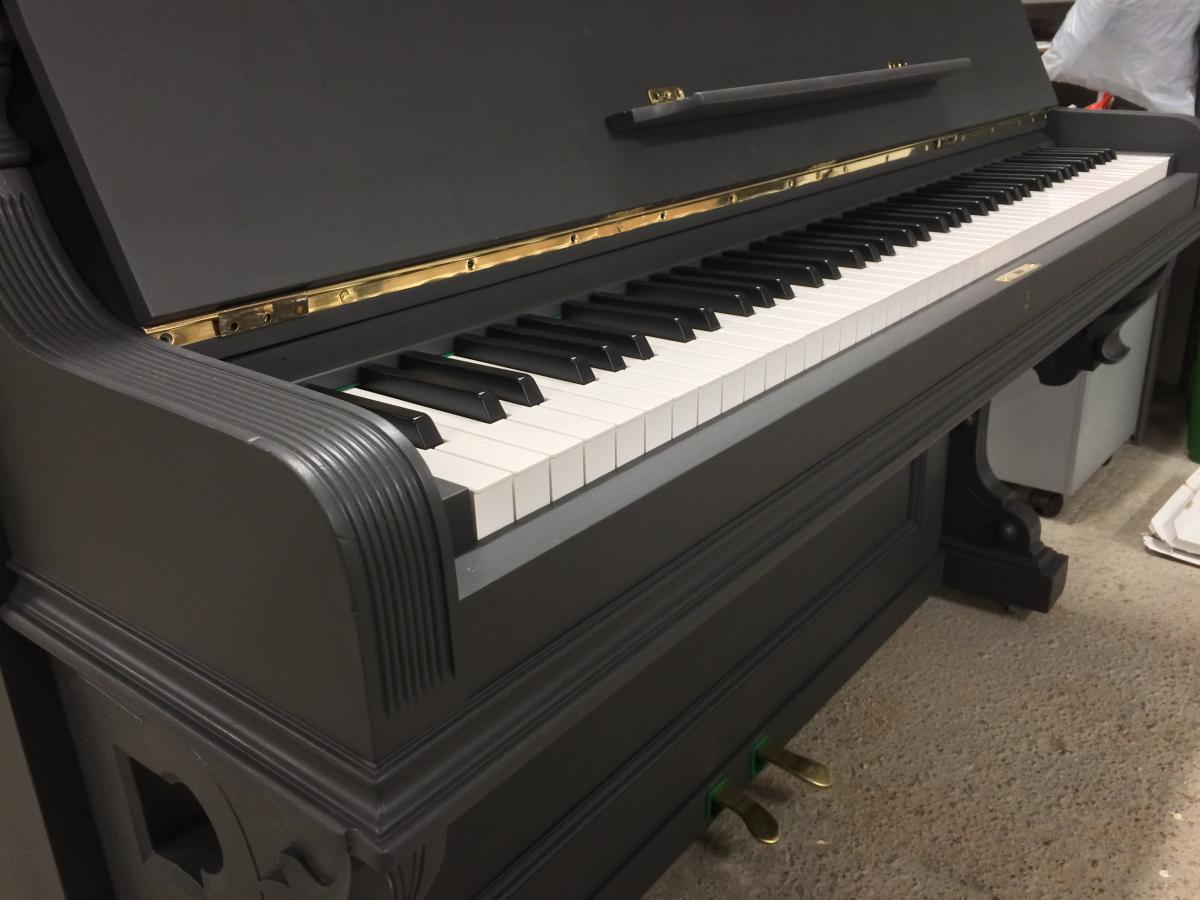
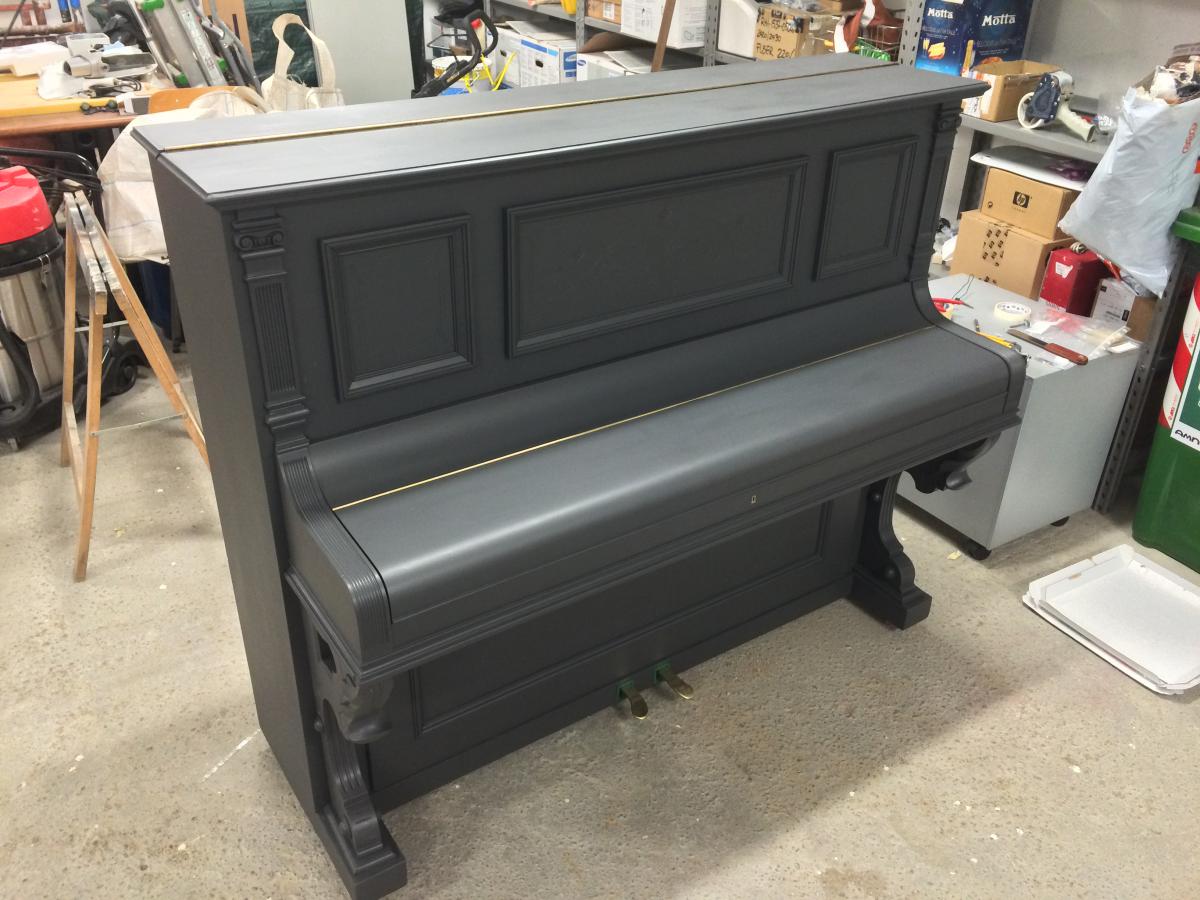
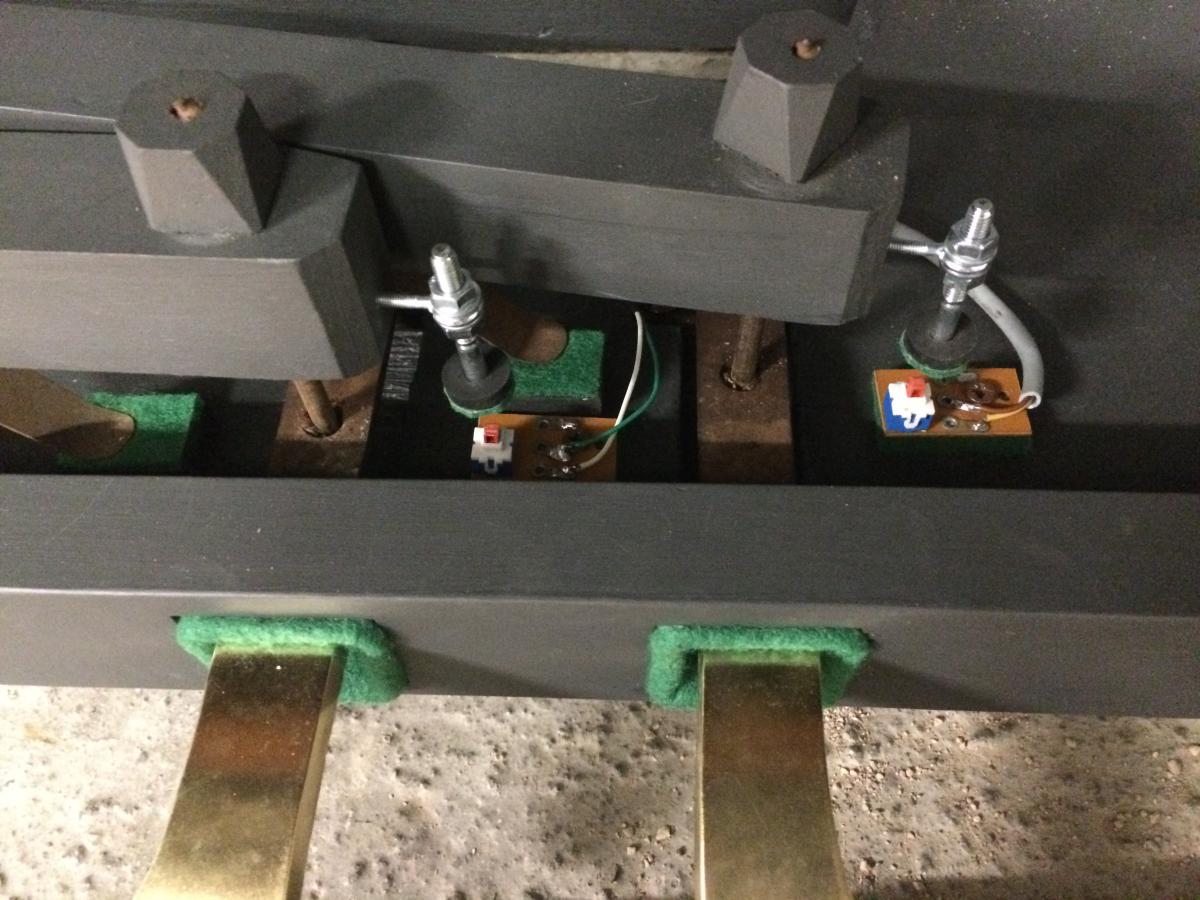
We are well on our way. Everything is painted, the keyboard is recessed, the felts have been redone, the brass polished, the pedalboard is electrified...
Only the amplification and a few details are missing.
I will probably install a 5.1 system inside, with the sub on the left and the speakers arranged two on each side, two just below the keyboard and two at ear level, and one central one...
All the work is cute and appreciable, but that spray-on anthracite color cannot be seen; is it a choice or did you think it would come out more matte black?