

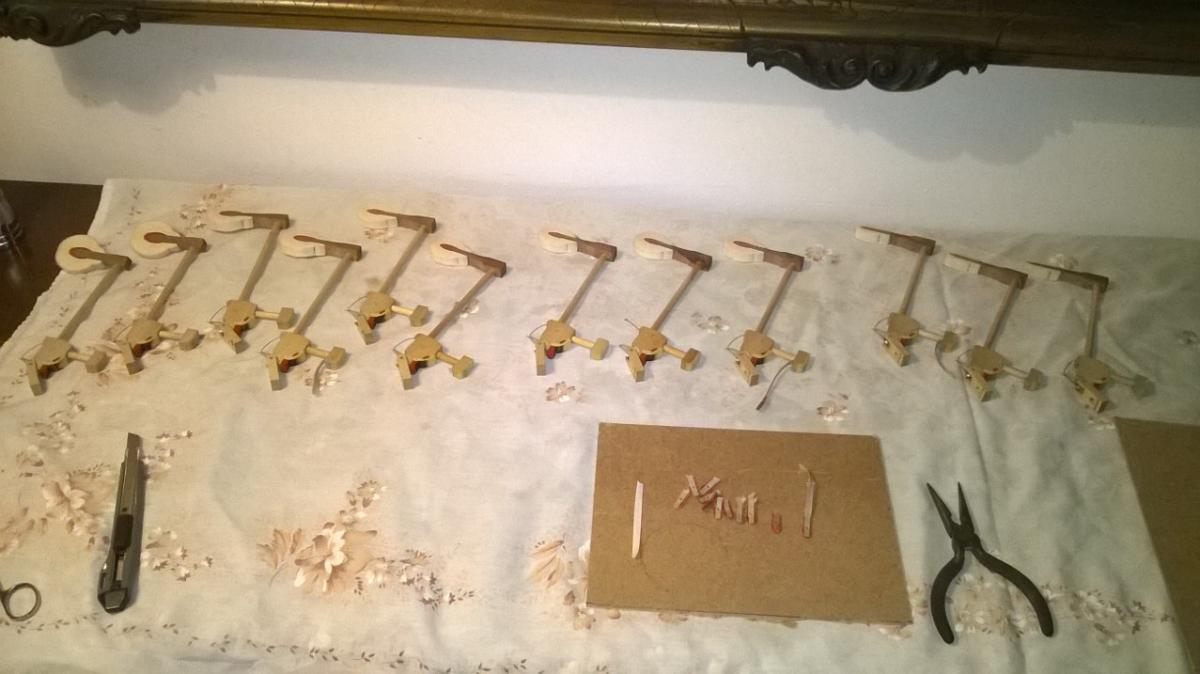
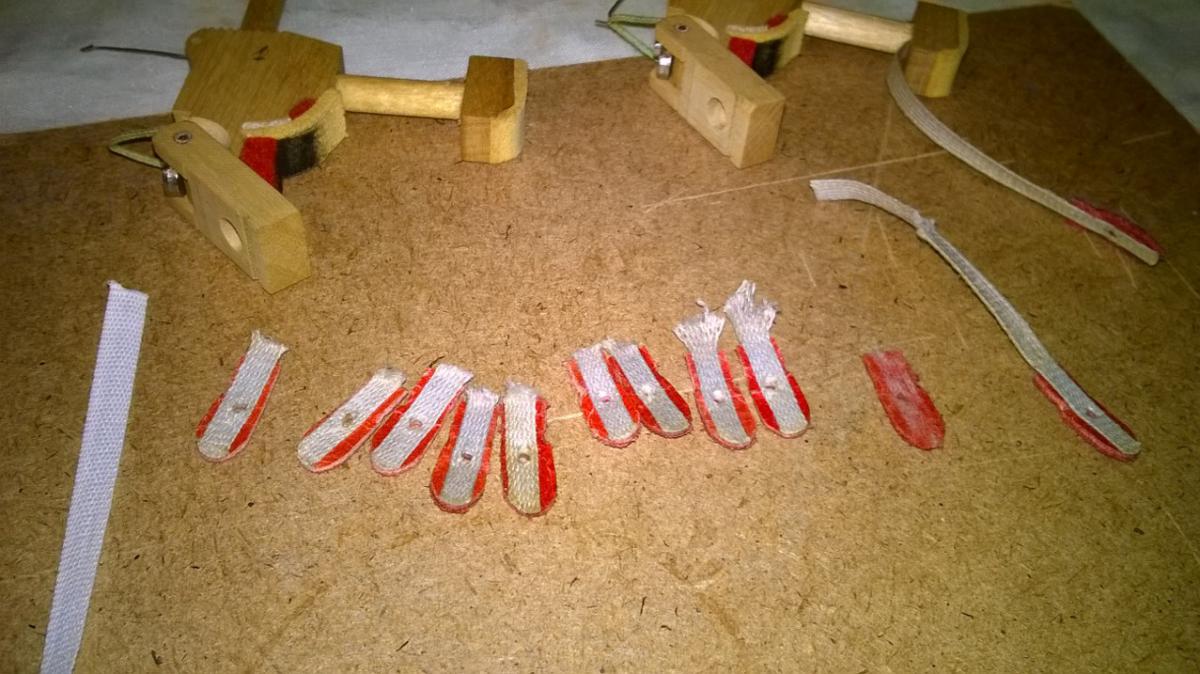
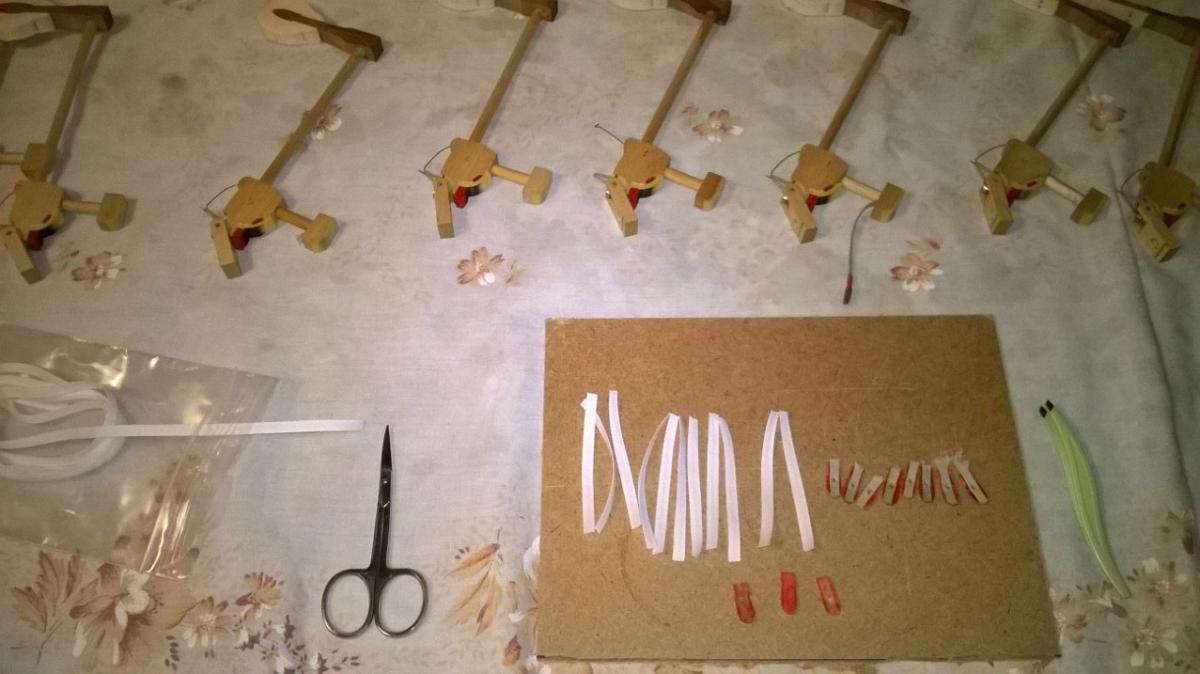
In the end, there are 11 small straps to fix, thanks to the mouse.
Member
Reply 121 by ful
- Posts
- 84
- City
- Rocca d'Evandro
Started by
Member
Member
In the end, there are 11 small straps to fix, thanks to the mouse.
Member
Here
Member
Here
Member
Didn't you take the ones that were already ready?
Member
No because they were giving me the complete series, I only needed the tape
Member
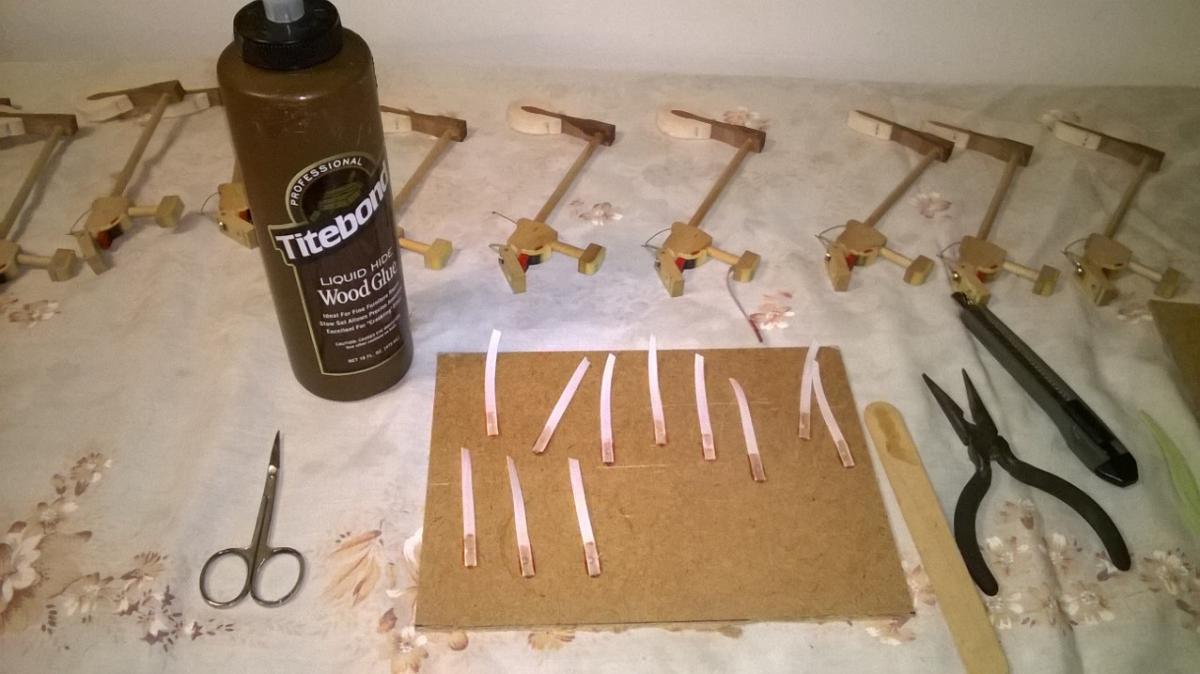
I am pasting them like this
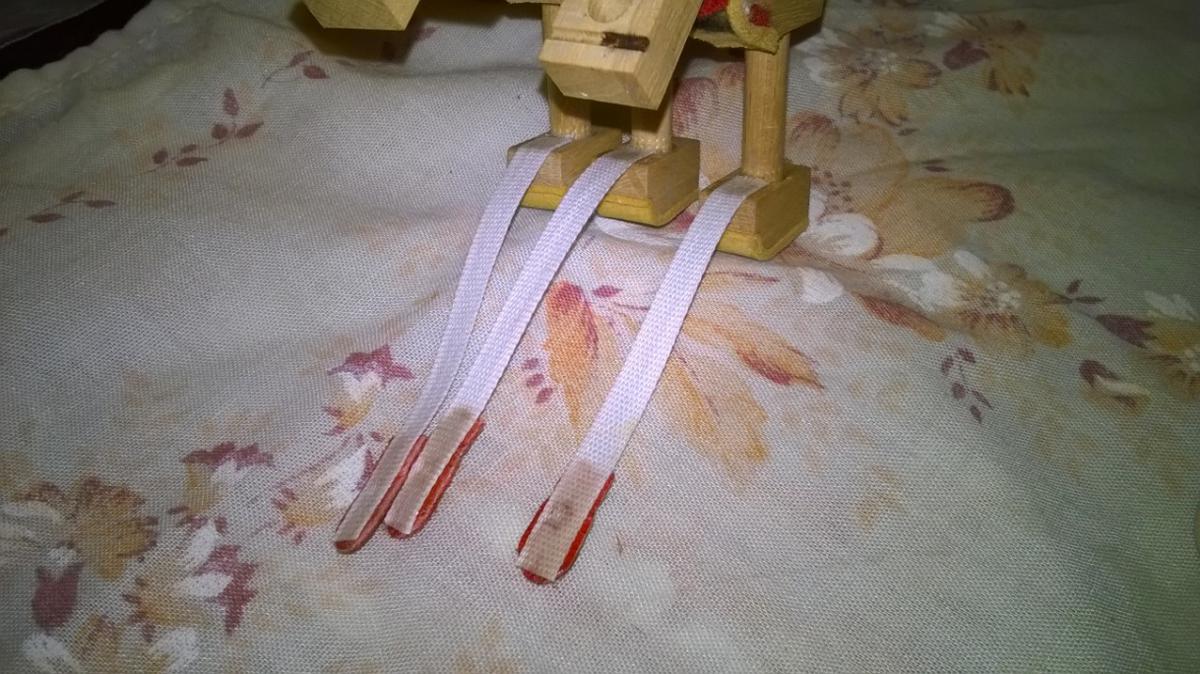
Member
Copy and you won't have problems
Member
I see you have been very careful with the type of glue; generally, we use vinyl glue for these jobs because it becomes transparent, but it is fine if the wood is thoroughly cleaned of the old glue. On the other hand, when hot glue was used in the factory, it is best to continue using it for the repair as well, because the application of the new (hot) glue reactivates the old one.
When we use vinyl glue, we generally keep a jar that isn't perfectly sealed so that it becomes thick; this way, applying just a drop is enough and it dries immediately, especially if you need to glue felt to felt or felt to wood (it penetrates less).
Another matter: vinyl glue should be applied to both parts to be glued, not just to one part (every type of glue must be used correctly, otherwise it becomes ineffective).
I hope that with that Titebond the stain doesn't remain.
Member
I see you have been very careful with the type of glue; generally, we use vinyl glue for these jobs because it becomes transparent, but it is fine if the wood is thoroughly cleaned of the old glue. On the other hand, when hot glue was used in the factory, it is best to continue using it for the repair as well, because the application of the new (hot) glue reactivates the old one.
When we use vinyl glue, we generally keep a jar that isn't perfectly sealed so that it becomes thick; this way, applying just a drop is enough and it dries immediately, especially if you need to glue felt to felt or felt to wood (it penetrates less).
Another matter: vinyl glue should be applied to both parts to be glued, not just to one part (every type of glue must be used correctly, otherwise it becomes ineffective).
I hope that with that Titebond the stain doesn't remain.
Member
Now they are dry. In fact, a lot can be seen on the slide, but less on the wood.
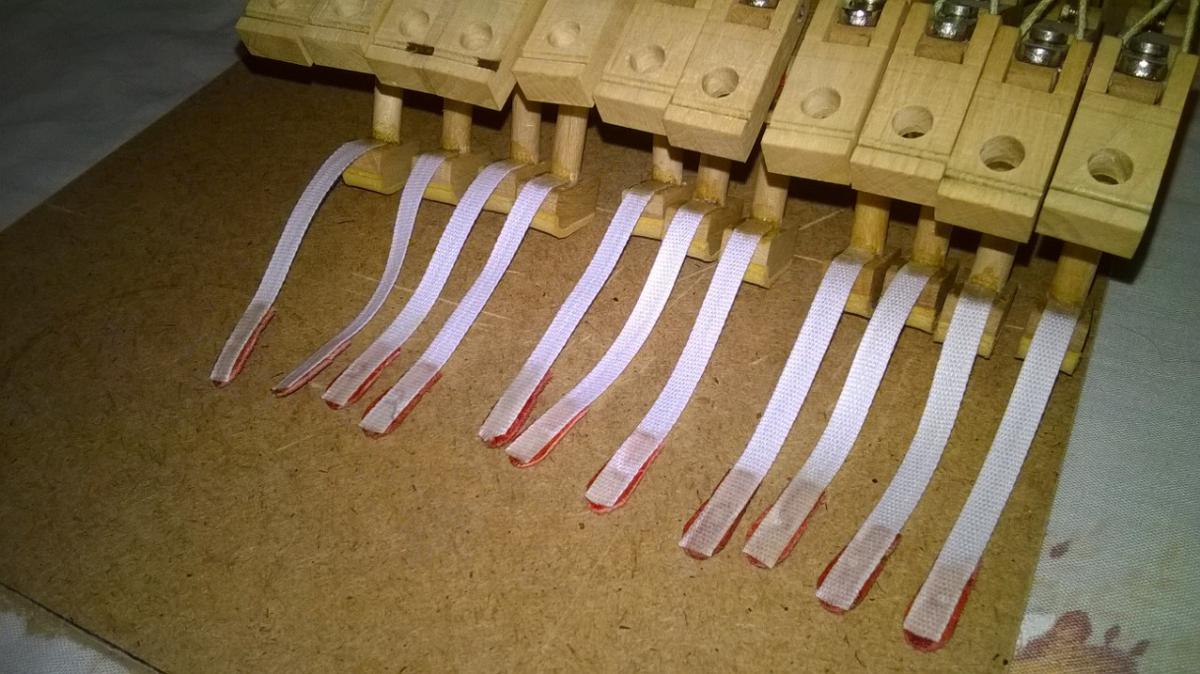
Member
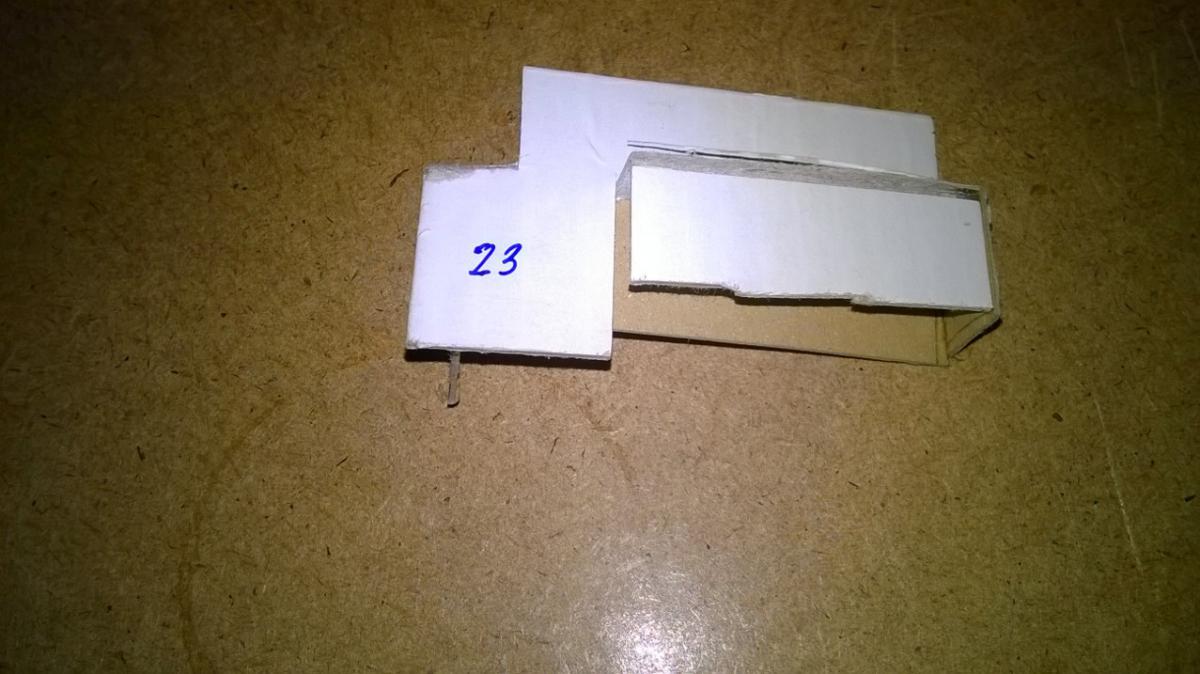
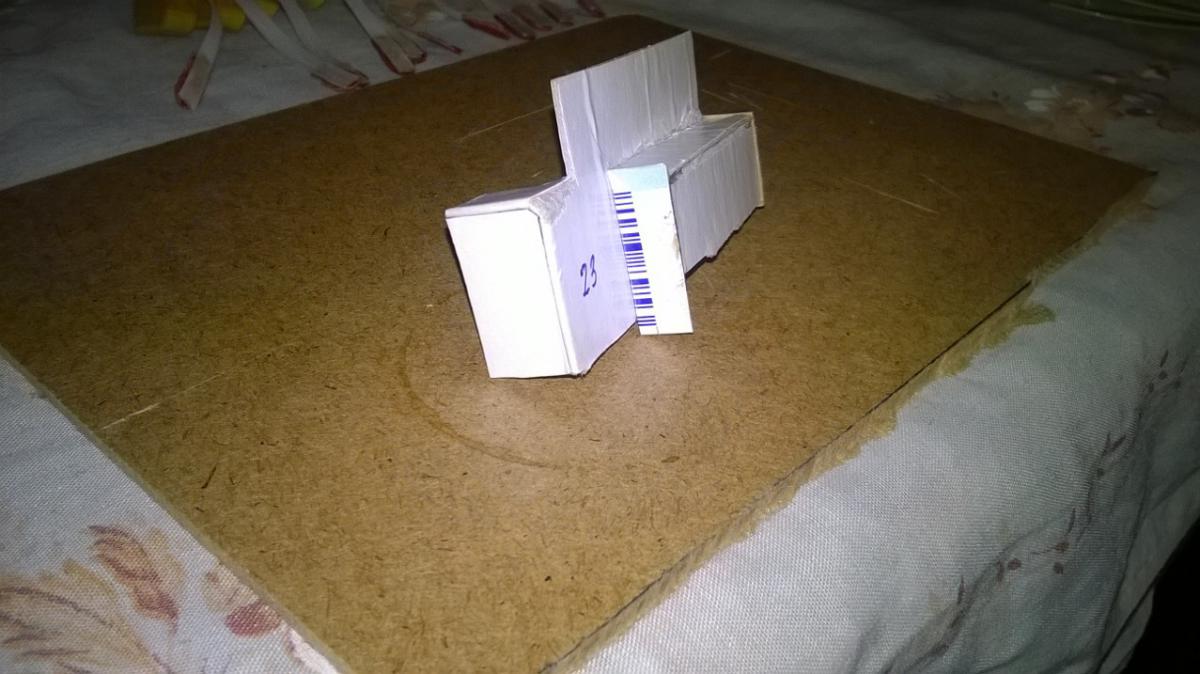
Now I'm mounting the components and moving on with the hammers. I also created a spacer to put on the hammer, so I don't have to hold it while adjusting with the wrench.
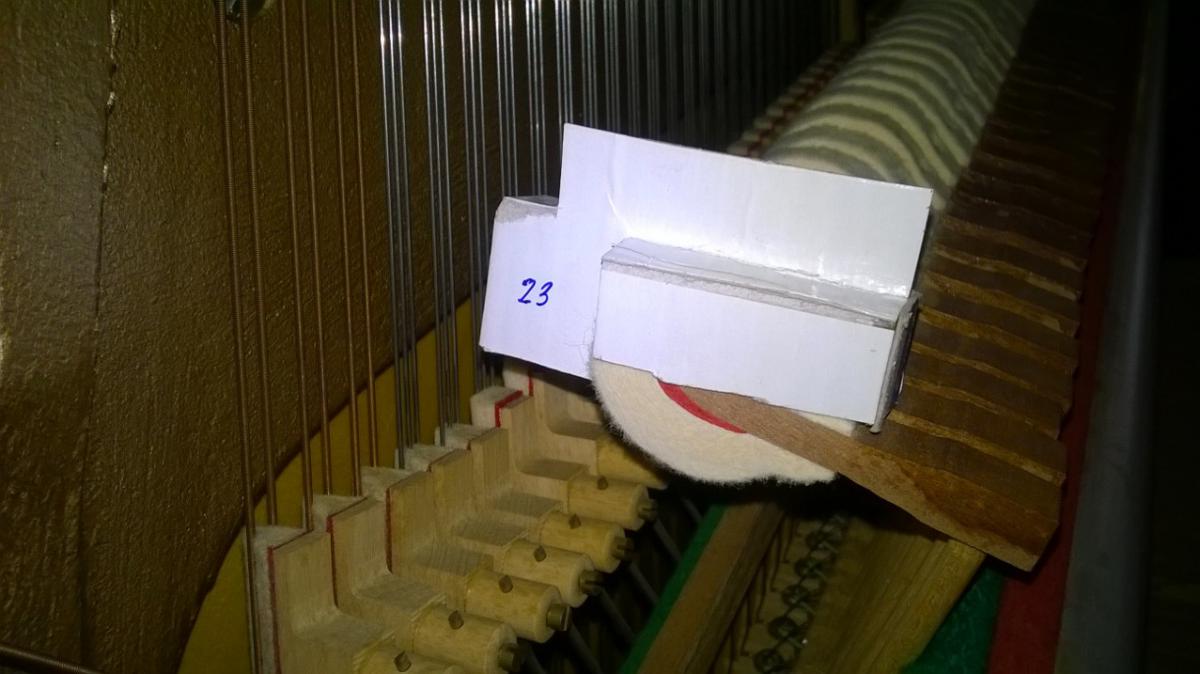
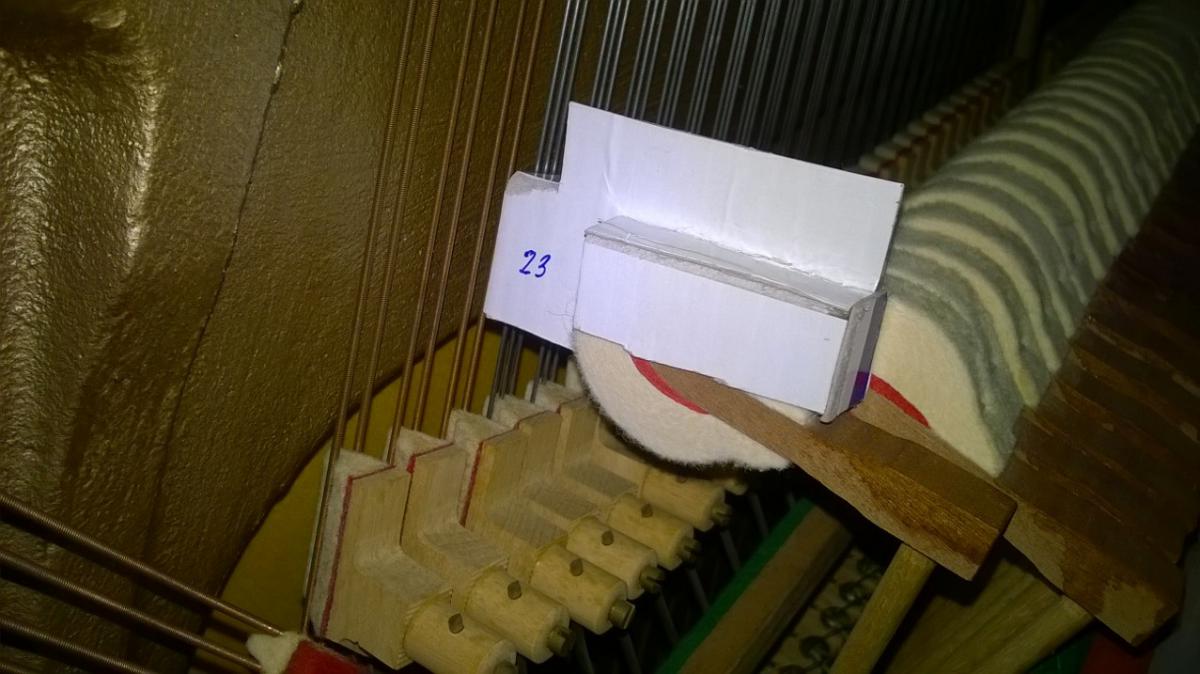
Member
modified
Member
Everyone makes do with their own means, even technicians sometimes have "customized" or homemade tools.
Aside from aesthetics and glues, what matters is the result, so keep going and let's see what happens.
Member
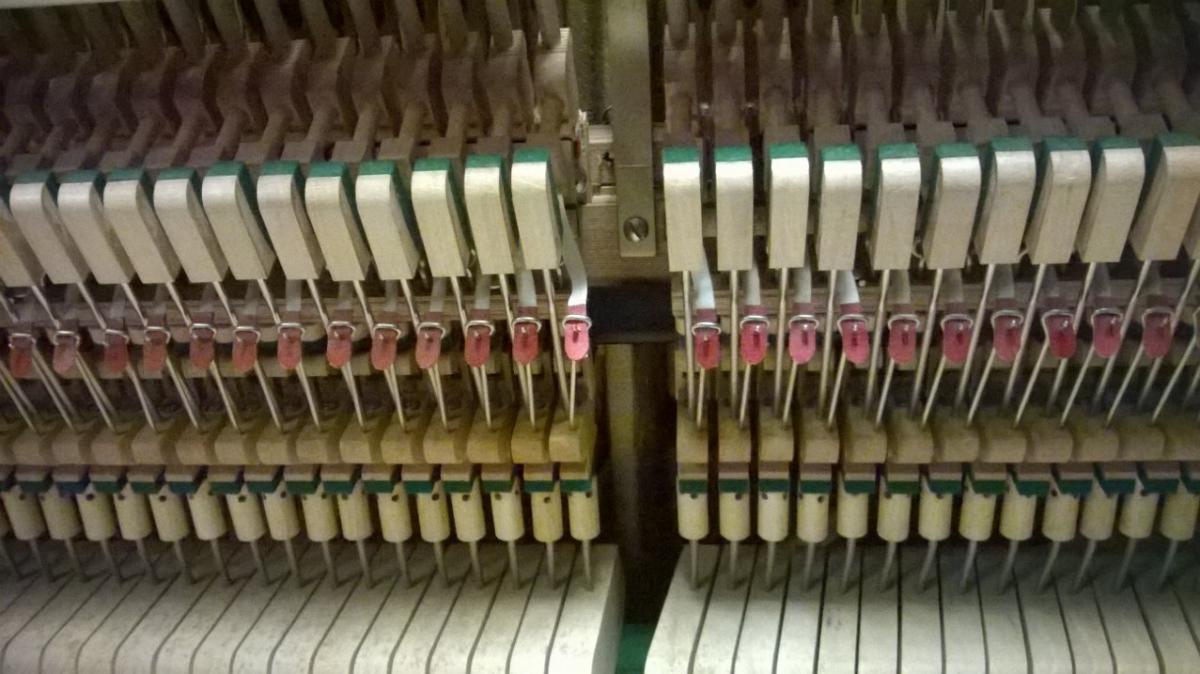
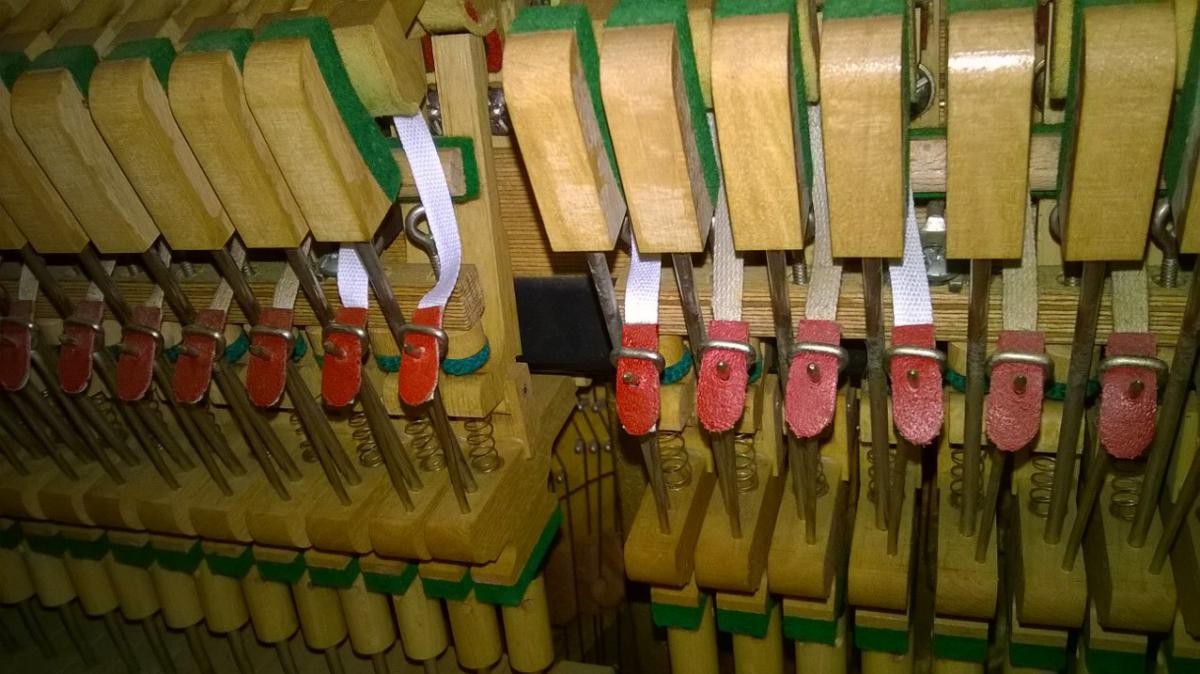
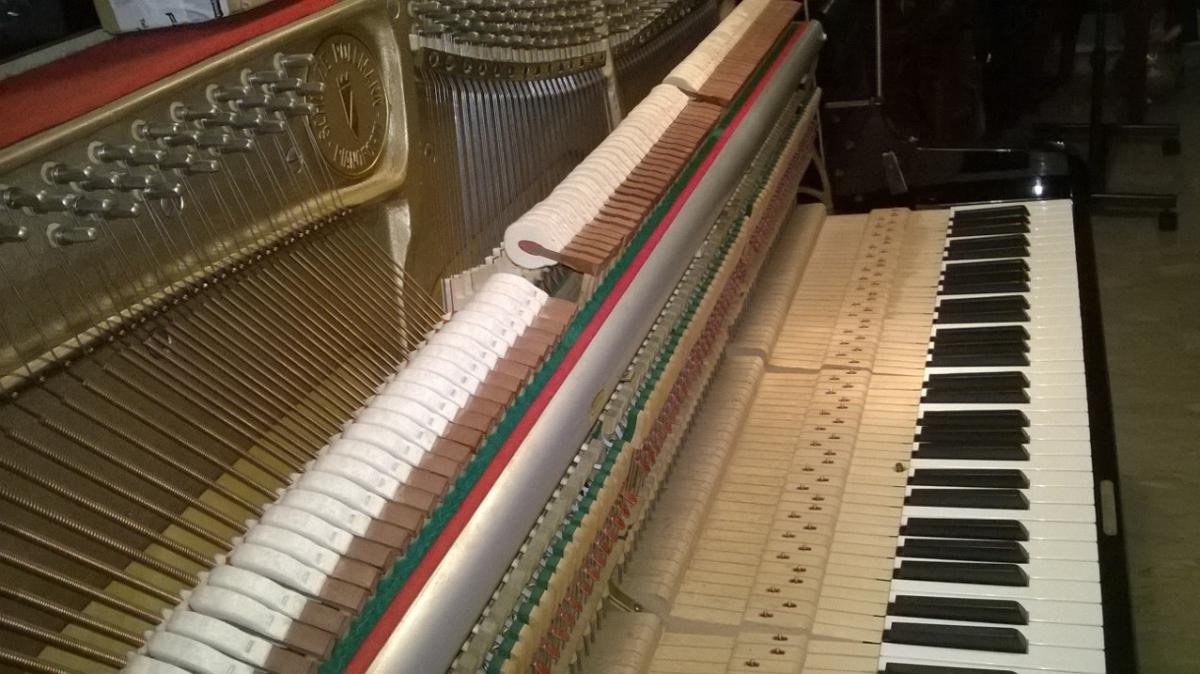
The action worked well, especially in the first half of the keyboard where the protruding strings behind me gave me a hard time. I also tried with the action out, but the regulation wasn't precise.
Anyway, I reassembled everything, checking that the marks on the hammers matched up with the strings. Then I put all the keys back in and leveled it better, by removing some paper from the bass notes and distributing it to the middle keys
Member
So, are we at the level of the hammers? Shall we move on to the escapements? Because once you mounted the keys, you could have done the escapements without the keys
Member
Eh, non ci ho pensato. Ok passiamo agli scappamnenti
Member
Ok then make the shims, one 4 mm, one 3 mm, and one 2 mm.
The escapement button must be screwed in clockwise to move the hammer away from the string at the moment the pusher trips. This minimum possible distance between the string and the hammer (escapement) is checked by pressing the key slowly, or by slowly lifting the heel with your fingers (up to you).
4 mm for the lows, 3 mm for middle notes, and 2 mm for the highs. It could even be done less, but that's not the case; one risks encountering other problems. These are the factory measurements for this piano, as I have often read in the sales certificates of some Schulze Polmann, try it.
Member
But do I check the measurement just before the pusher trips?
Member
Beyond the escapement measurement, the hammer must never go, so look at the hammer, not the pusher. It must graze your template without going beyond it.
Member
Anyway, they are all positioned further apart