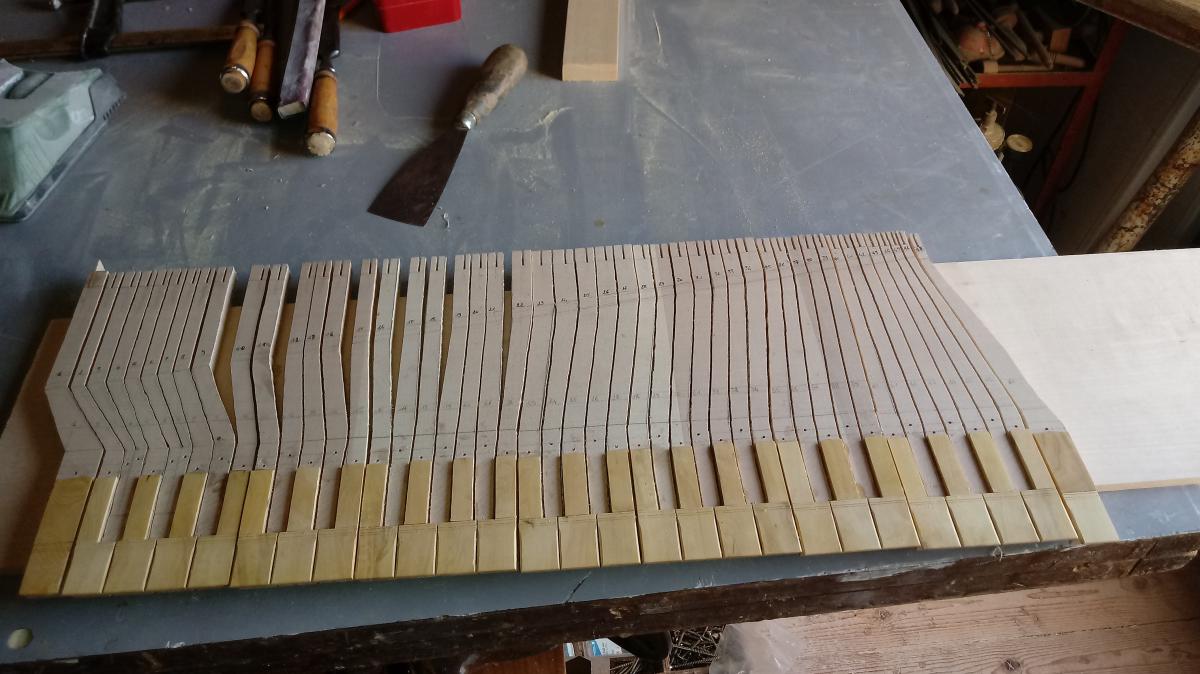
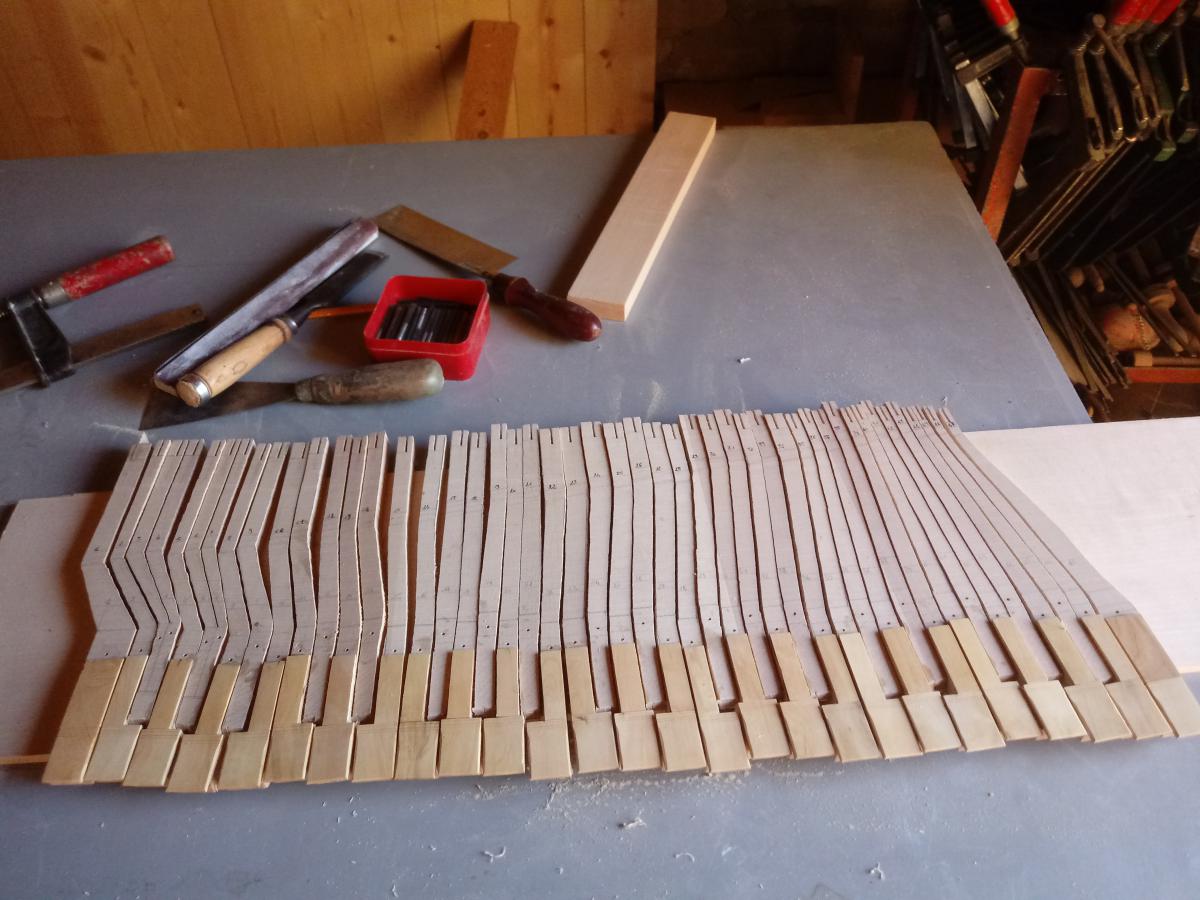
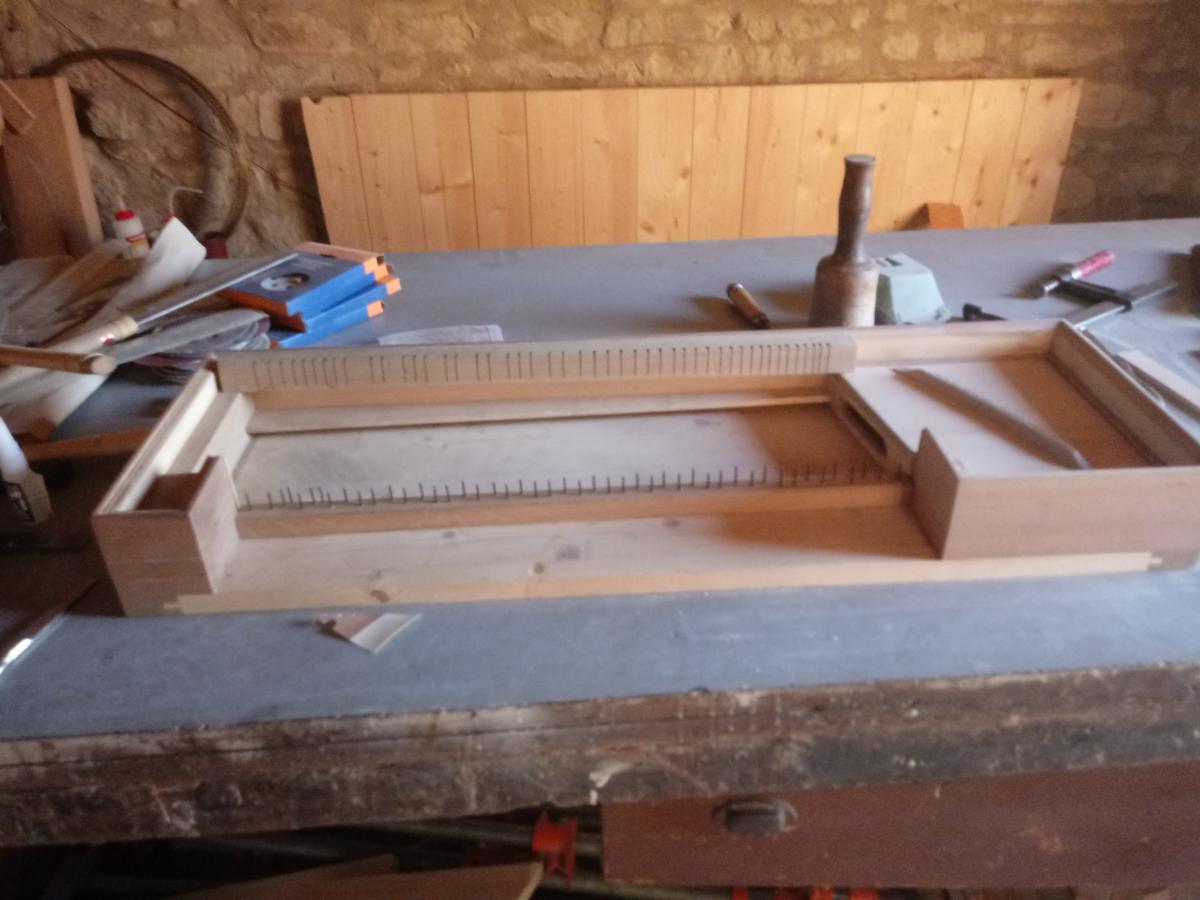
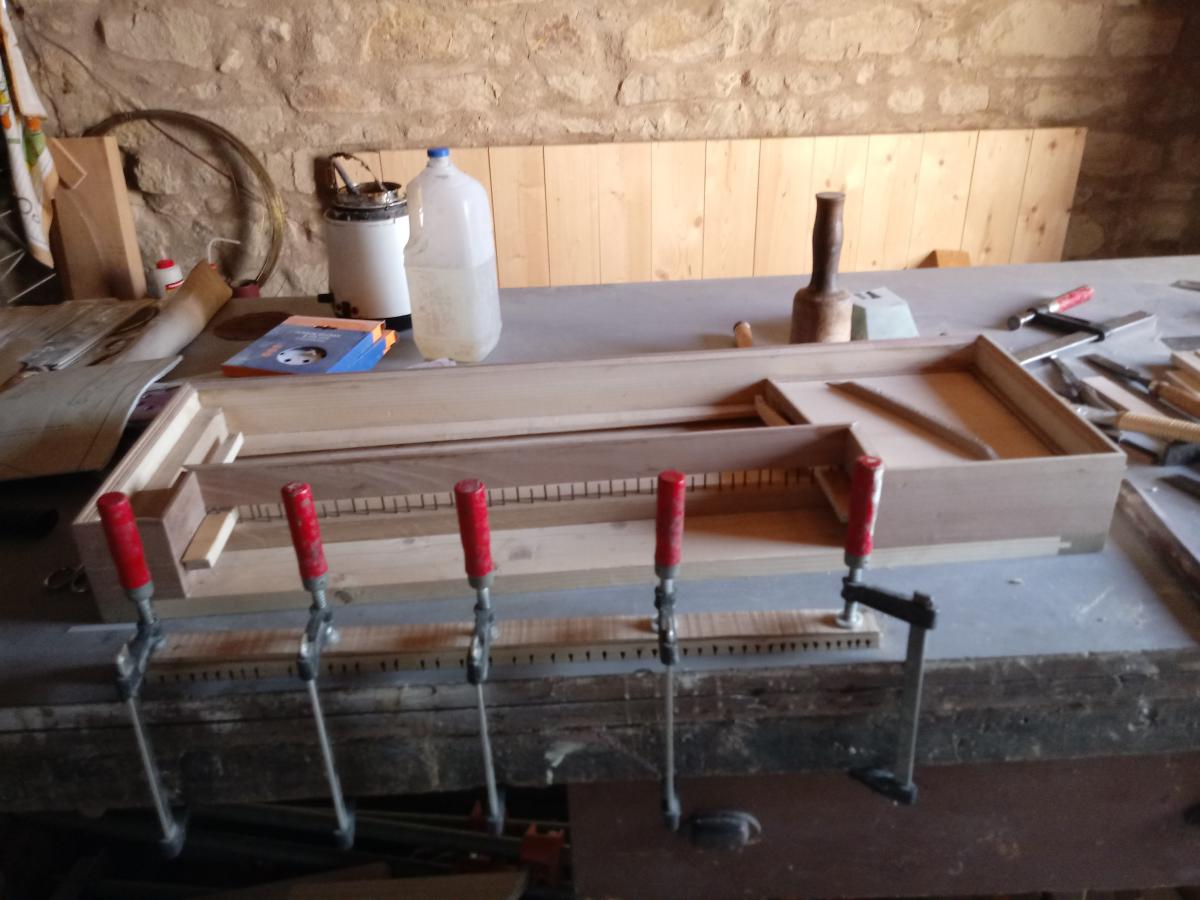
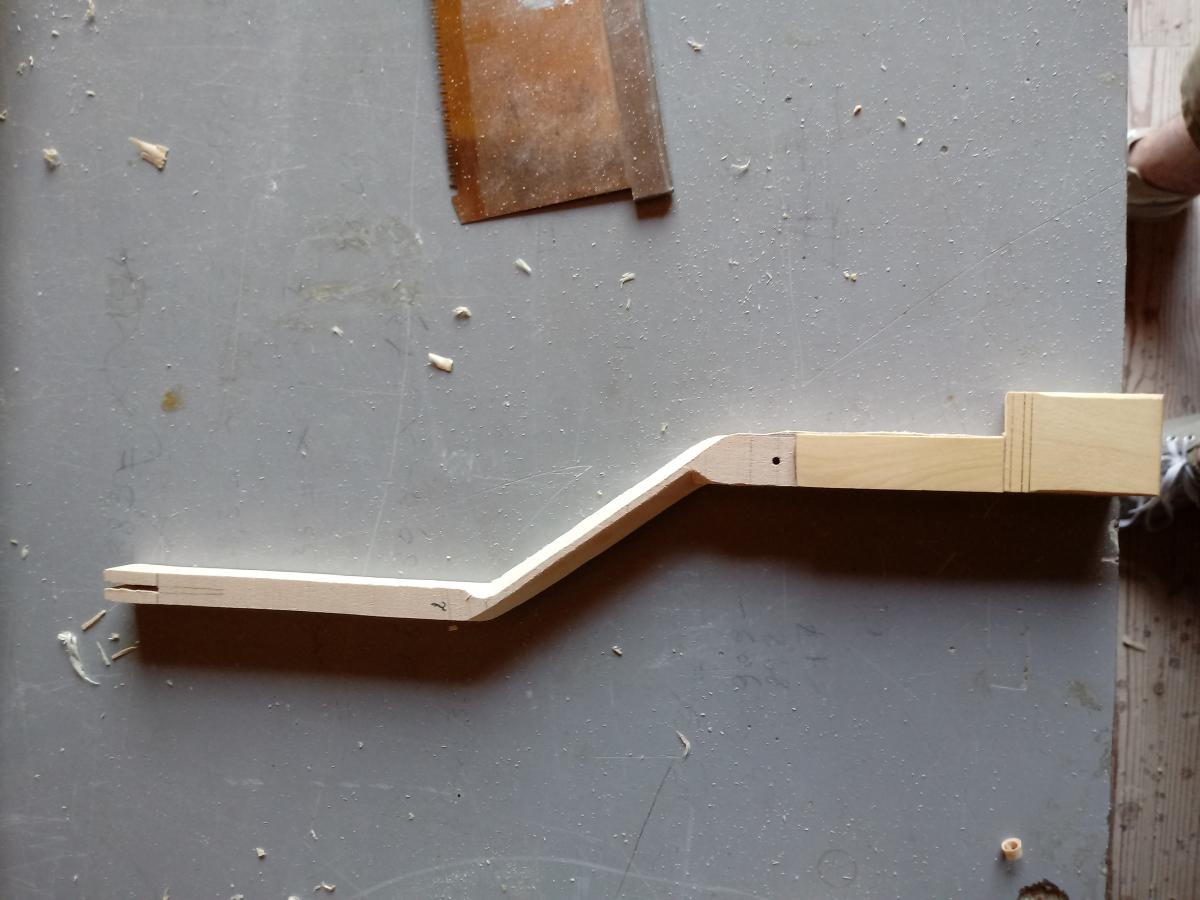
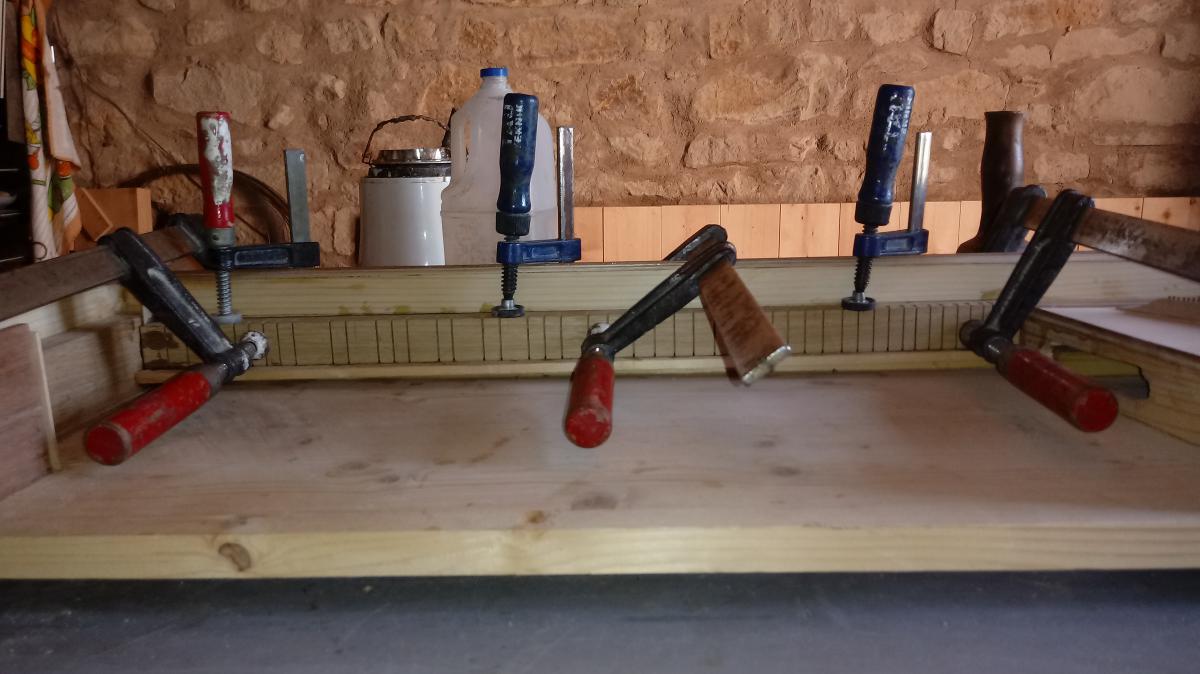
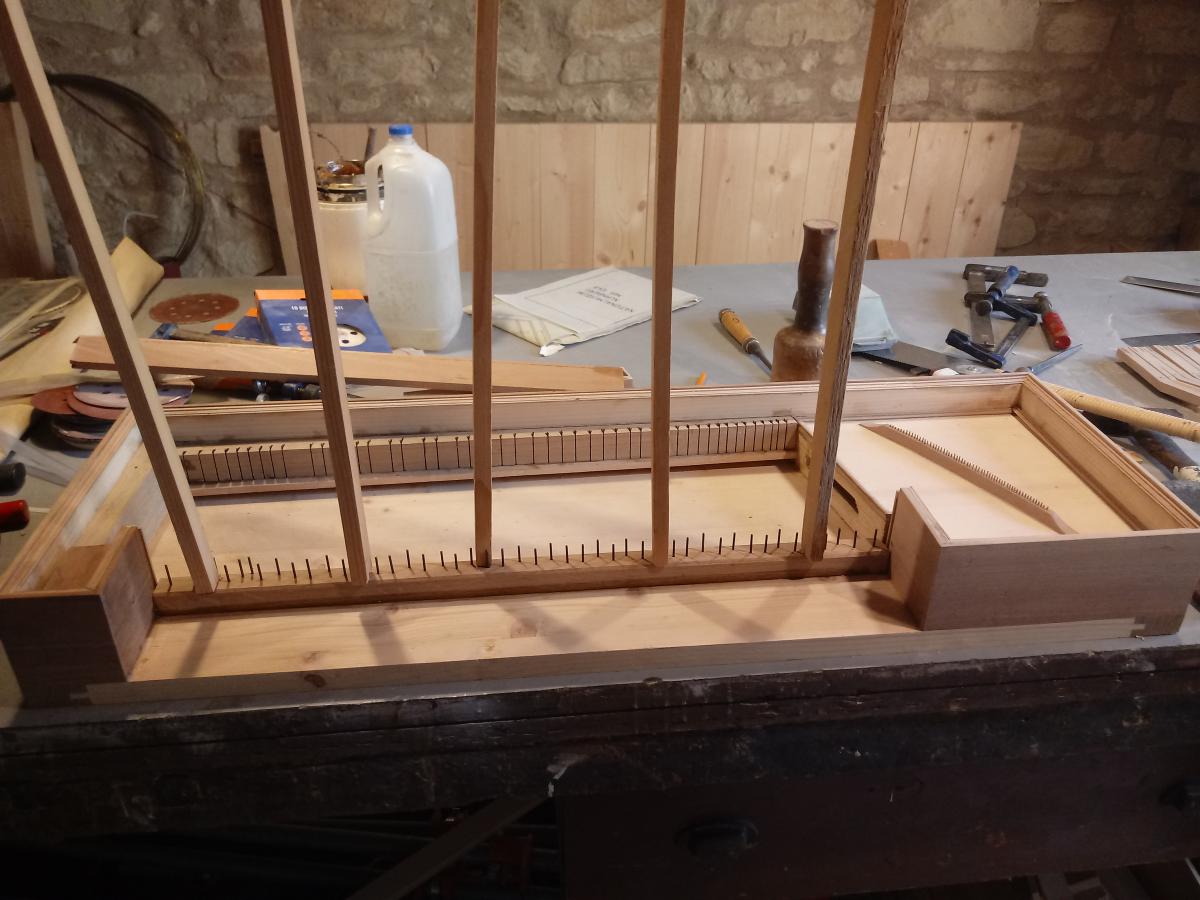
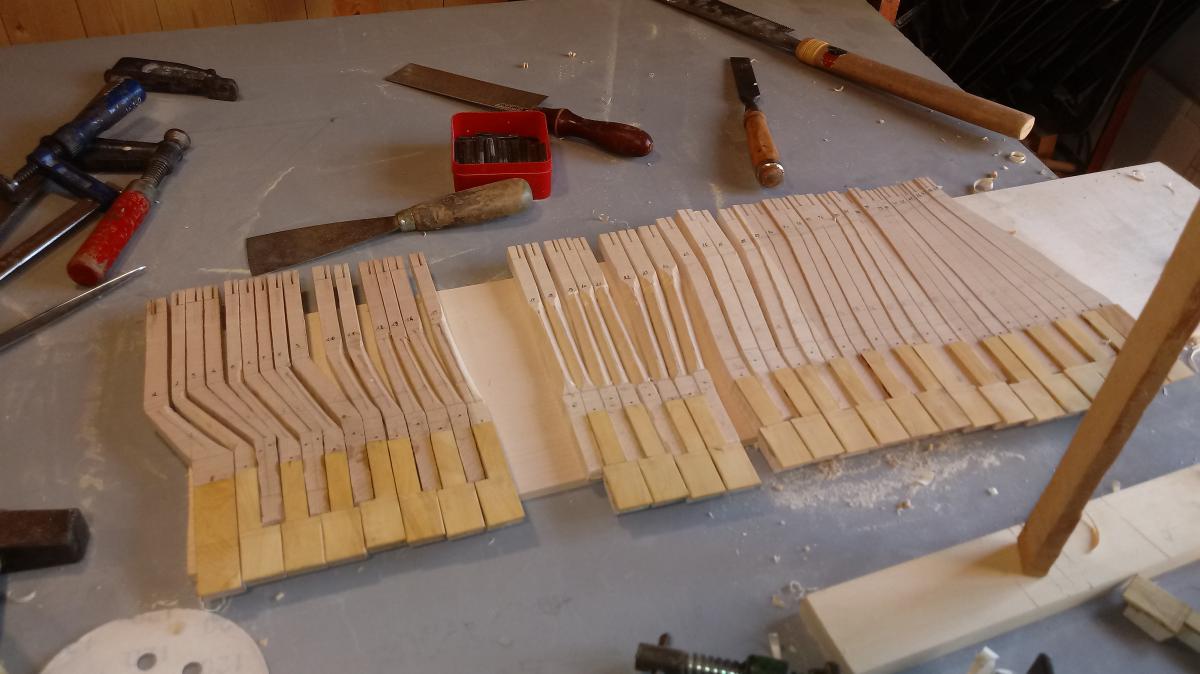
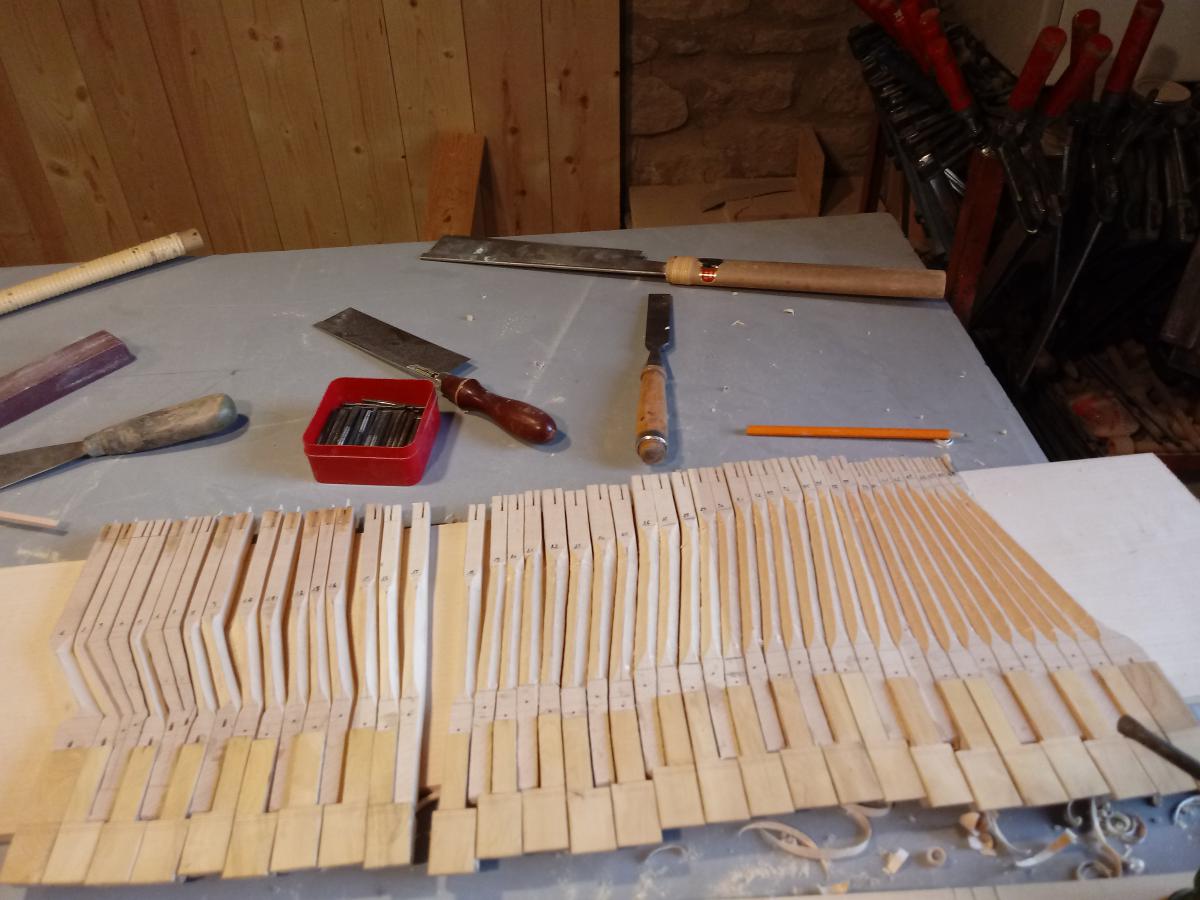
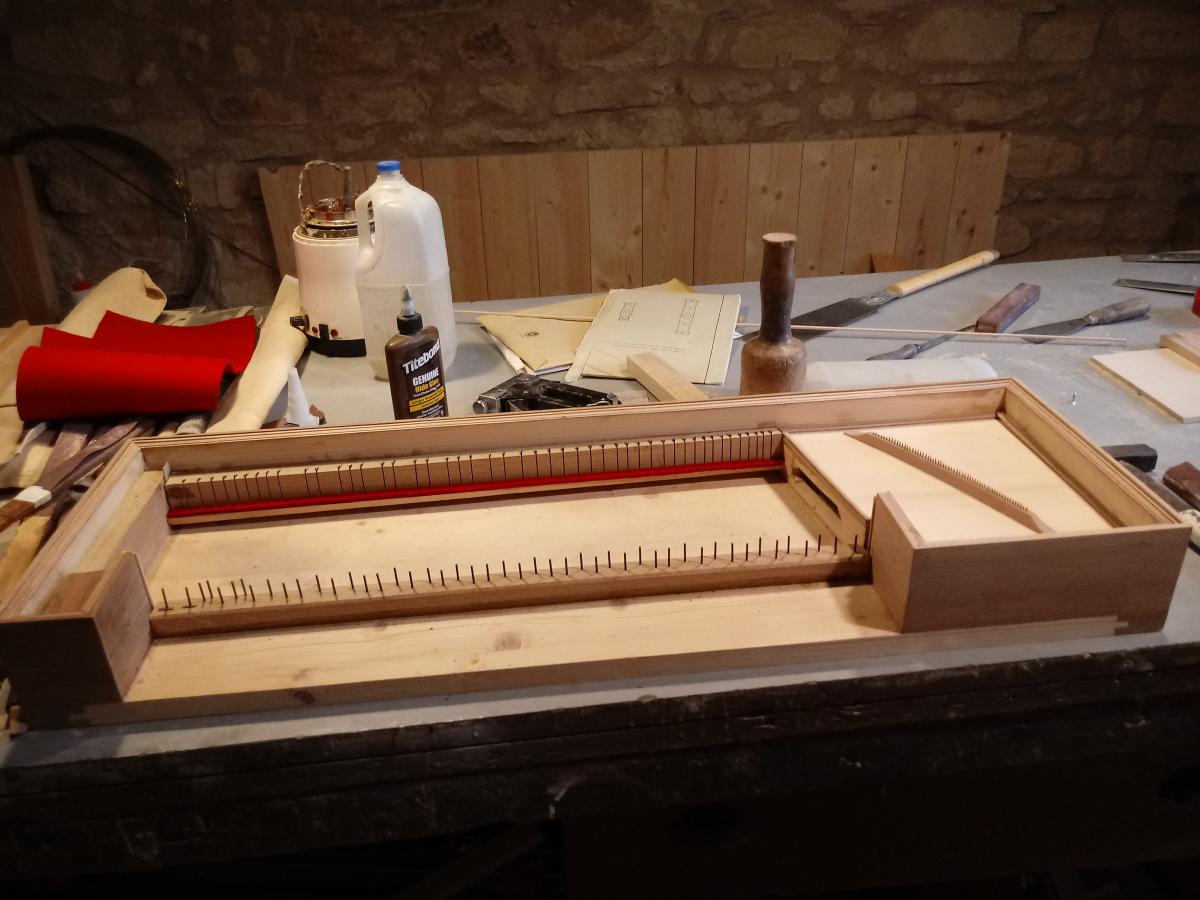
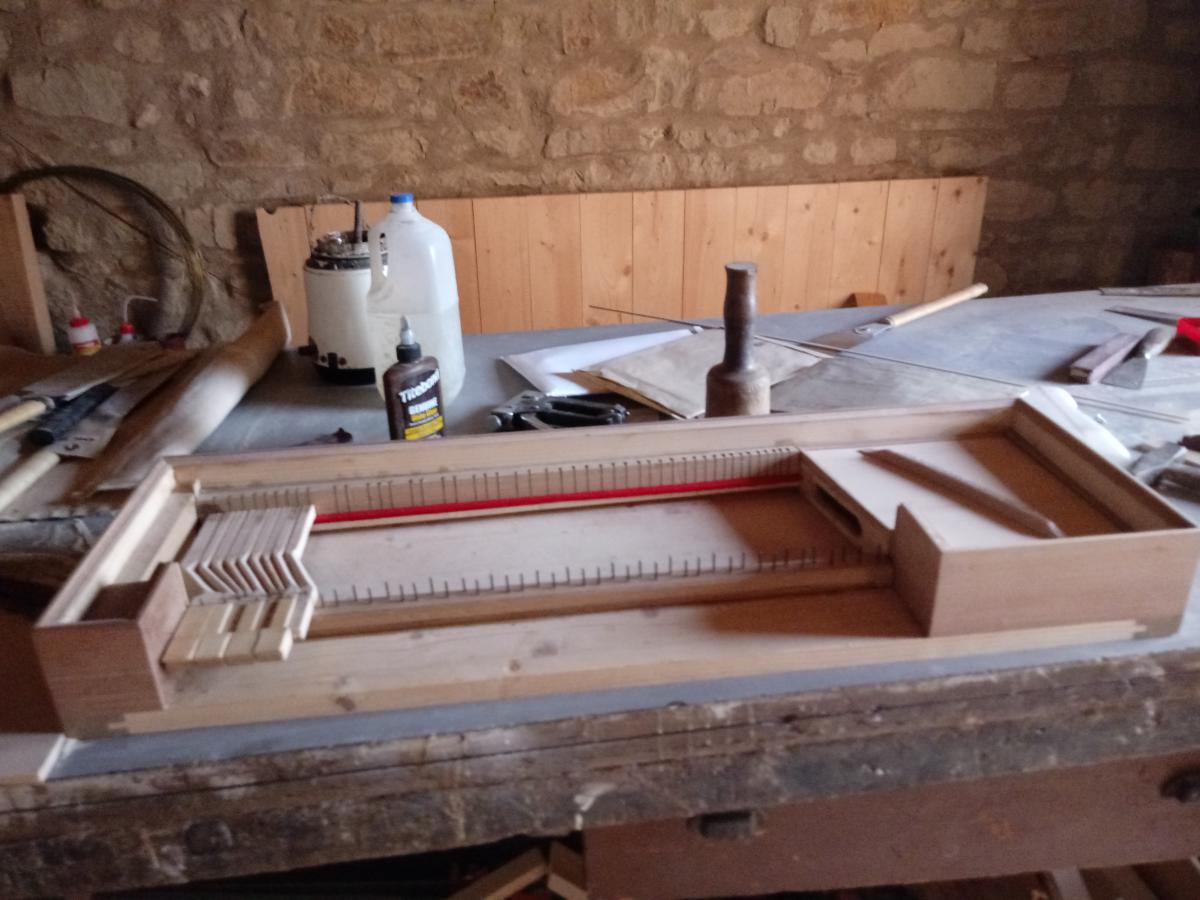
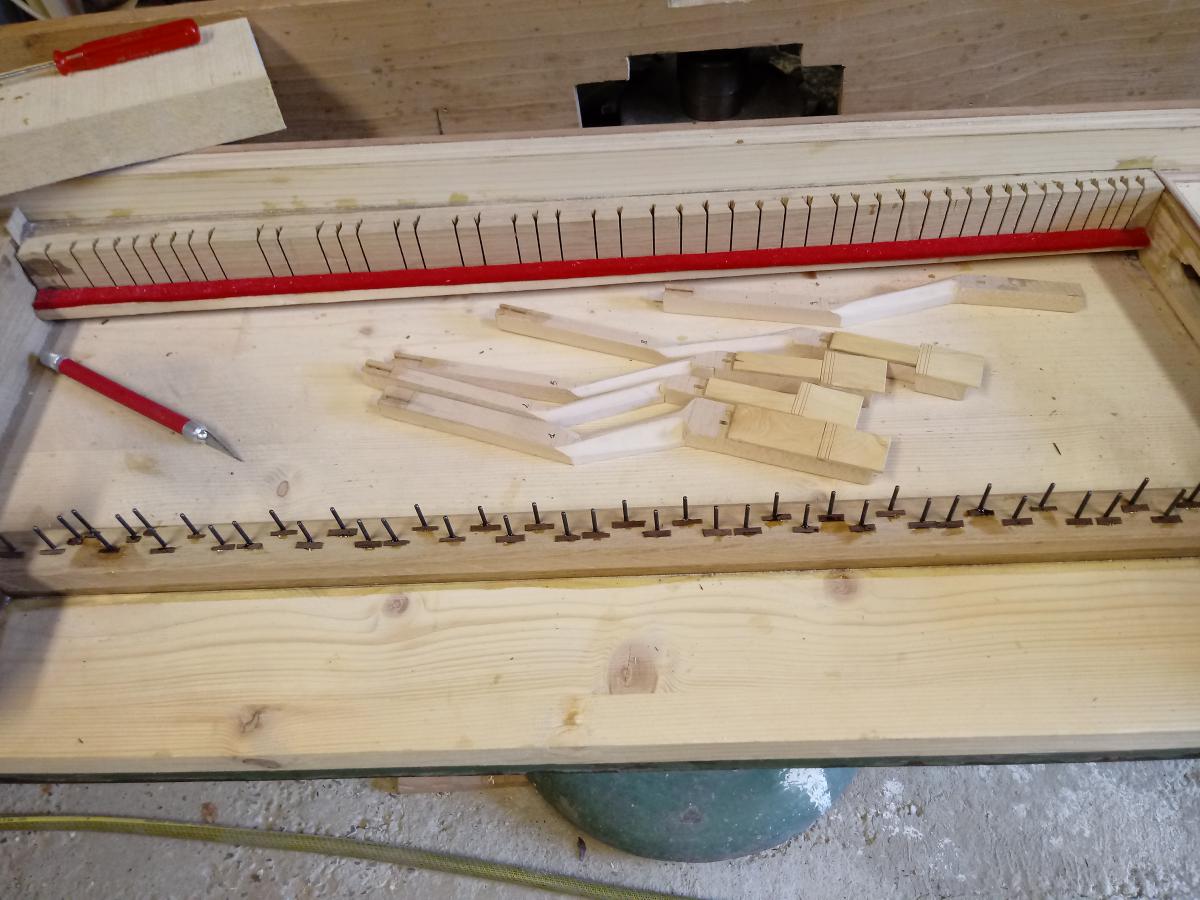
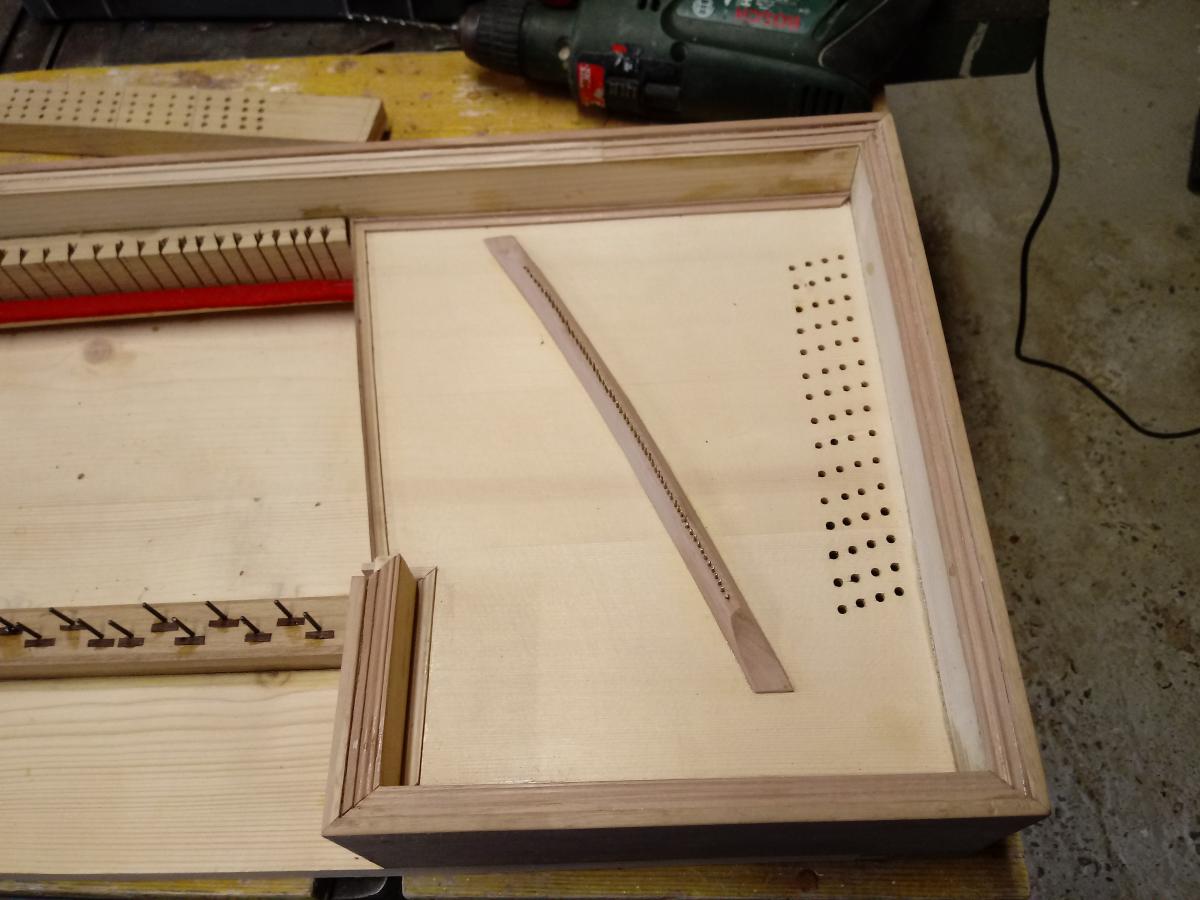
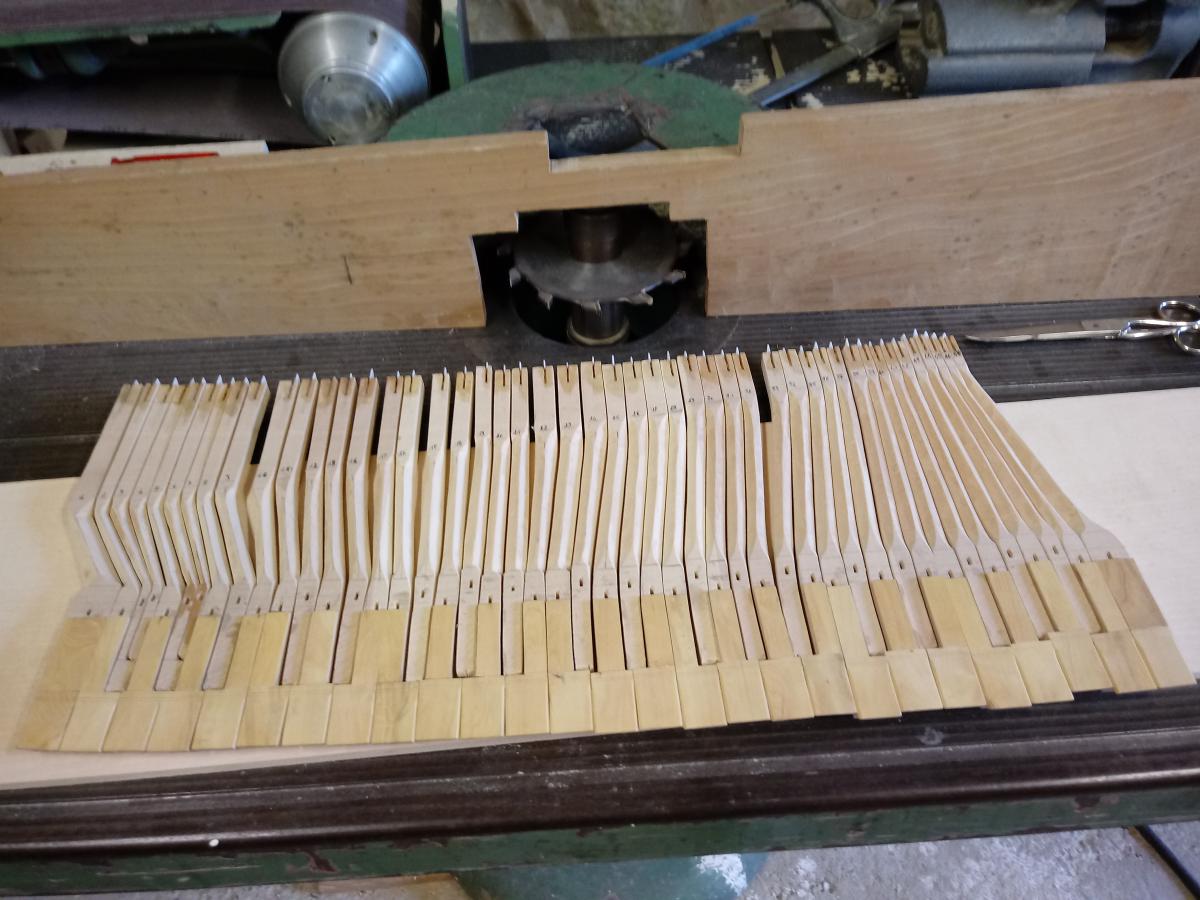
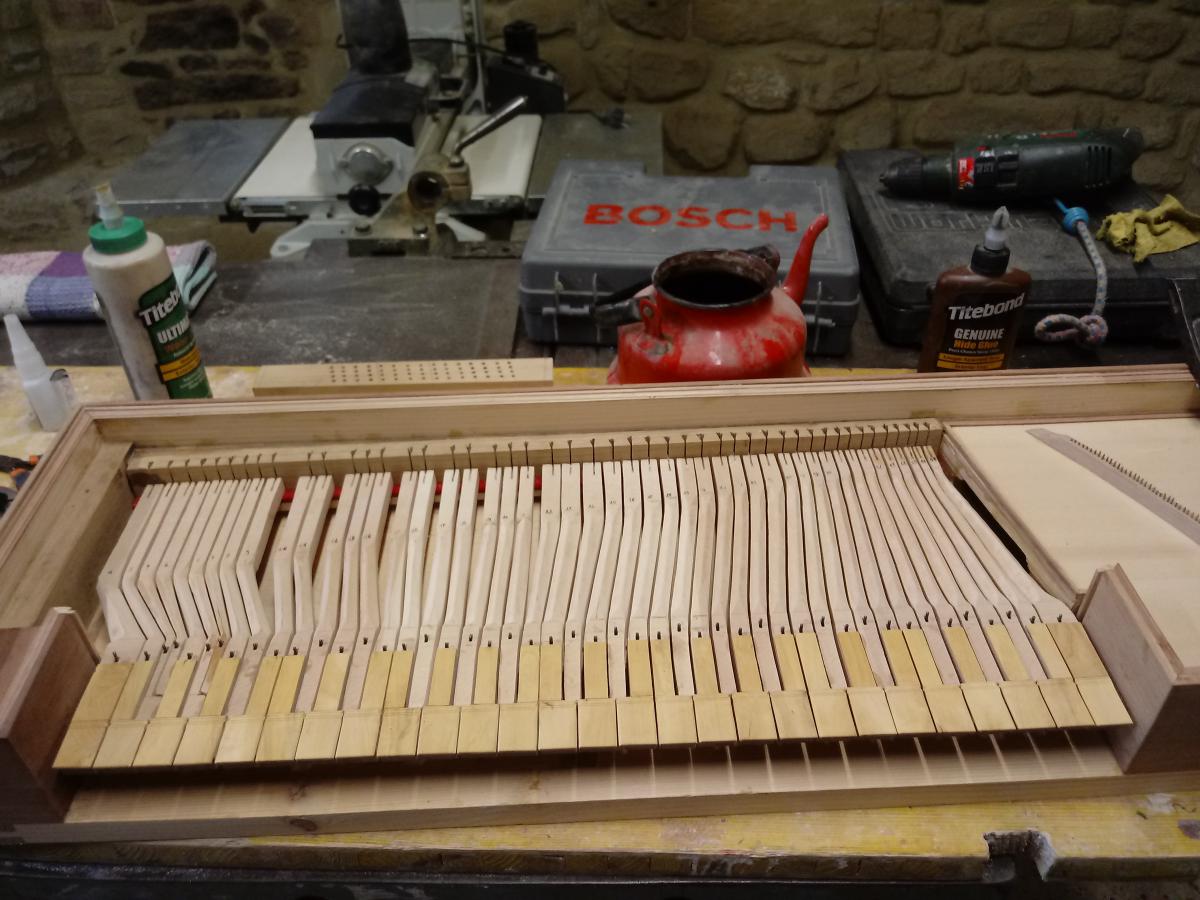
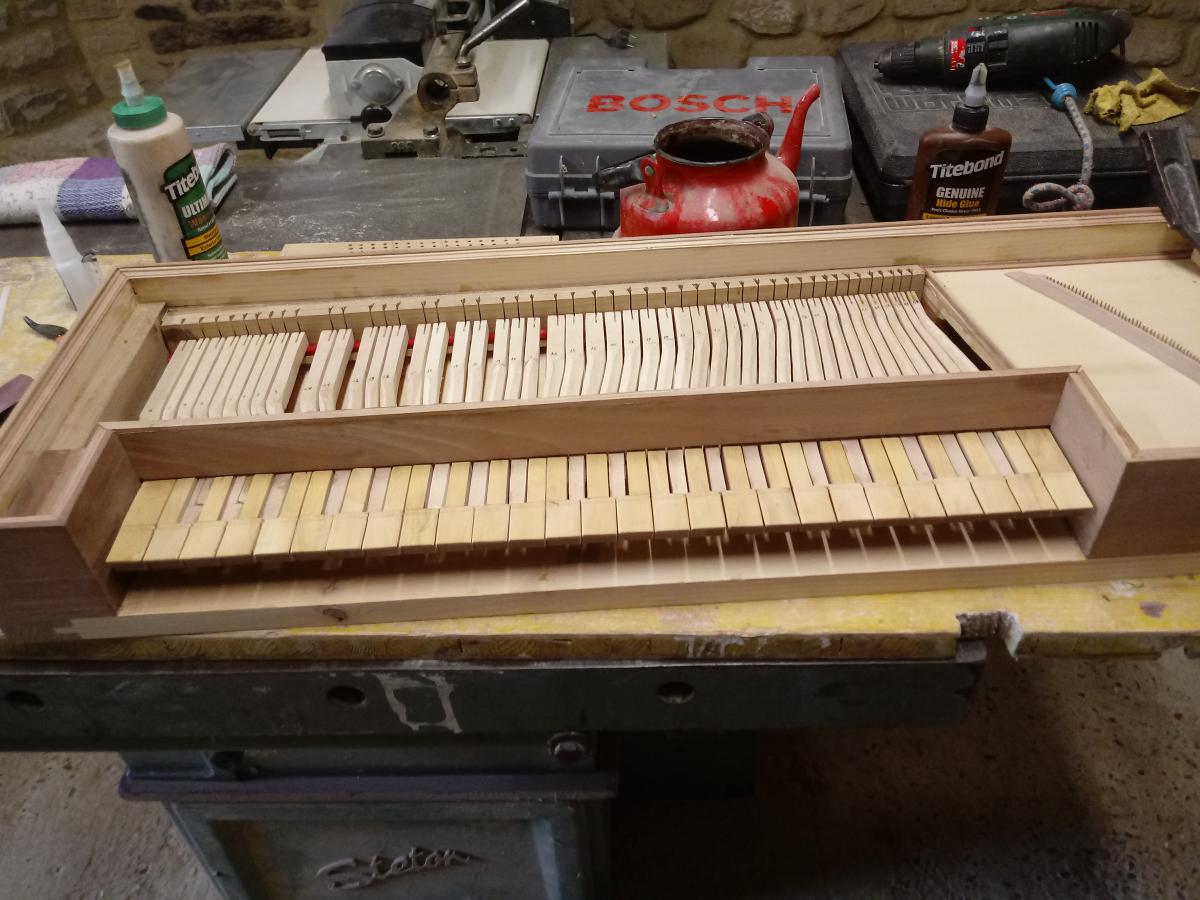
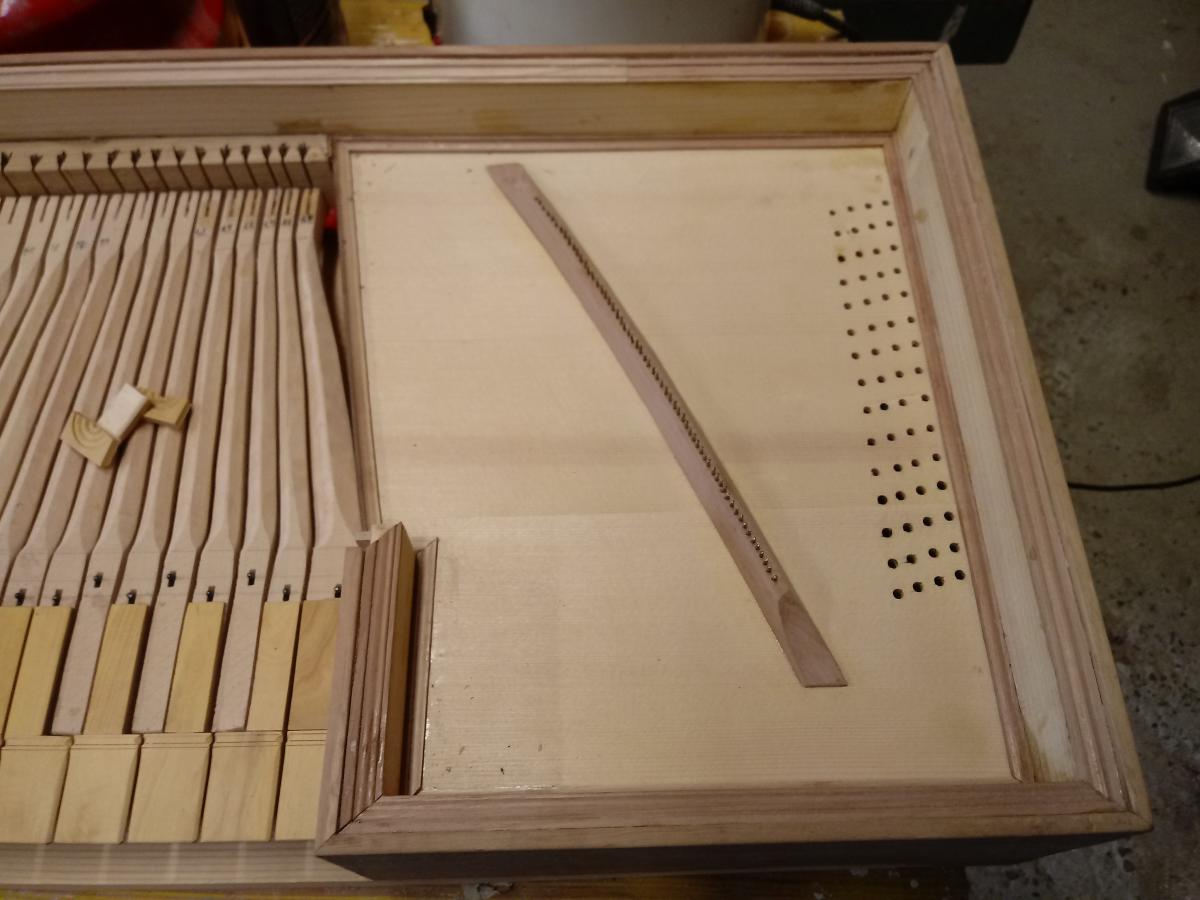
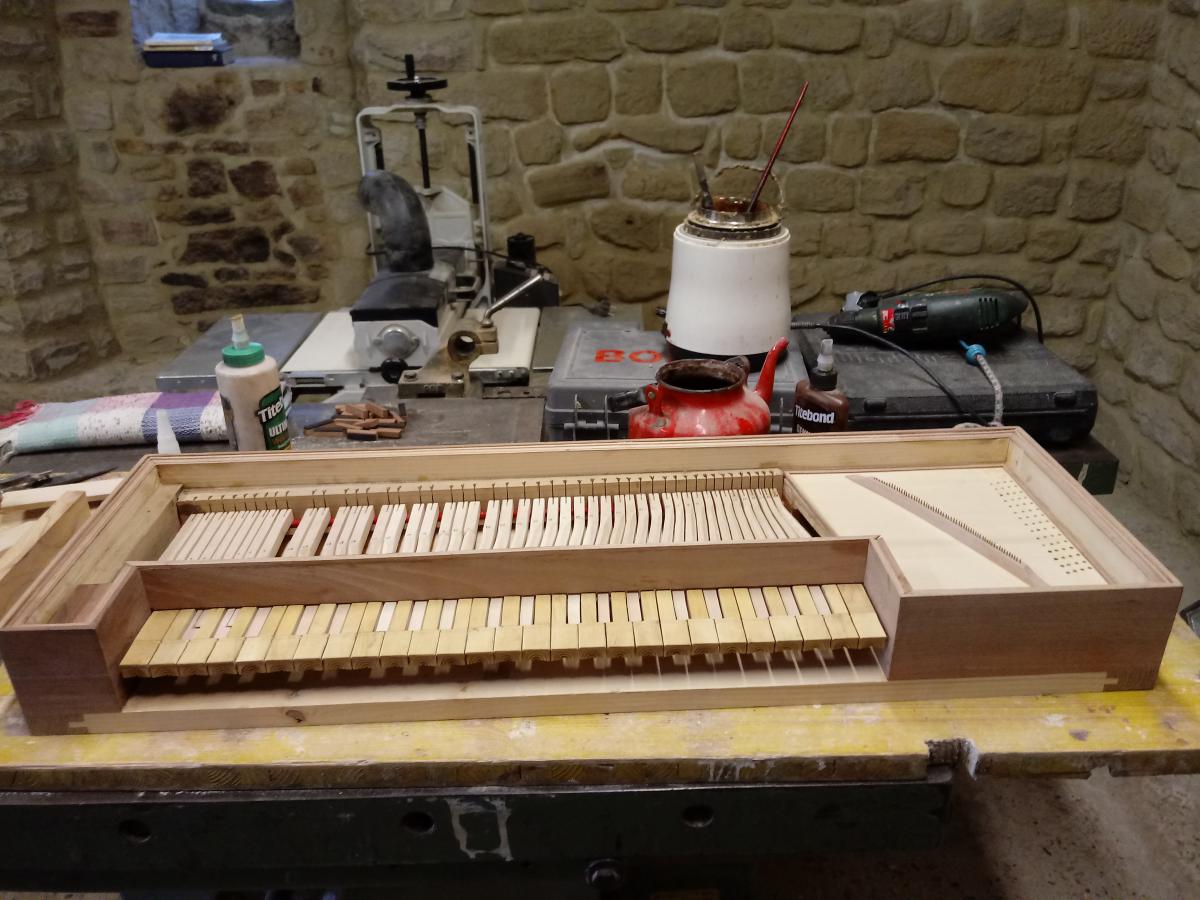
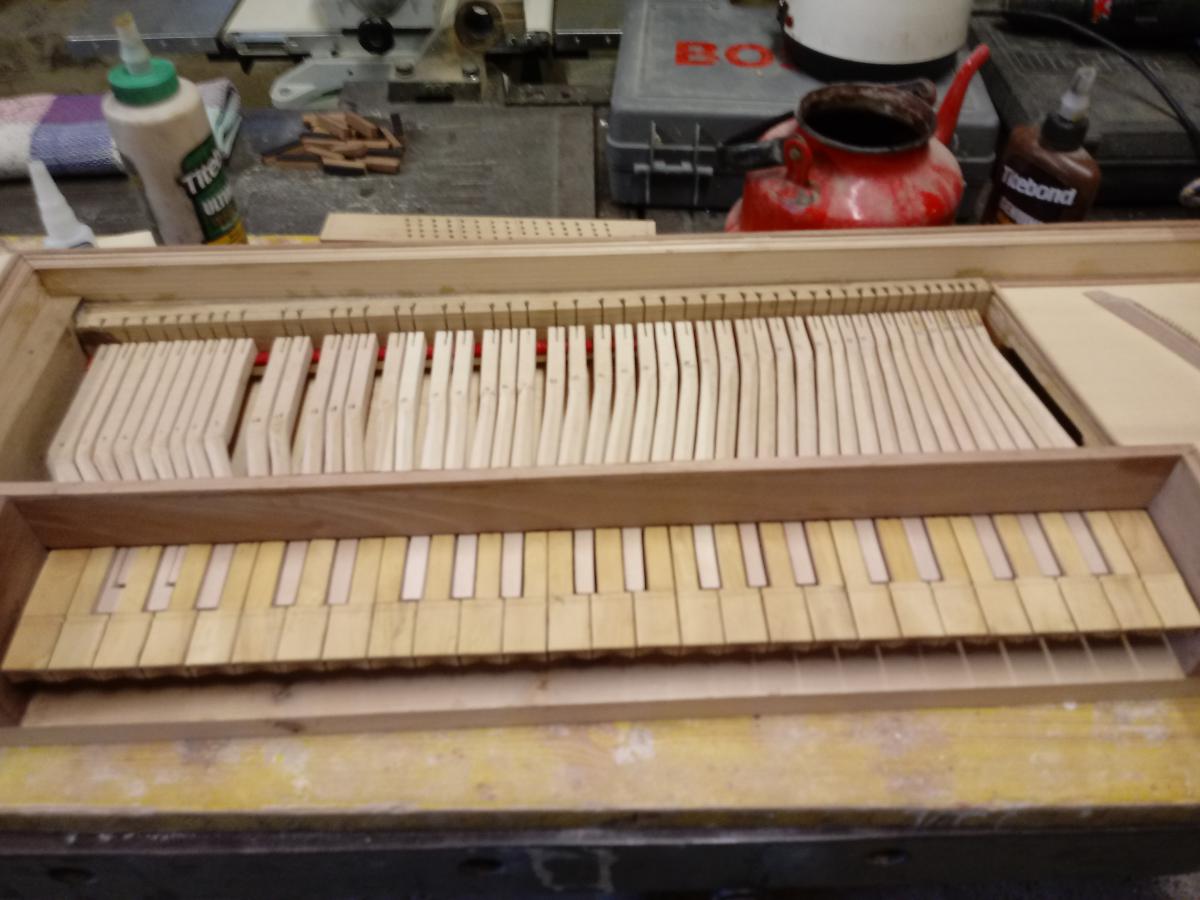
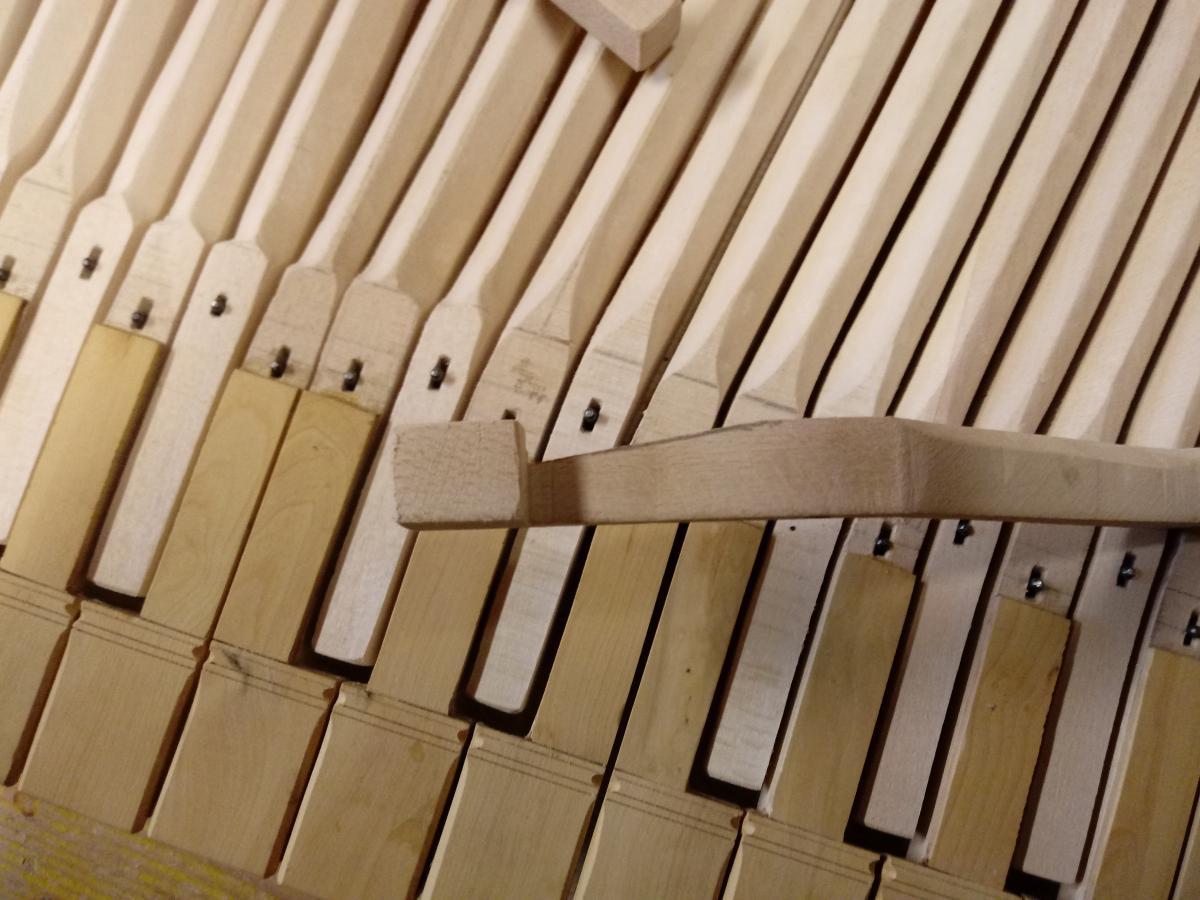
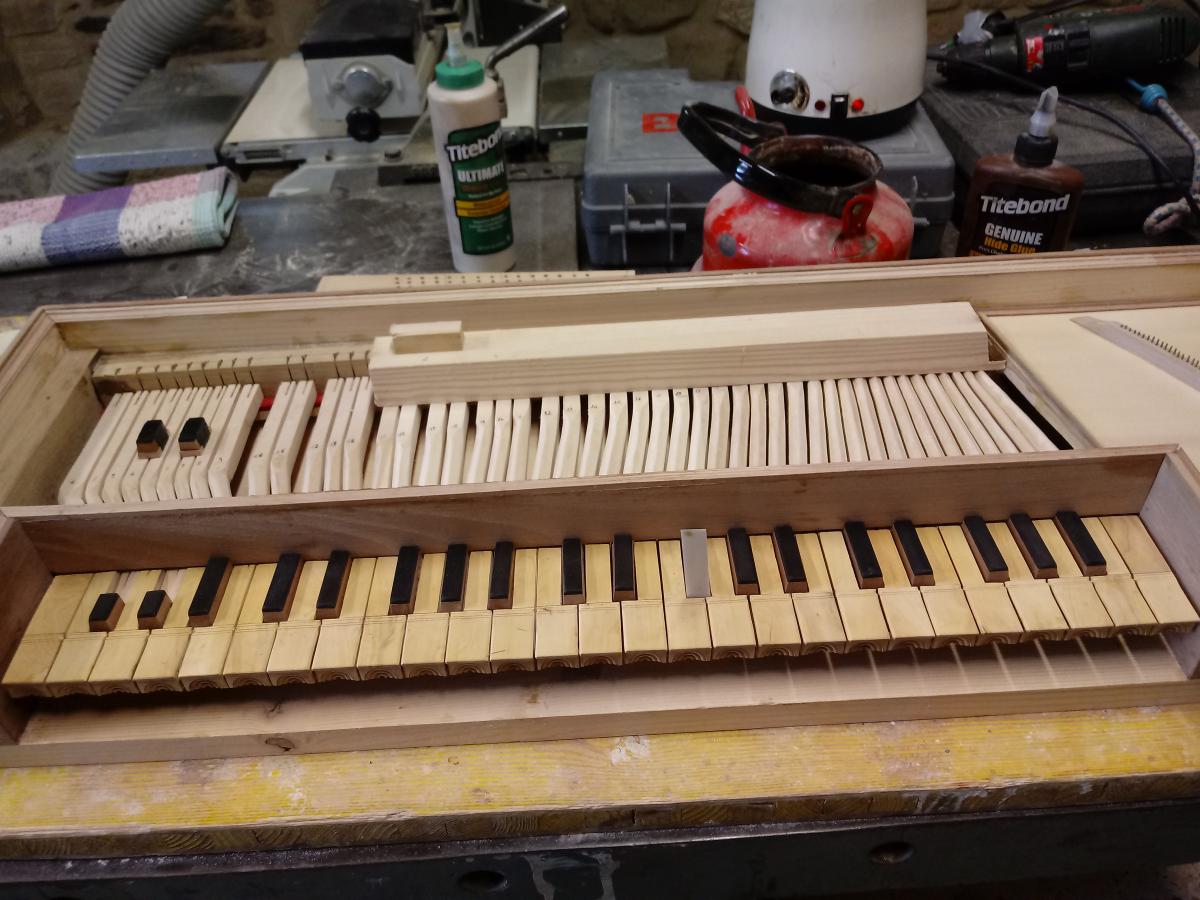
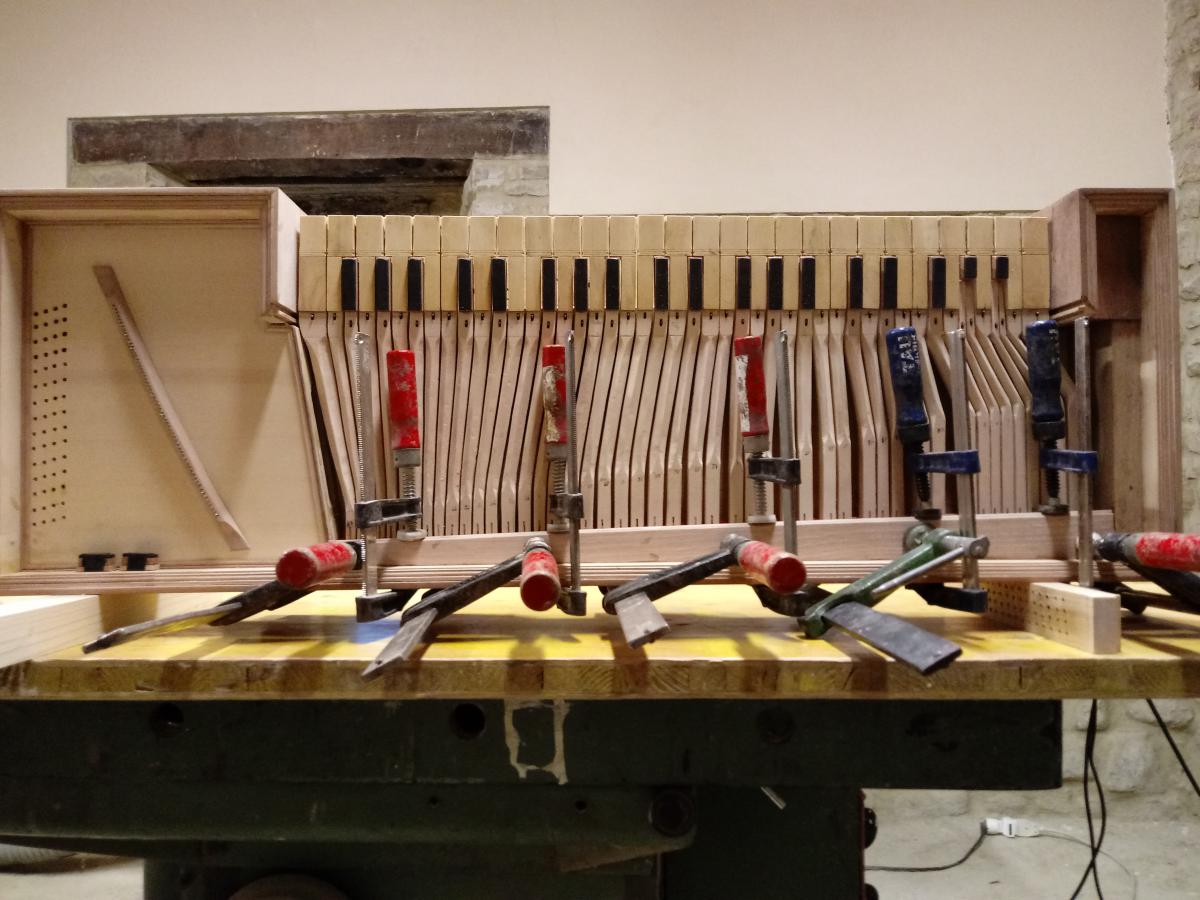
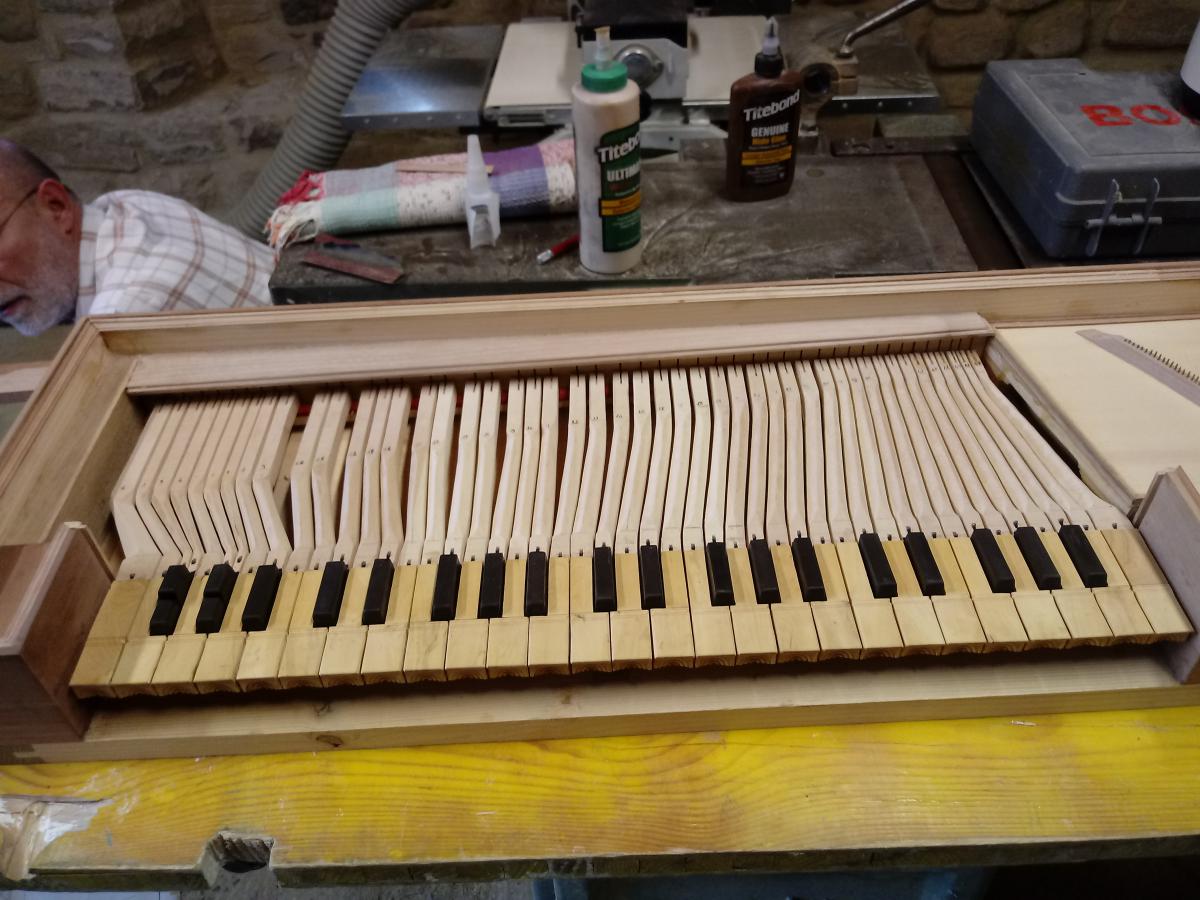
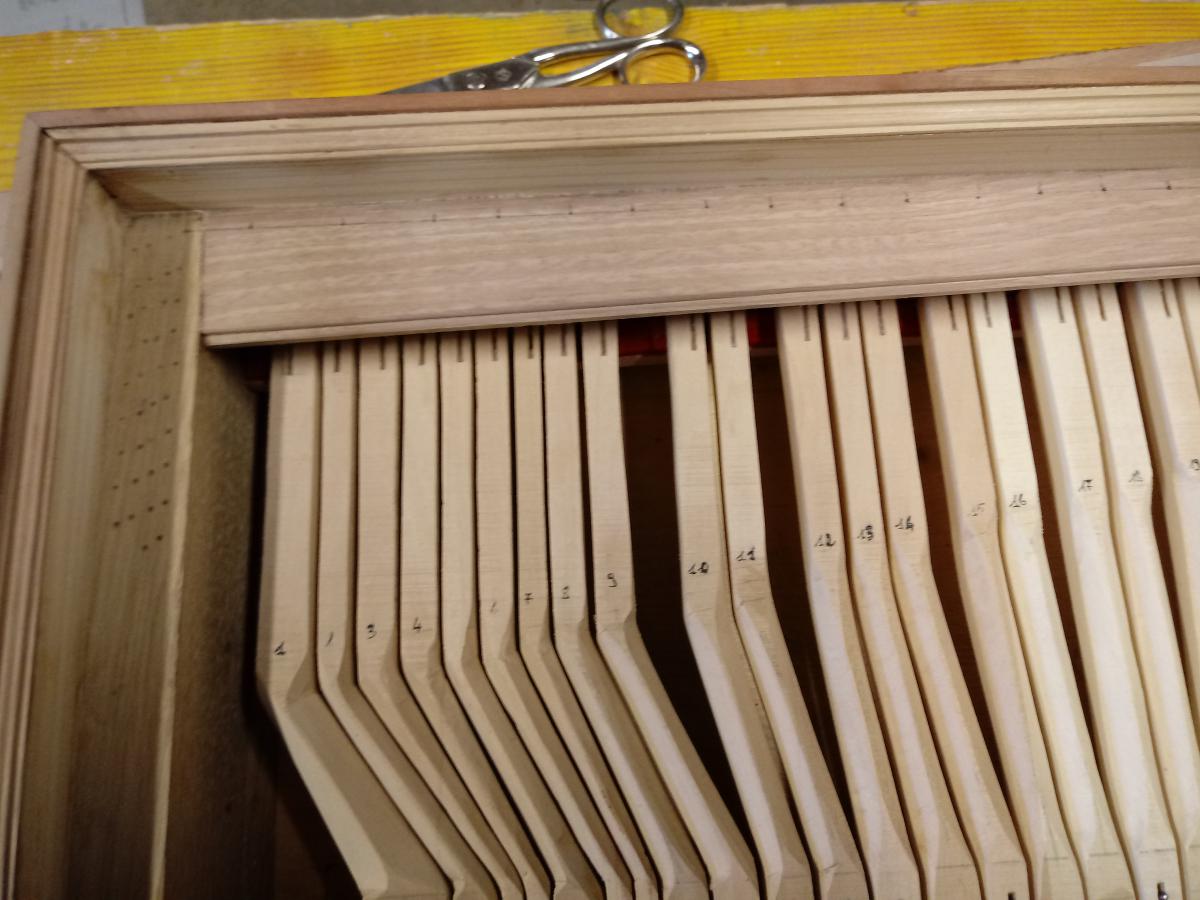
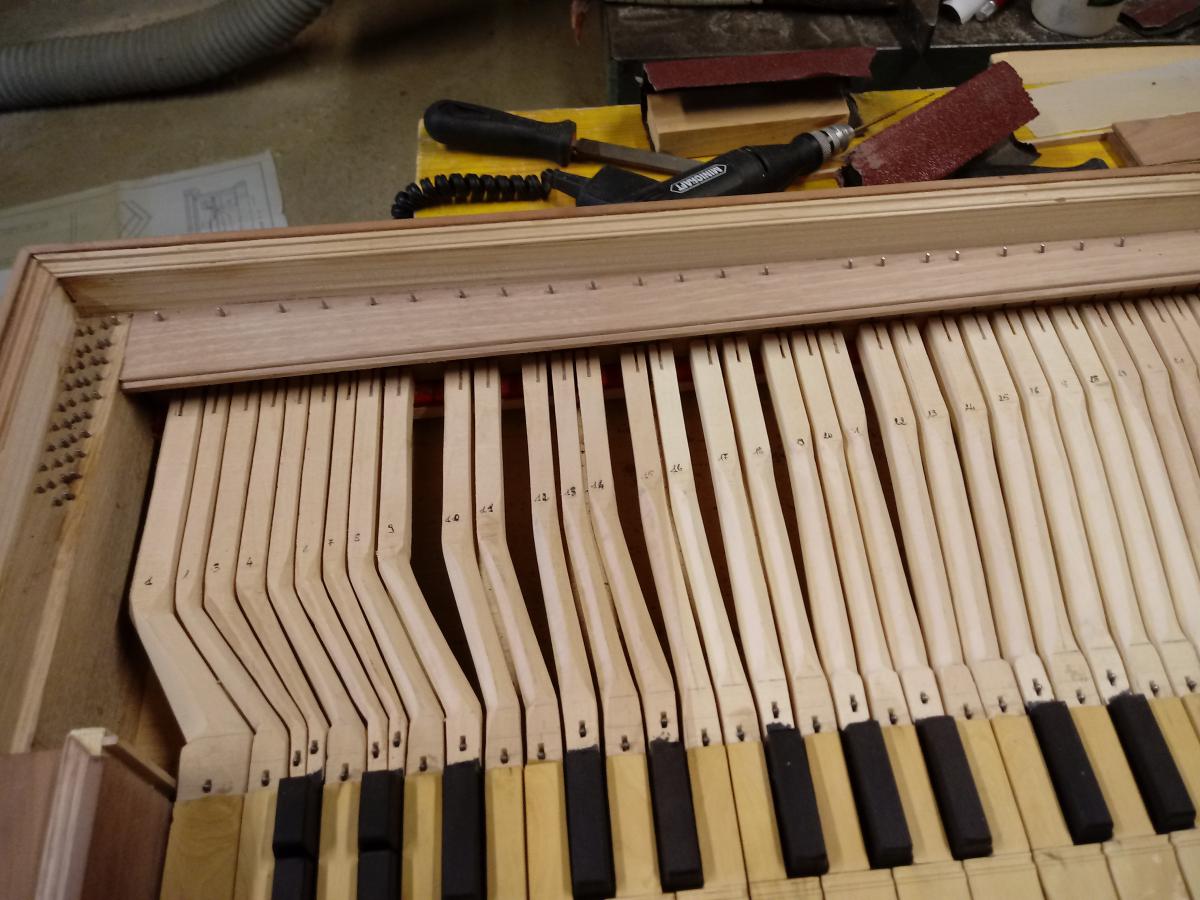
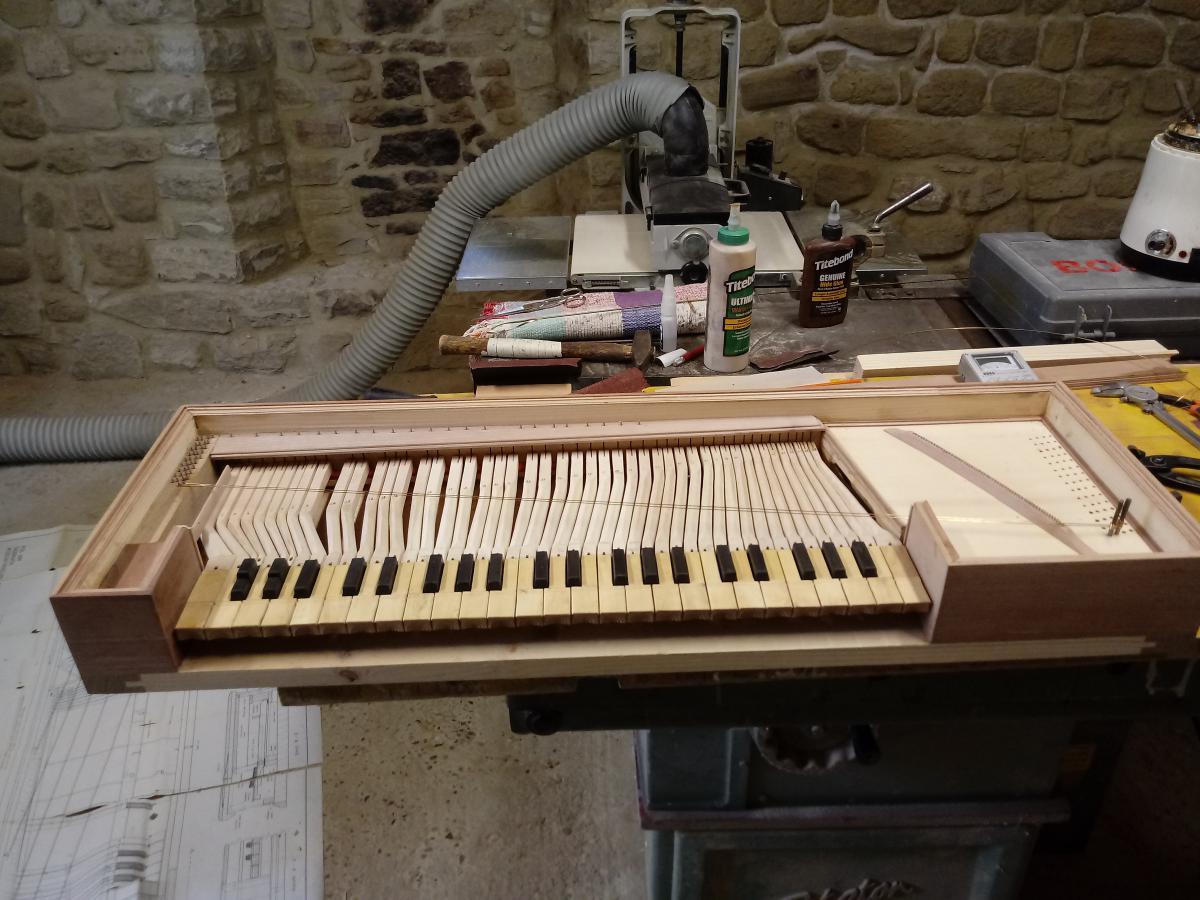
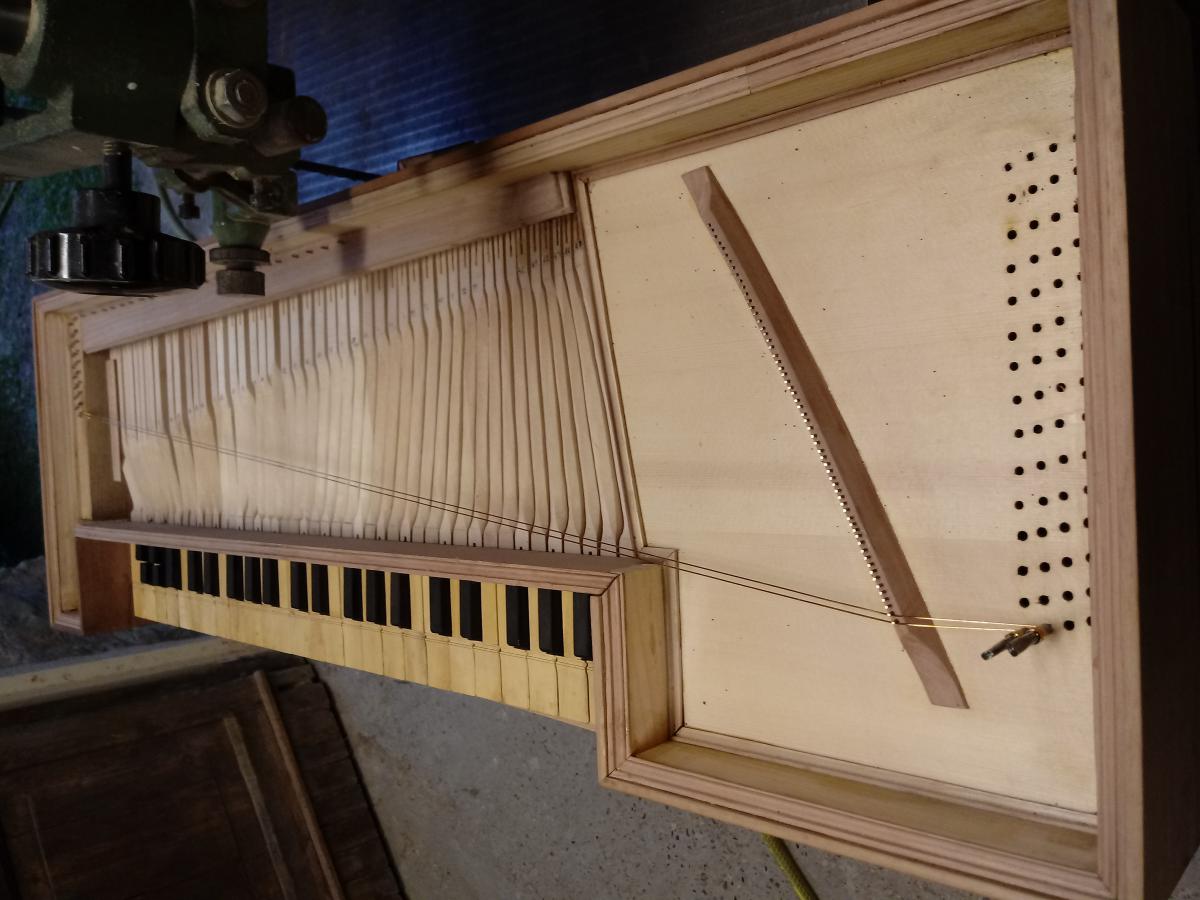
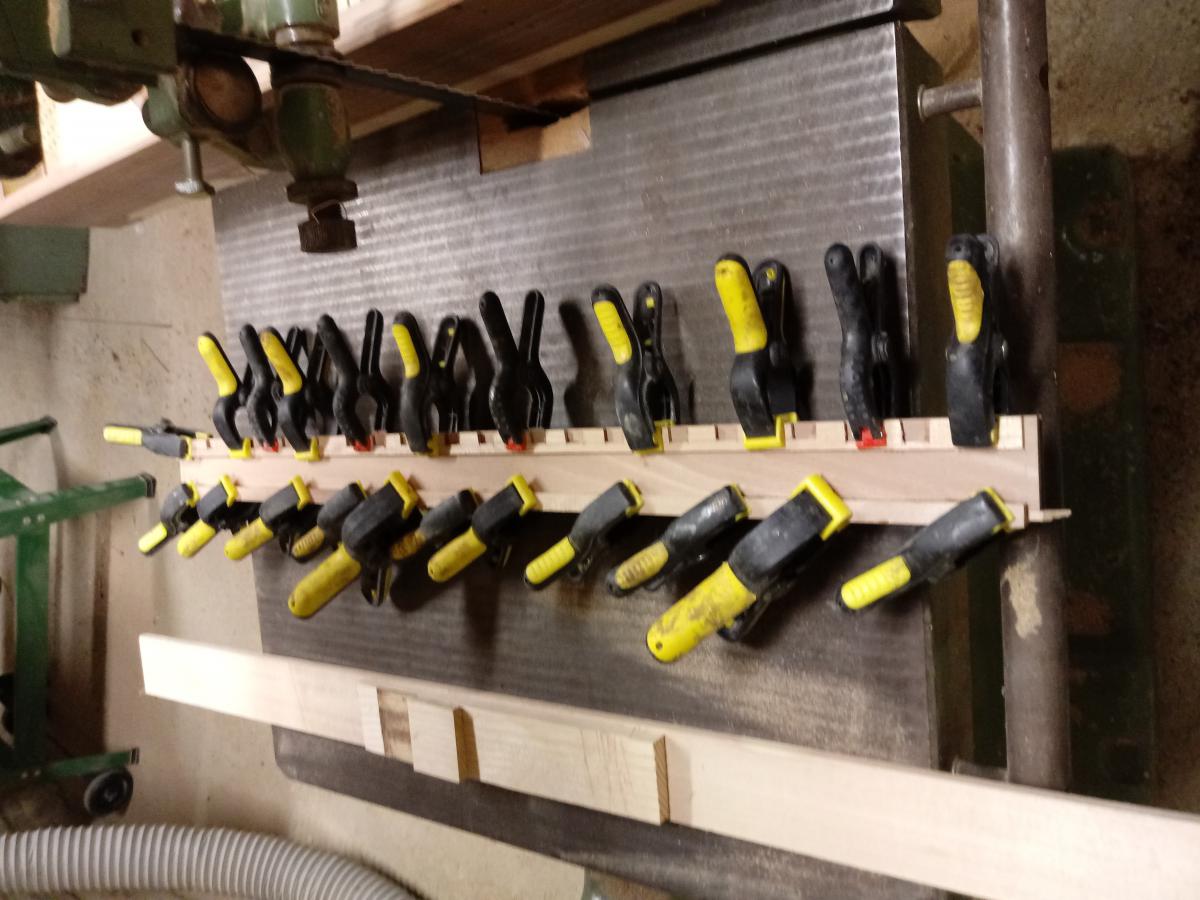
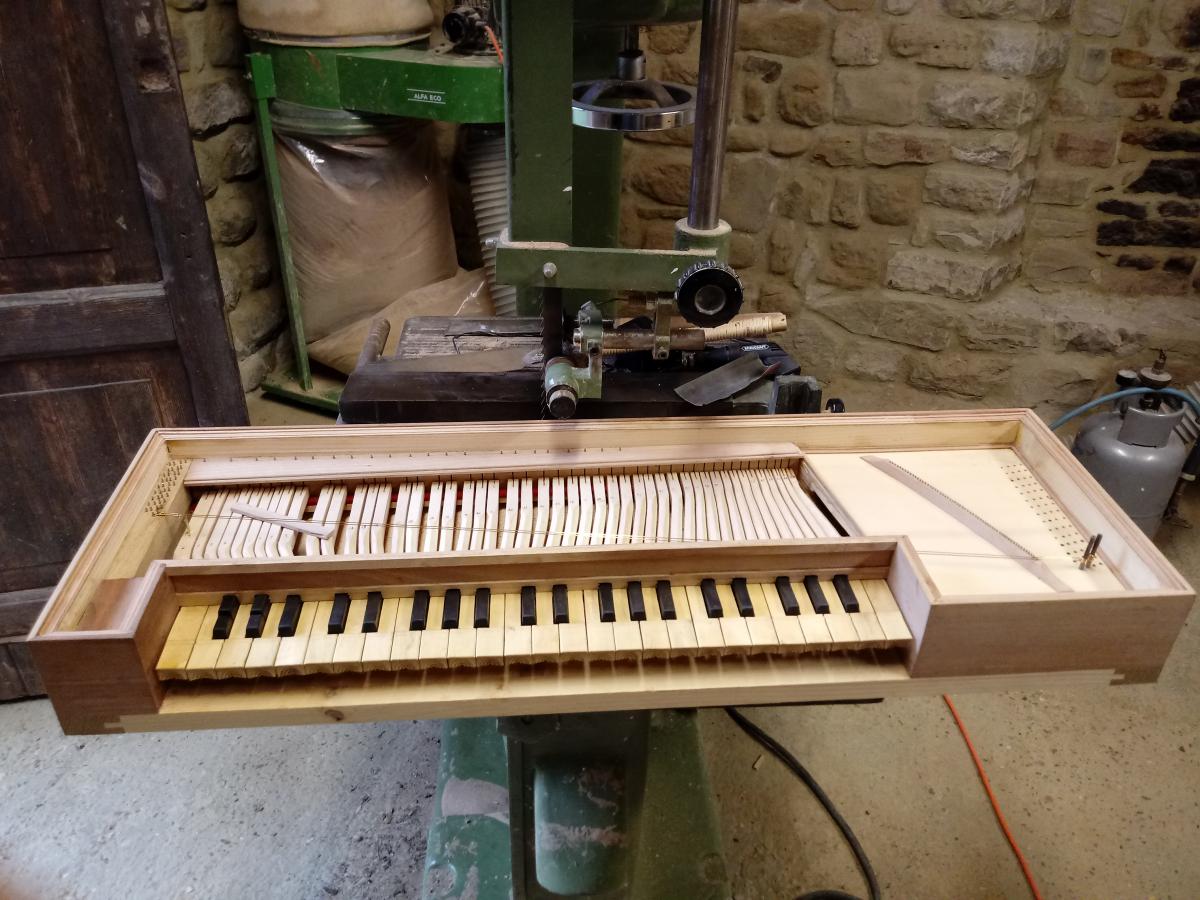
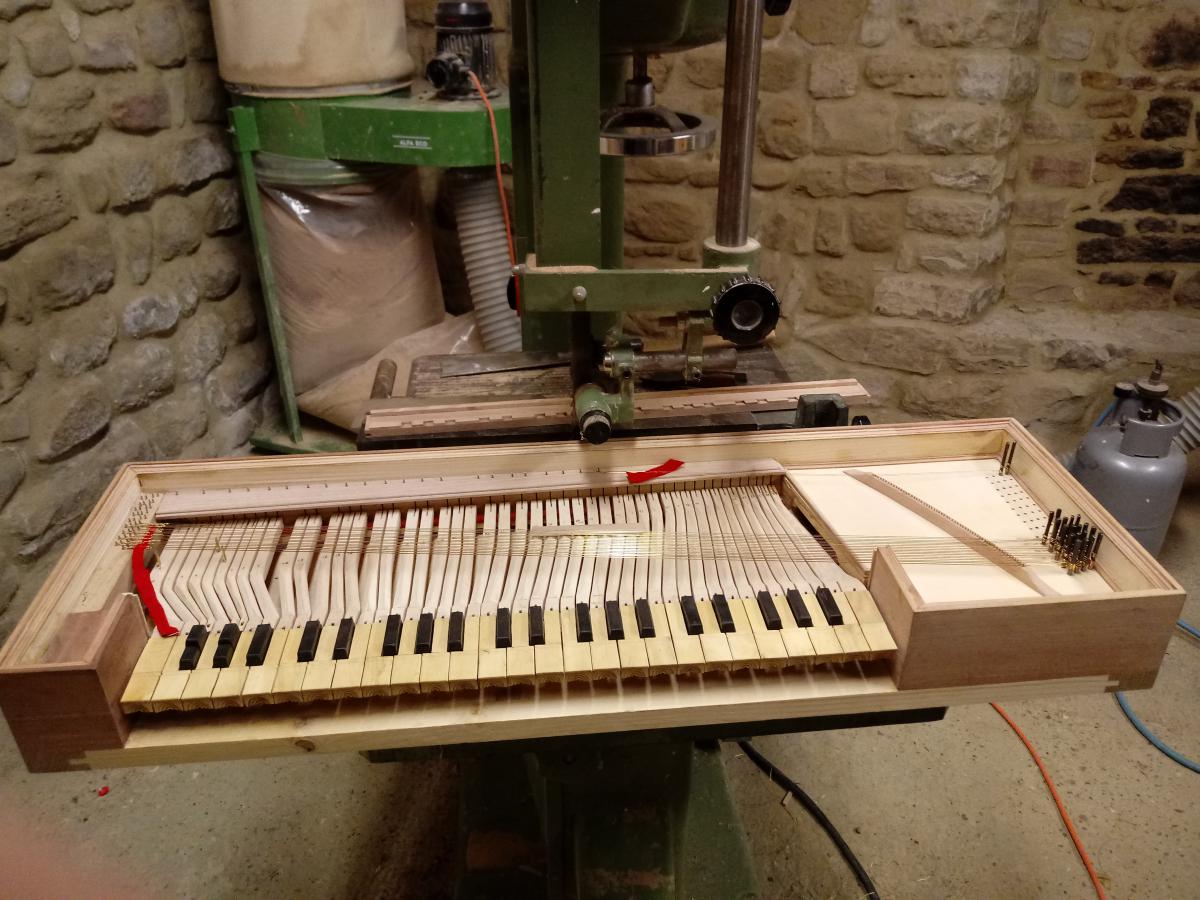
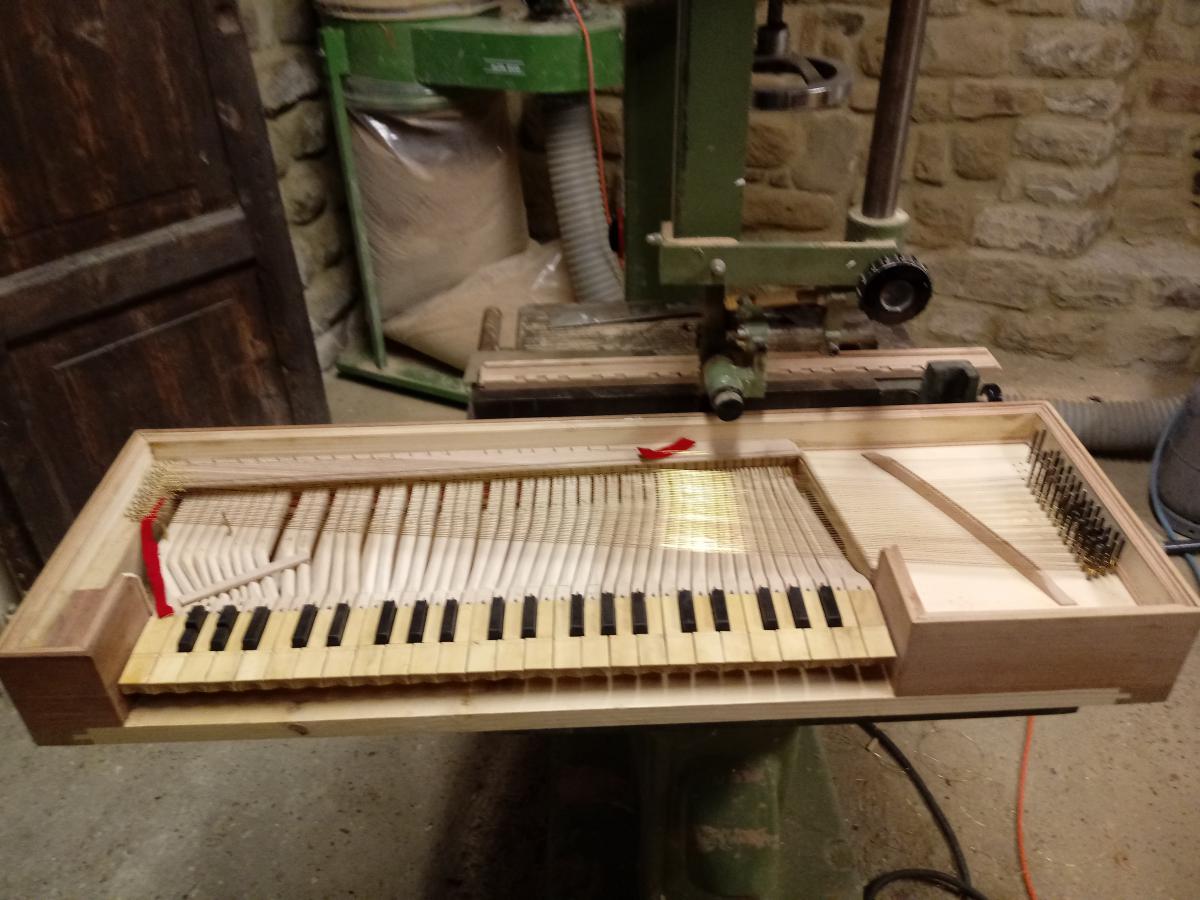
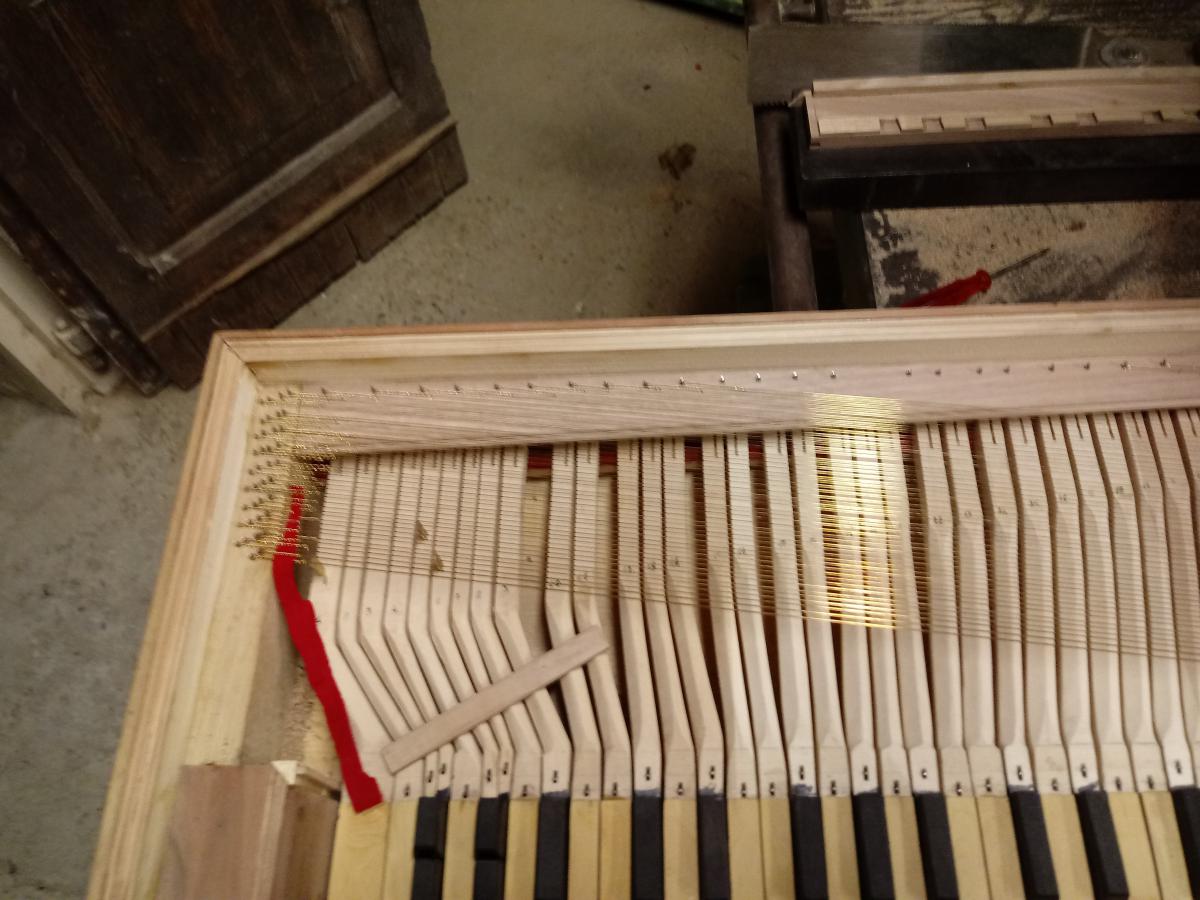
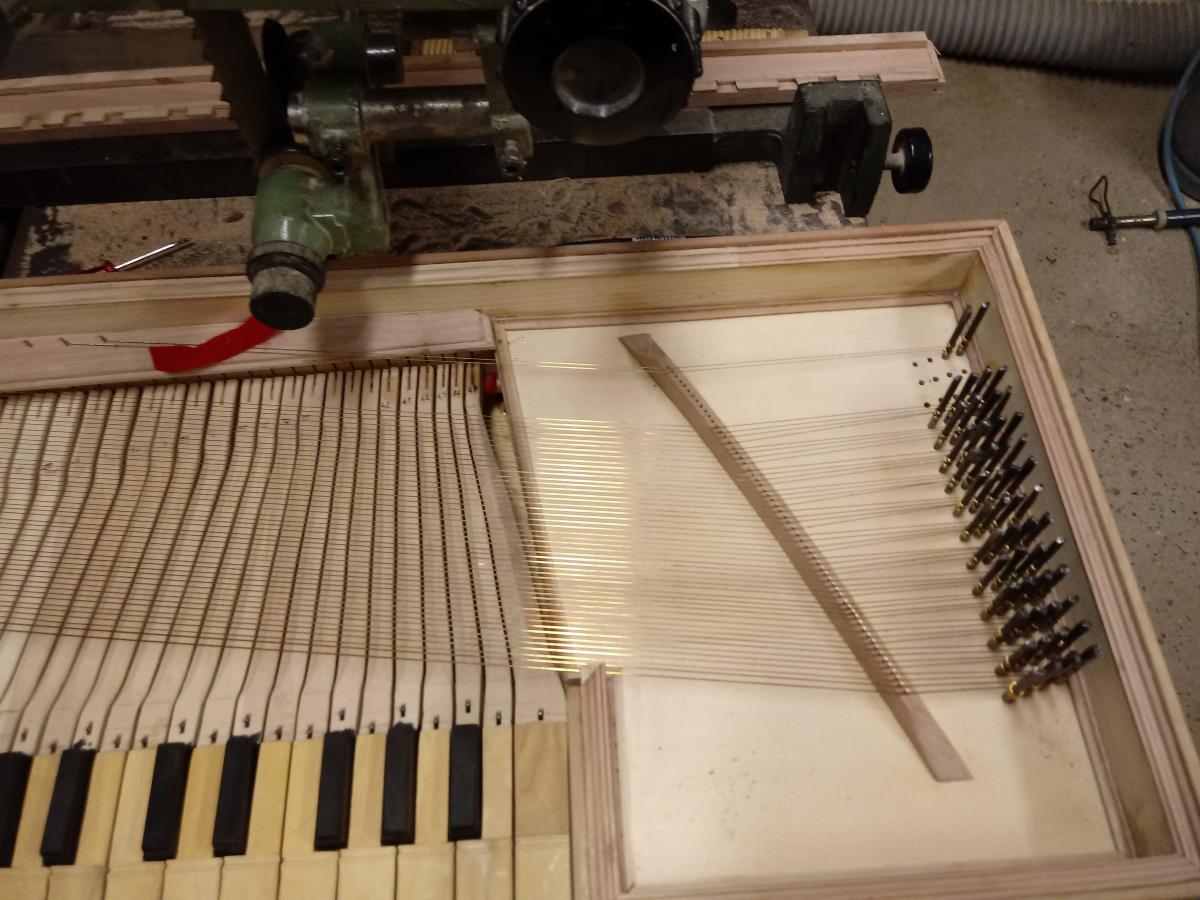
New update: since the plates were long, I sawed them and then sanded them all, cleaned the area where the front panels will go from the glue, then I cut all the keys, a still coarse cut, they will all need to be sanded and polished later, and placed the pins on the bar under the keyboard; tomorrow I will glue it together with the fringe.
Another update, a small setback: I realized I cut the thinnest fimbria thinner than intended, but since I had to cut the treble part anyway because it was too thick, I used the cut to thicken the bass one. Tomorrow I will sand it and glue that one and the pin attack list.
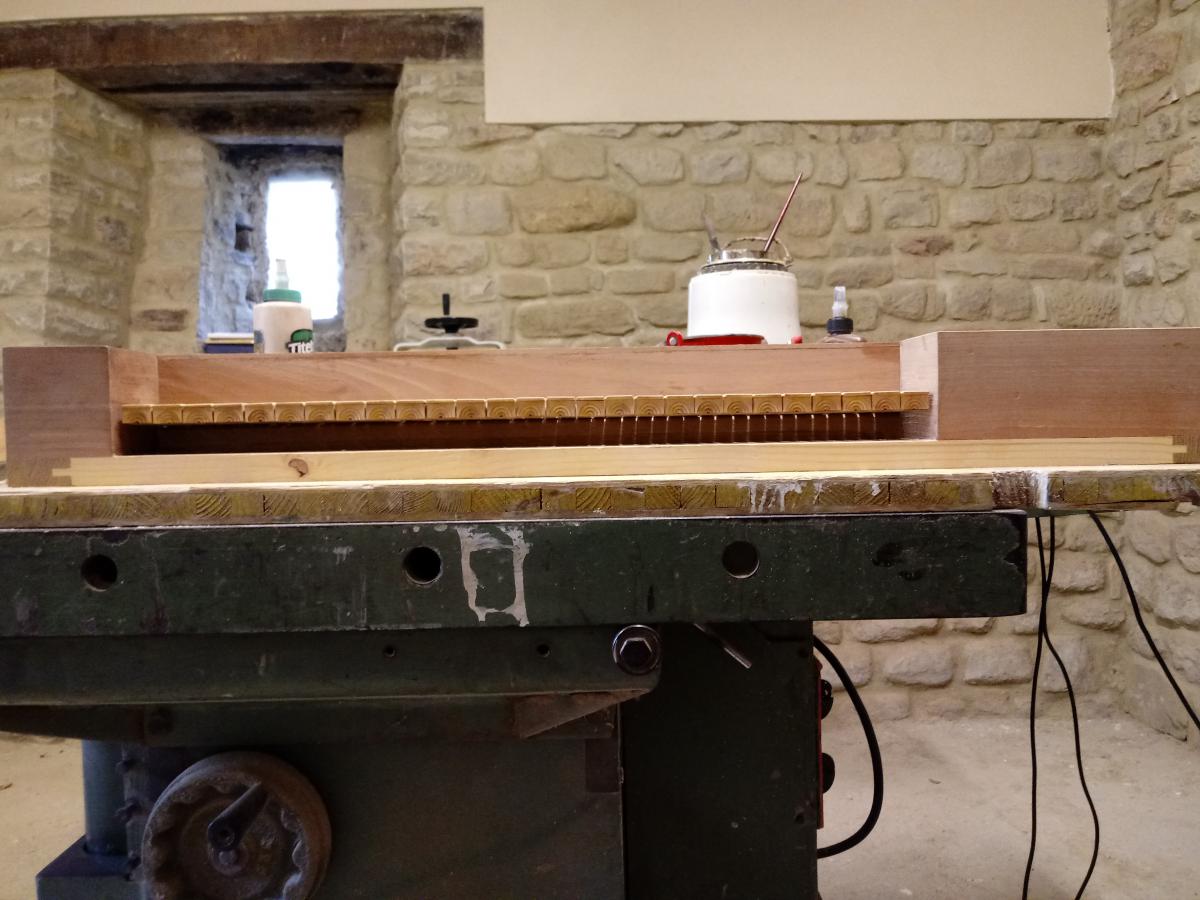
I have started sanding the keyboard and removing the excess wood protruding from the boxwood, and I also made a tapered test key; it can be done very well even with a simple chisel. In the coming days' work, I will remove the excess lime wood with saws and chisels, sand all the keys one by one (as a band saw leaves marks), and taper all the other keys, which also need to be narrowed (they weren't much on the drawing and are therefore wider than the others since I didn't have reference lines between the keys) and then I must hollow out the lime wood under the plate where the finger rests, so that it lightens it and the key returns more easily when pressed.
Latest weekly update: I have pasted both the fringe and the list with the pins for the keyboard and continue working on the keyboard itself, I am tapering all the keys, there is a lot of work to do with the chisel and then at the end of the work on the entire keyboard it will all be hand-sanded with sandpaper.
New update: to give the keys a minimum amount of play, we are adding a series of small shims of about 1mm attached to the pins. In addition to this, we have finished tapering all the levers and I have started sanding them by hand with sandpaper, and I have placed the thin strips that go in the fimbria on the first 6-7 keys (I haven't touched the two broken keys for now) and I have put a strip of cloth on the base where the fimbria rests so as not to make noise when the keys fall back.
Meanwhile, all holes in the levers must be countersunk; in harpsichords they are countersunk at the bottom, in clavichords at the top, and the thin strips must all be thinned down and adjusted one by one to see how the key functions.
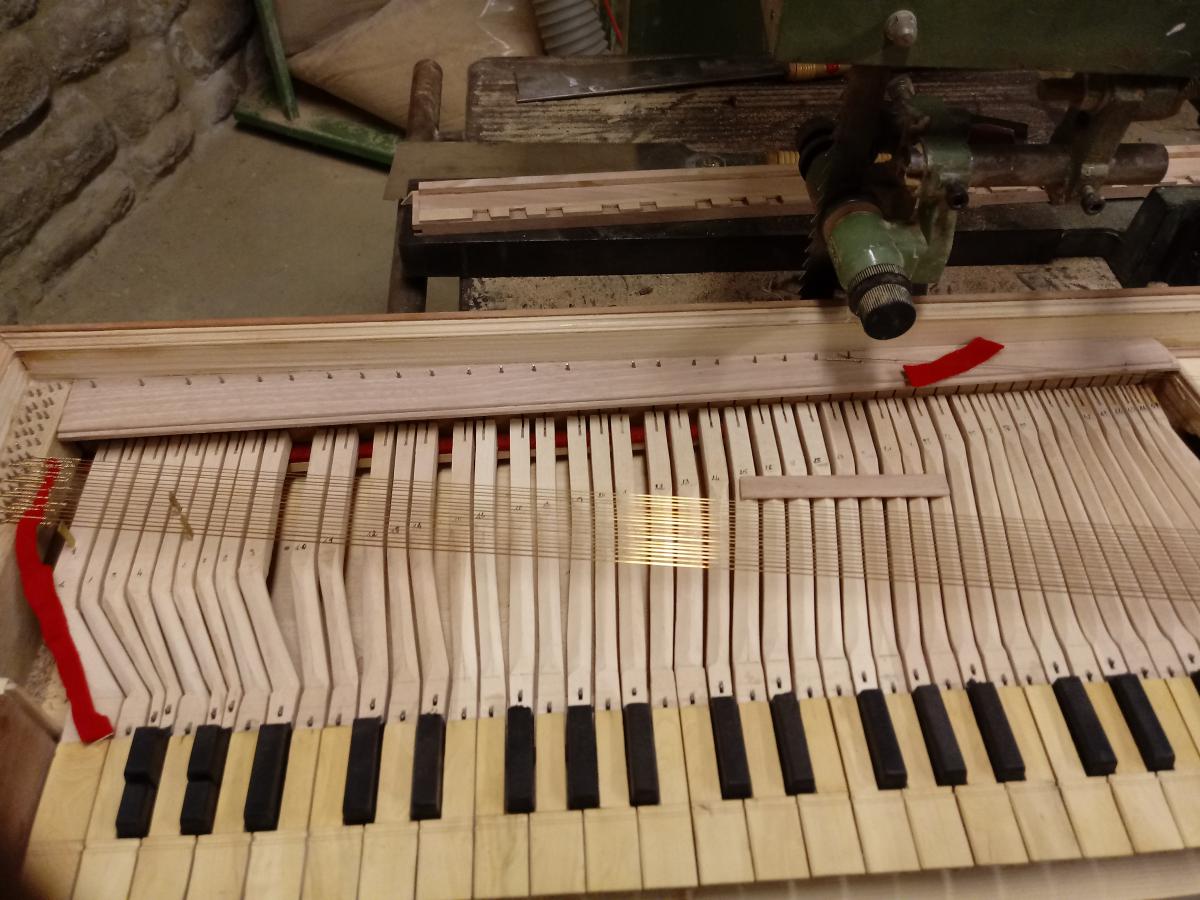
New short update: I have finished sanding almost all the keys (the 4 broken ones are missing) I have started putting in the tabs, I am about halfway through and I have bored all the holes for the lever fulcrums, in addition to having separated the 4 levers of the two broken keys; tomorrow I will finish putting in the tabs and sand the 4 newly cut levers.
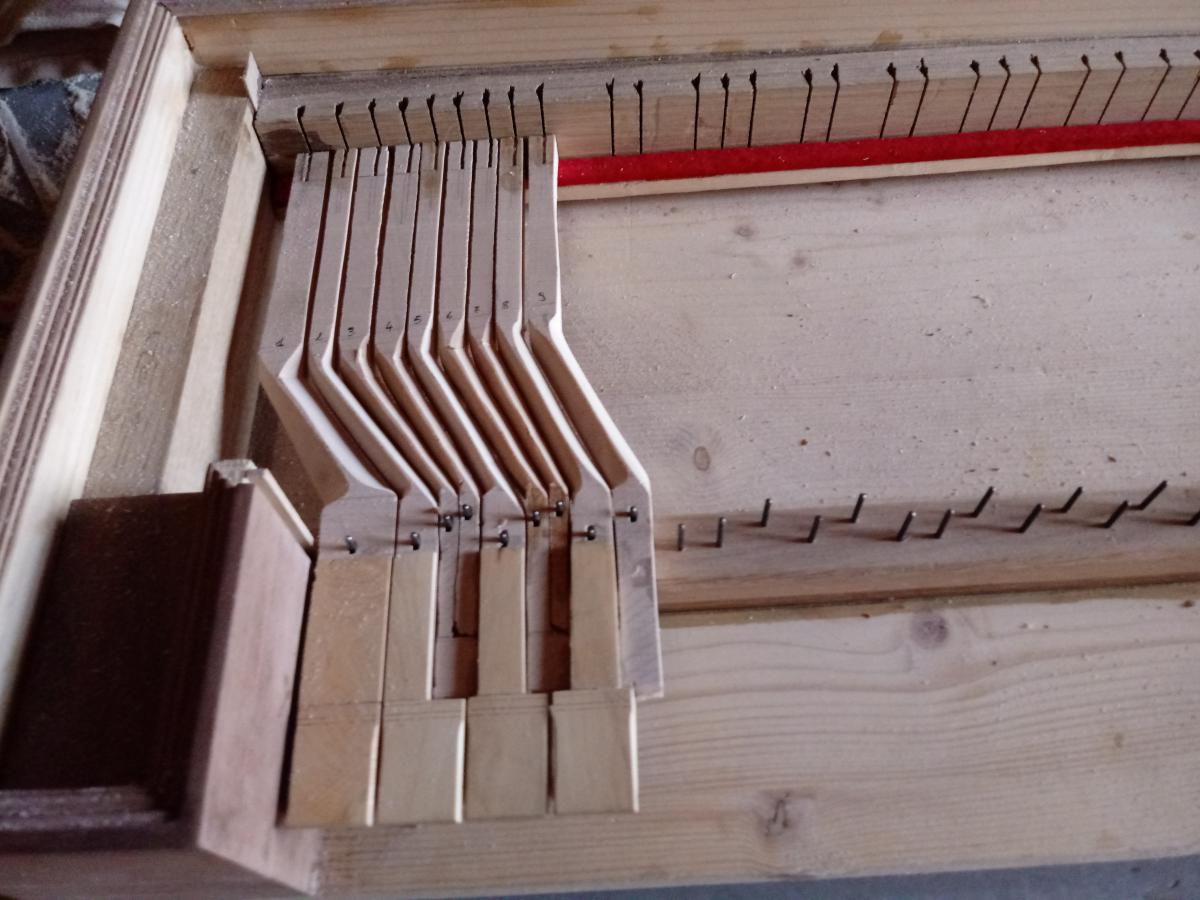
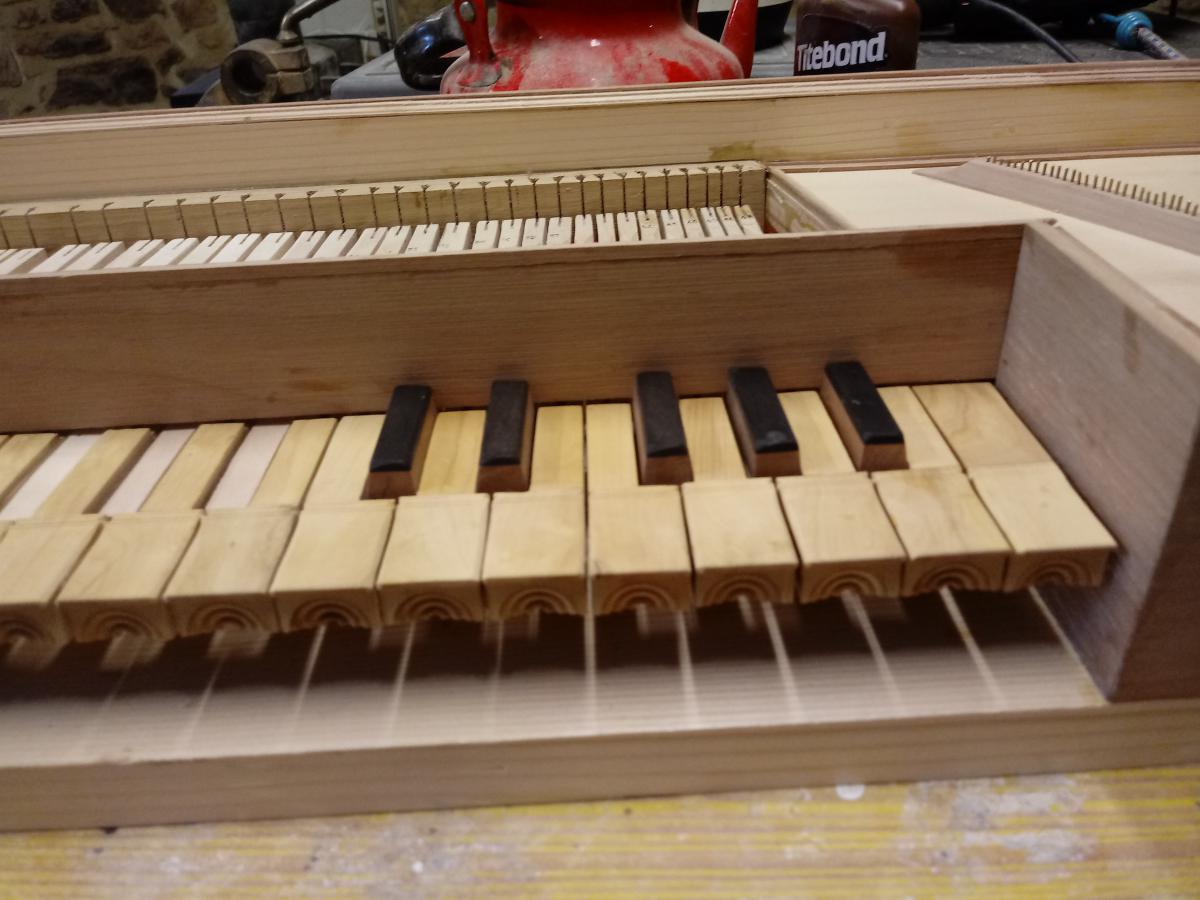
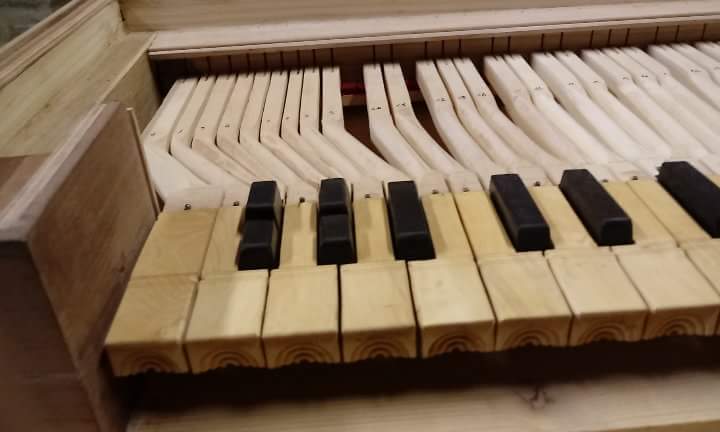
To make a long story short, the first octave that is almost entirely visible in the photo is:
Mi/do fa re/fa# sol mi/sol# la sib si
The proximal part of the first two lowest chromatics plays re and mi, and it is the posterior part that is high like the other chromatics that plays fa# and sol#; the problem is that if the lever itself is about the same width, the part under the key is about half as large... there is barely enough space to drill and countersink.
Tomorrow there will probably also be the start of adjusting the keyboard, which mainly consists of ensuring the key slides well, otherwise the minetta thins out or one must act on the fulcrum pin. Once these things are fixed, I think the final part of the lever can be adjusted (the central ones are larger because in the drawing not all keys were present and I simply divided the spaces in half, and then all the keys must be hollowed out so that they return quickly (the lever becomes much heavier in the posterior part because the rest of the lever is tapered).
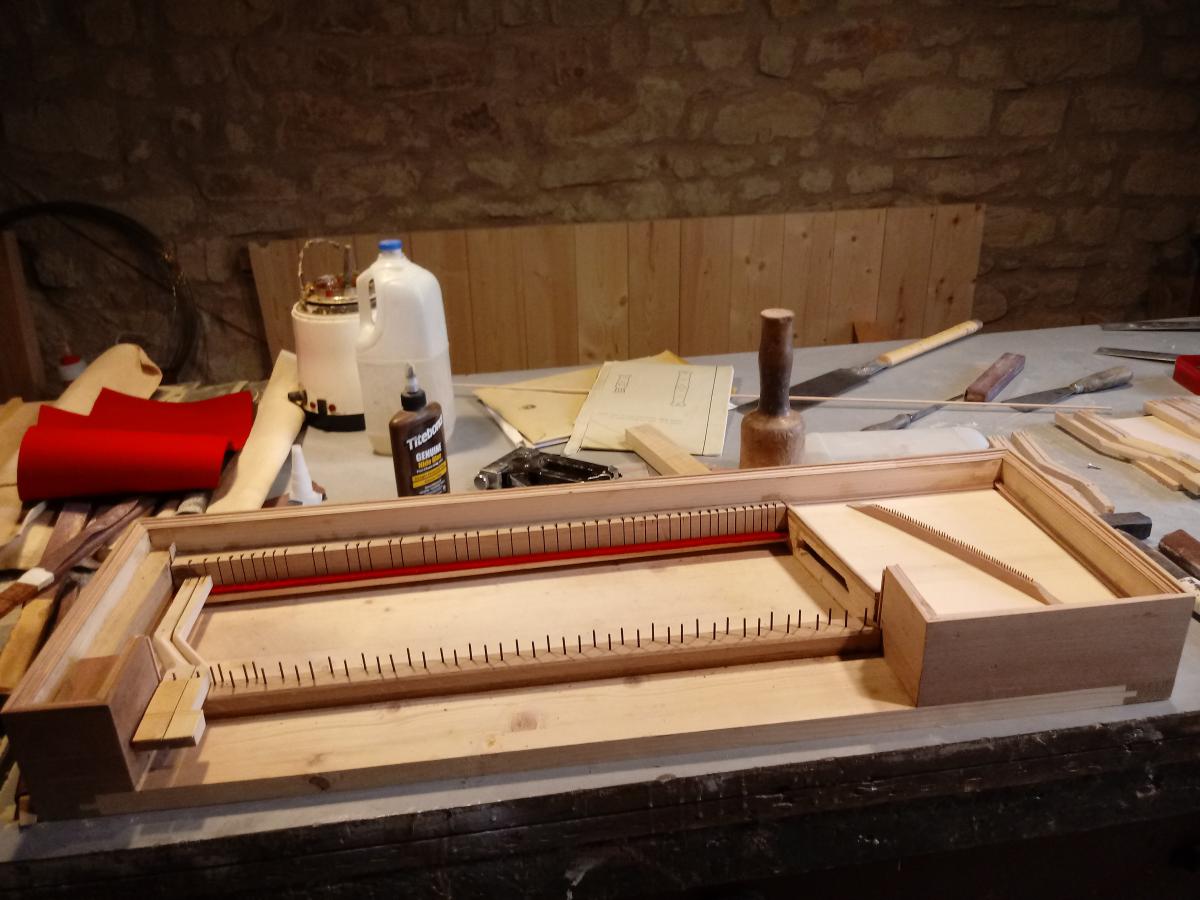
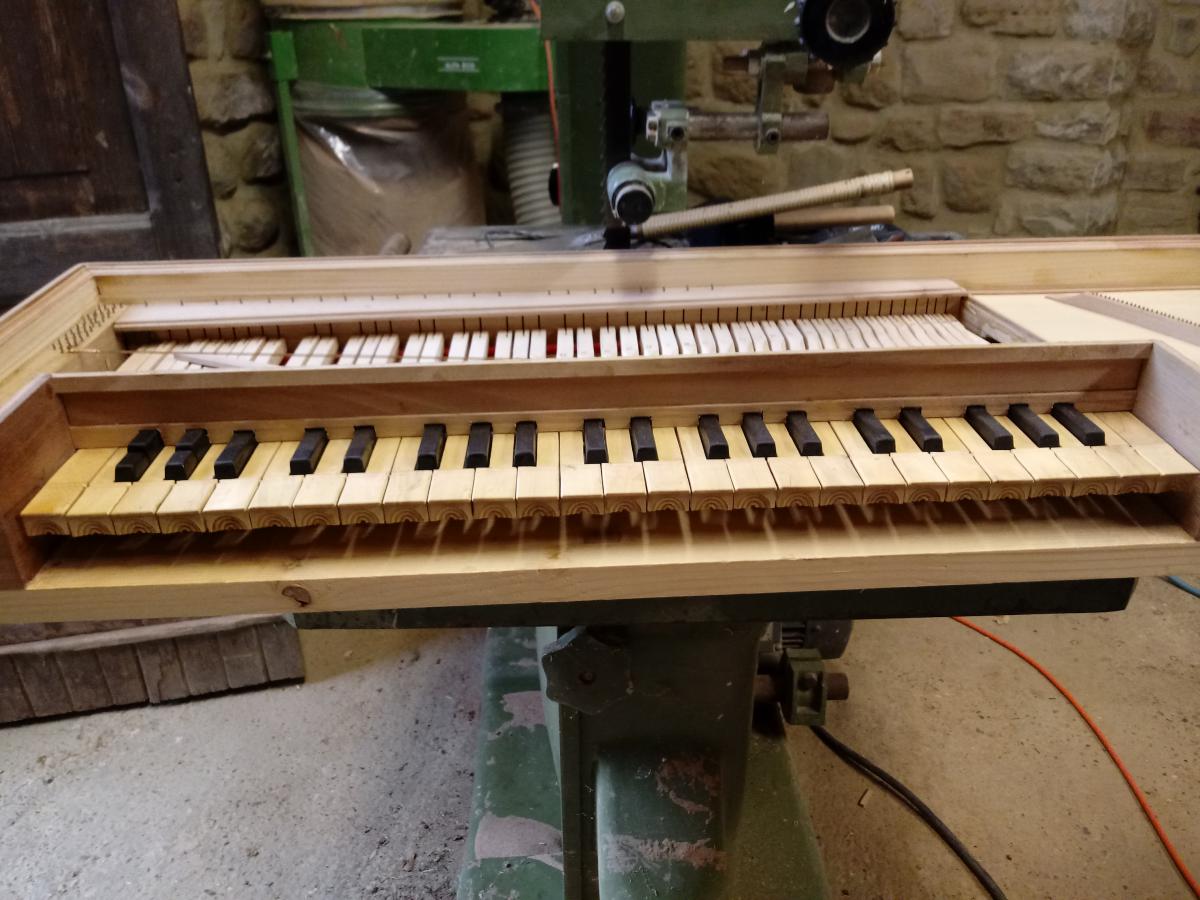
Daily report: I have finished sanding all the keys and installing the key slips; starting tomorrow, a first coarse regulation of the keyboard can begin. I have finished placing small veneer shims on the rail with the pins so that the levers are about 1mm higher towards the keyboard, and I have made 60 holes for the ankles. Tomorrow I will install the last frame, also vertical, that was missing (the right vertical one).
New update: the keyboard is finally mounted, I spent the whole afternoon filing the tabs so that every key slides perfectly and I made the key grooves (another exclusively decorative thing) tomorrow I will glue the front panels.
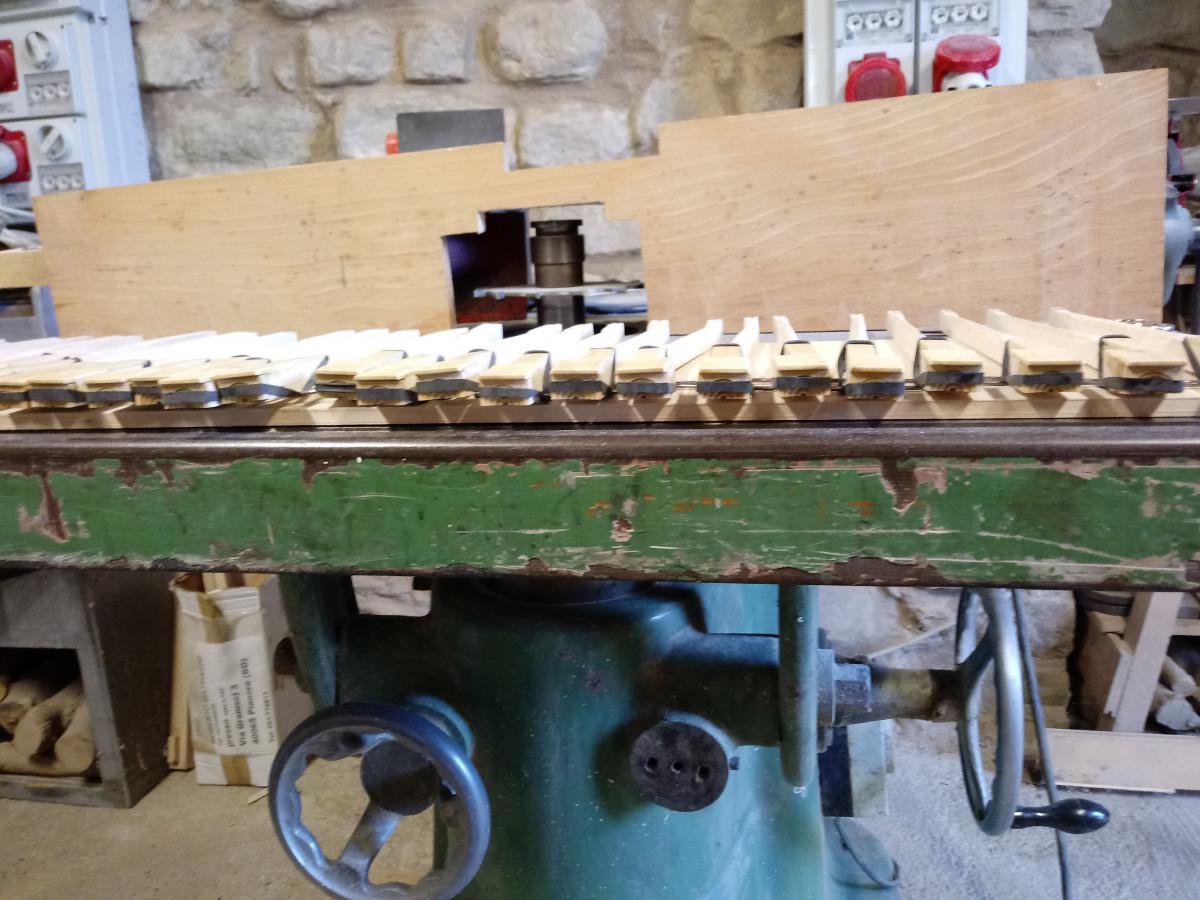
Update: I have pasted all the covers on the diatonic keys, adjusted the lengths and fixed the body of the chromatic ones, prepared the split keys so that they sound separately and adjusted the dimensions of the levers so that they are sufficiently uniform, we are quite curious to hear how it sounds, perhaps next week we will be able to put in the tangent and a string for the first key and see what happens
Relatively short new update: I have calibrated and glued (almost) all the chromatics, cut, prepared, and glued the attack ruler for the string fixing pins.
News of the day: the keyboard is practically finished, it just needs the final check and the regulation of the weight to ensure it is uniform; the chromatic keys have been sanded and all colored black, and I have marked the points where tomorrow I will insert the string attachment pins; I also need to get about 5m of brass wire approximately 3mm thick to prepare the tangents.
'evening, today I will be quite brief I made the holes, put in the pins, adjusted and mounted two test strings.
Besides this, I also fixed the front panel by inserting two shims above and below in order to restore the original thickness (it had been cut about 2.5mm too narrow, fault of the boss)
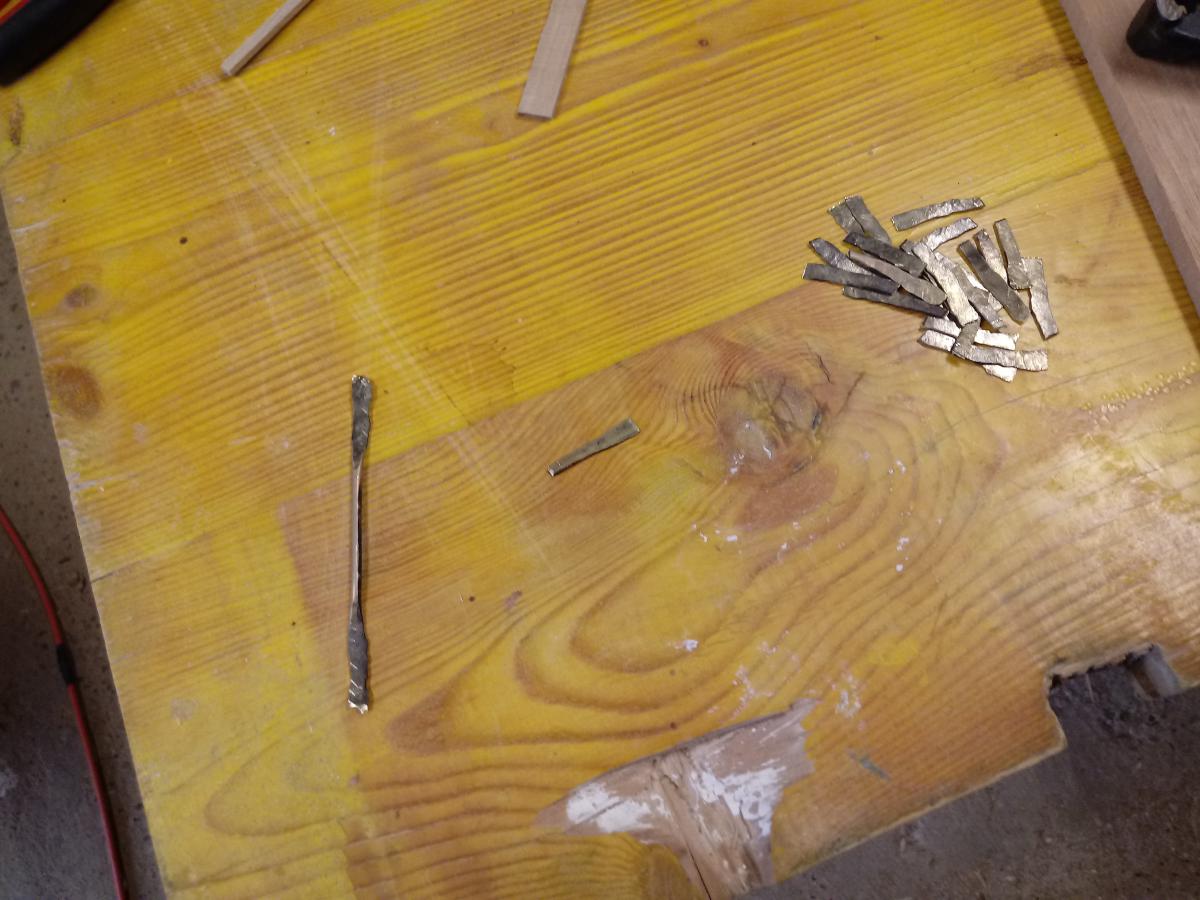
Today I only have a very tiny piece of news, I ordered 10m of 3mm brass wire to then prepare the tangents, obviously I don't need all 10m to make 47 tangents
New small update, I have already sketched all the tangents and one is already mounted on the first key with its two strings; I was lucky, I bought some October [wood] that is decidedly ductile after a quick seasoning.
Next task: stringing the entire instrument, refining and fixing the tangents.
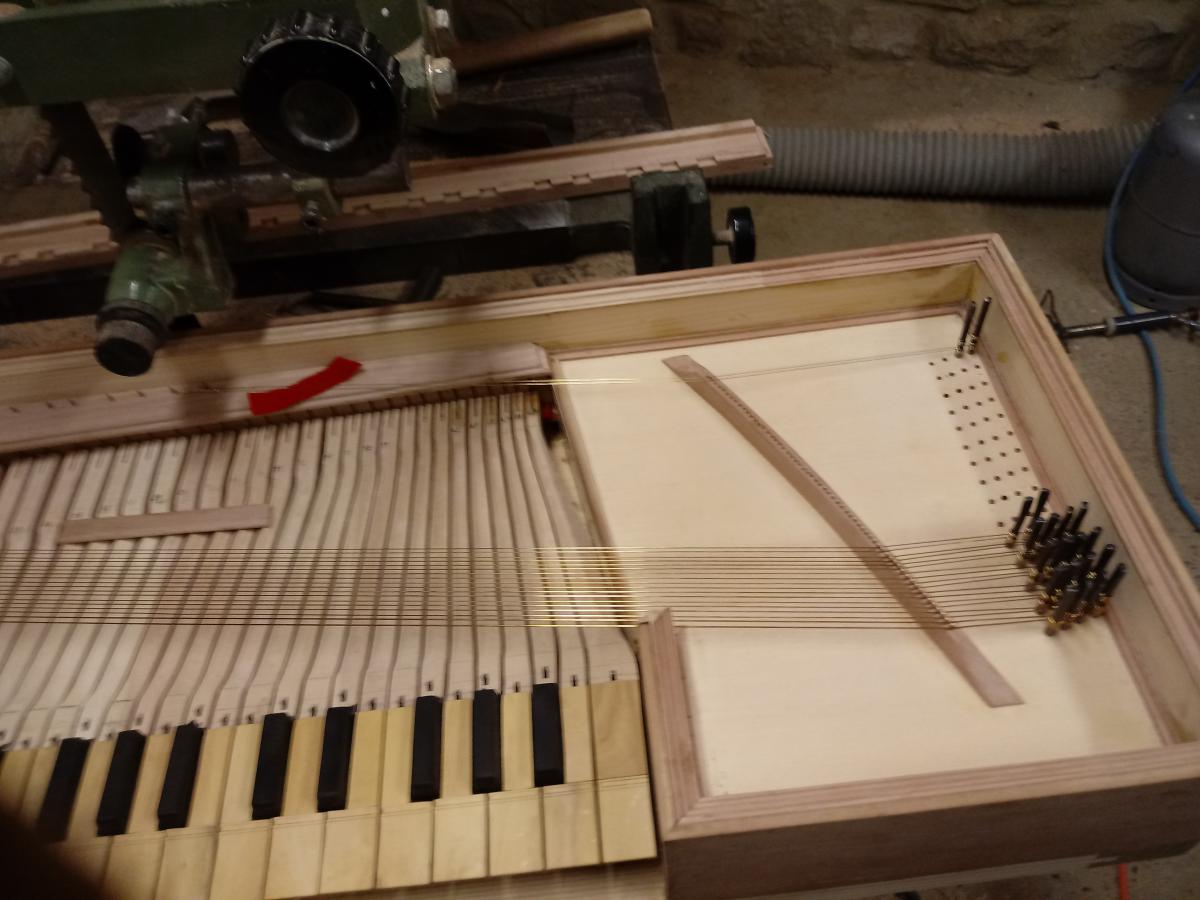
New update: I have started putting on the strings, yellow and red brass diameter from 0.70 to 0.30mm. We also put on 3 test tangents to see in the end what the tuning fork of the instrument should be (the strings must be decently tensioned or it won't tune) and to make a long story short we pulled it up to 440hz and transposed a fourth higher.
For now I have mounted 20 strings out of 60.
Among other things, the diameter of the clavicles also varies from 4 mm to 3.5mm and the audio file is the 3 keys with the tangents.
Today I will be brief, I installed another 40 strings and made 24 tuning pins that I was short of.
Another 10 and then we move on to fixing the tangents and doing a first tuning; I must decide the temperament in advance since the position of the tangents on the tied keys is influenced by this: 2 options, meantone 1/6 of a syntonic comma or Werkmeister III.