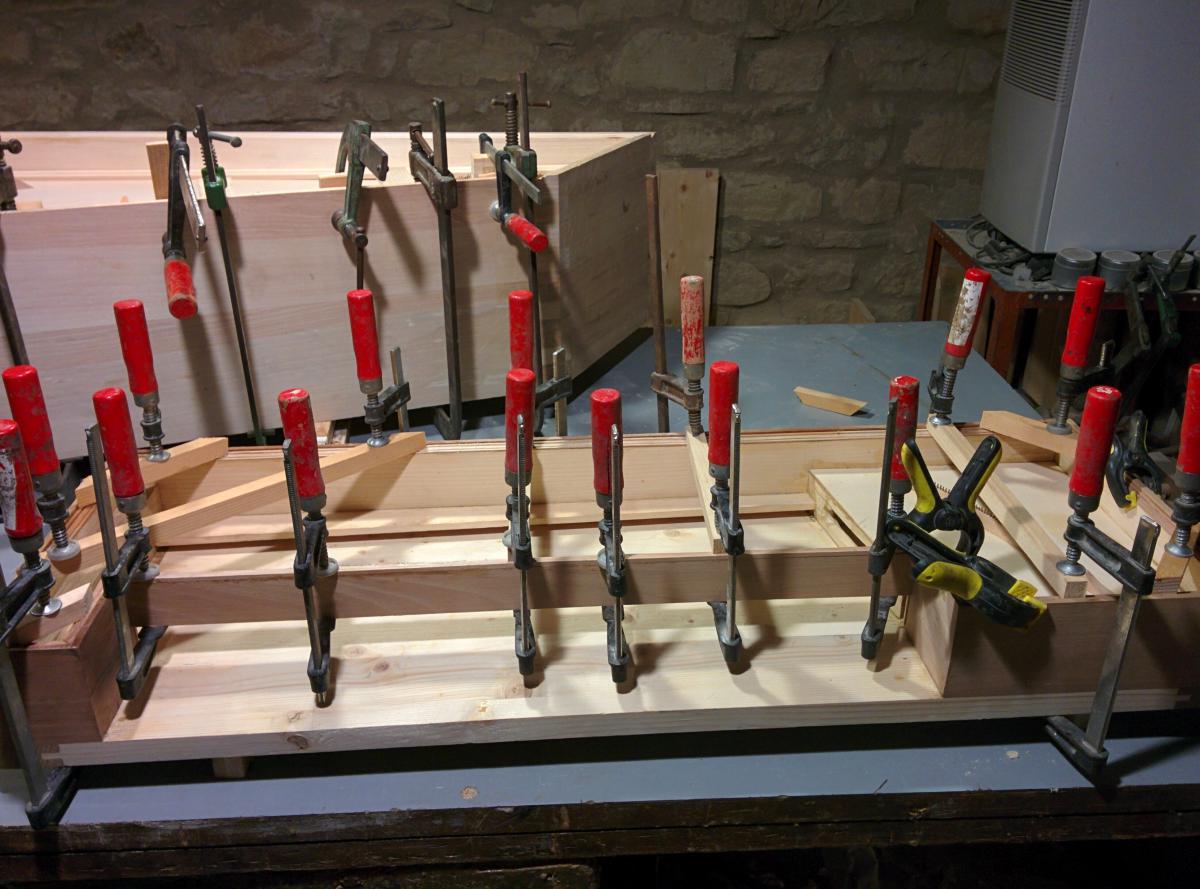
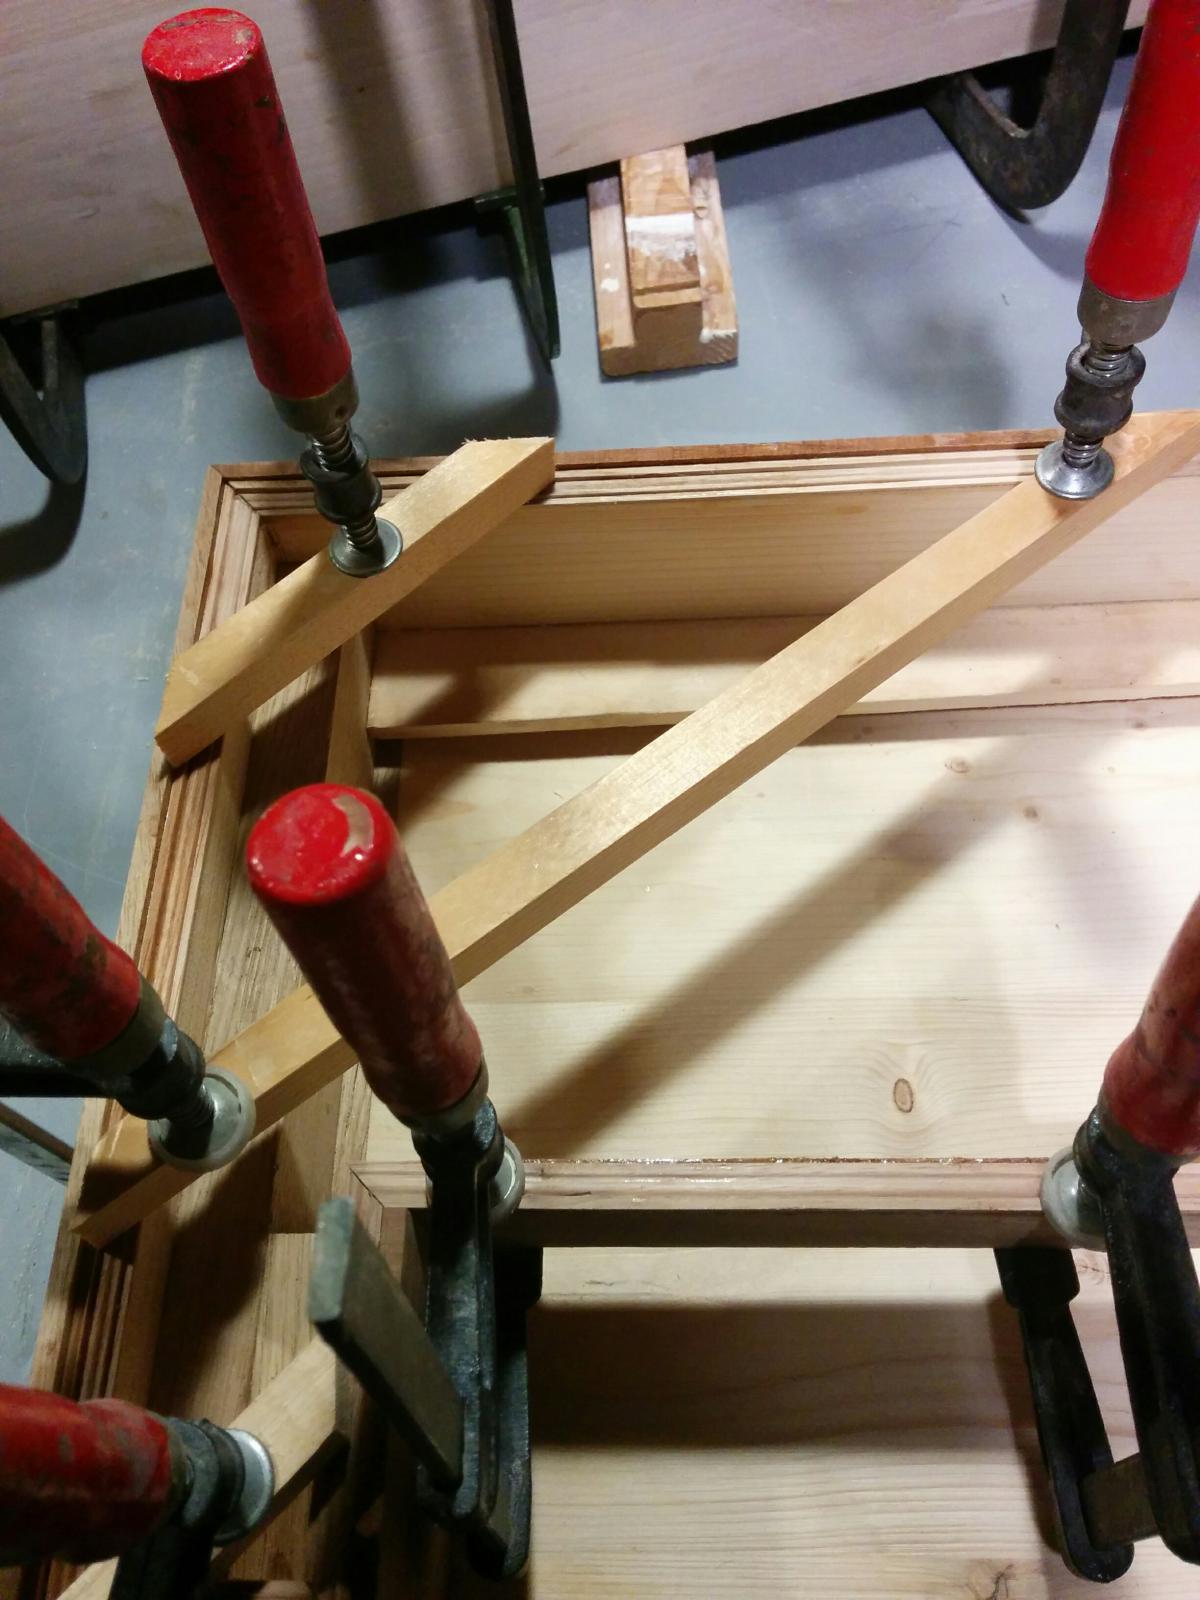
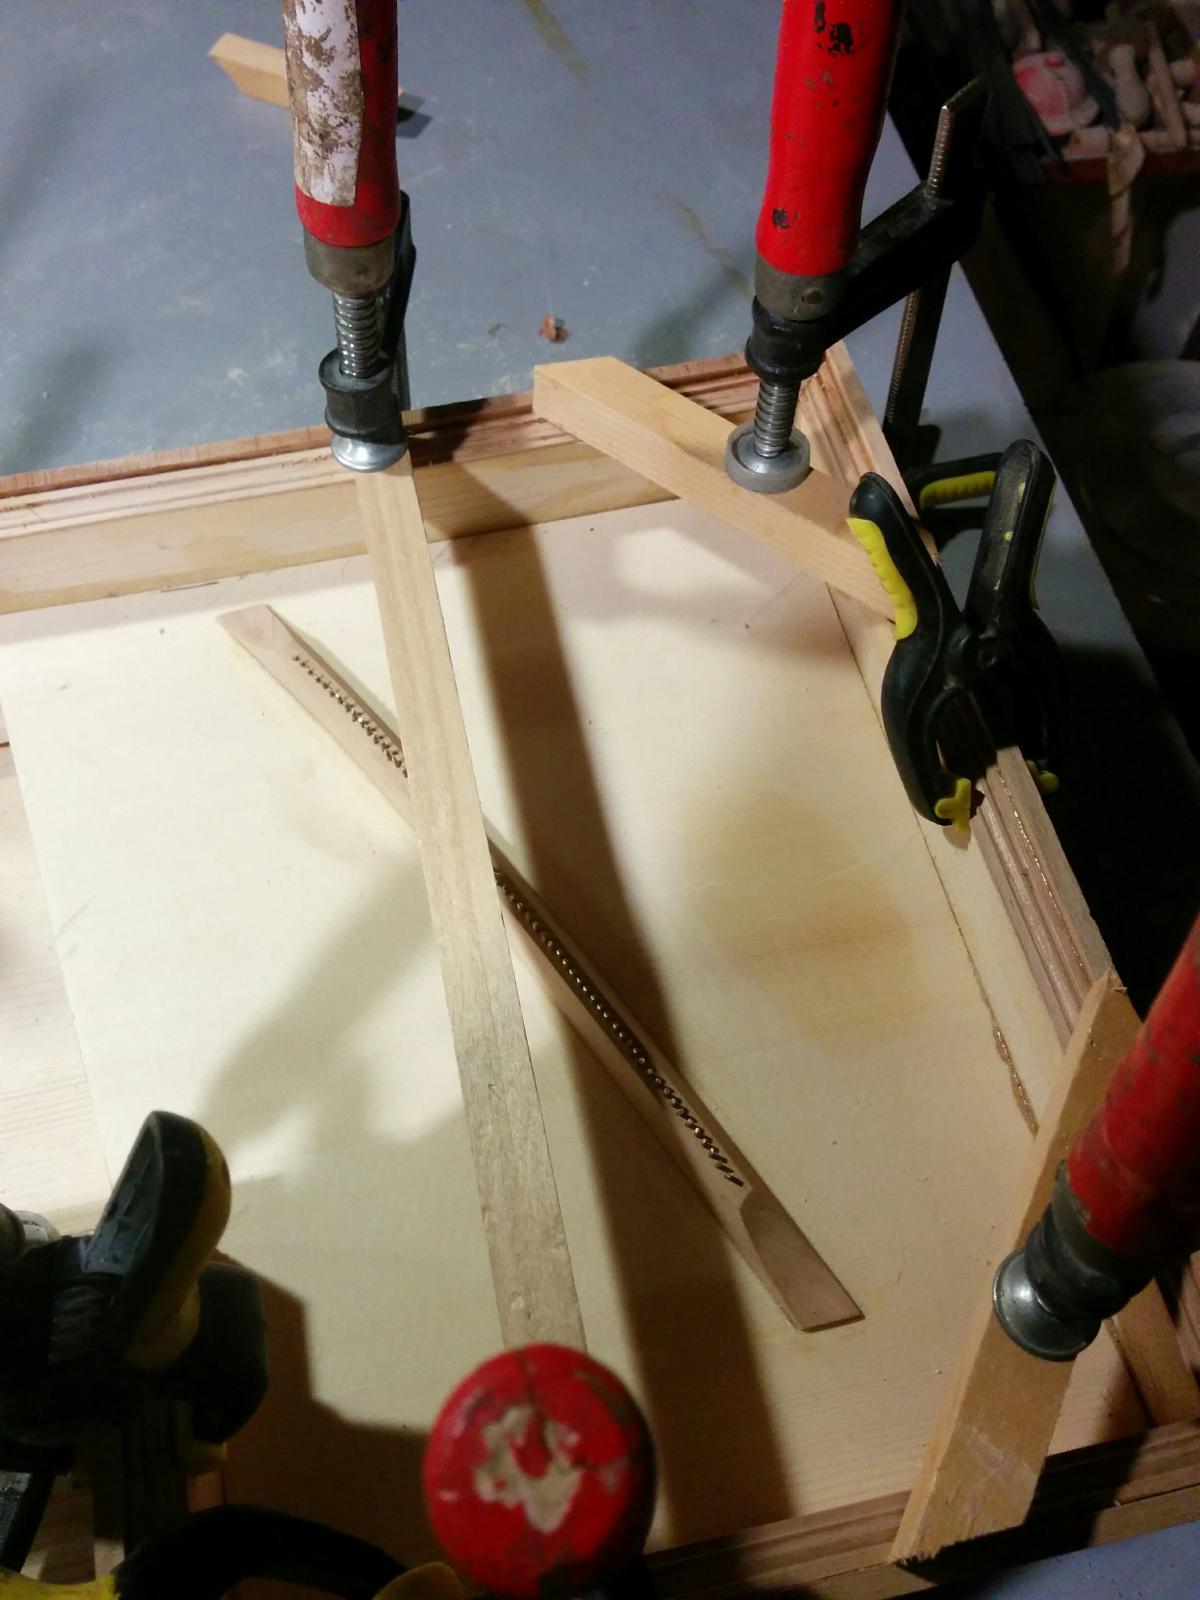
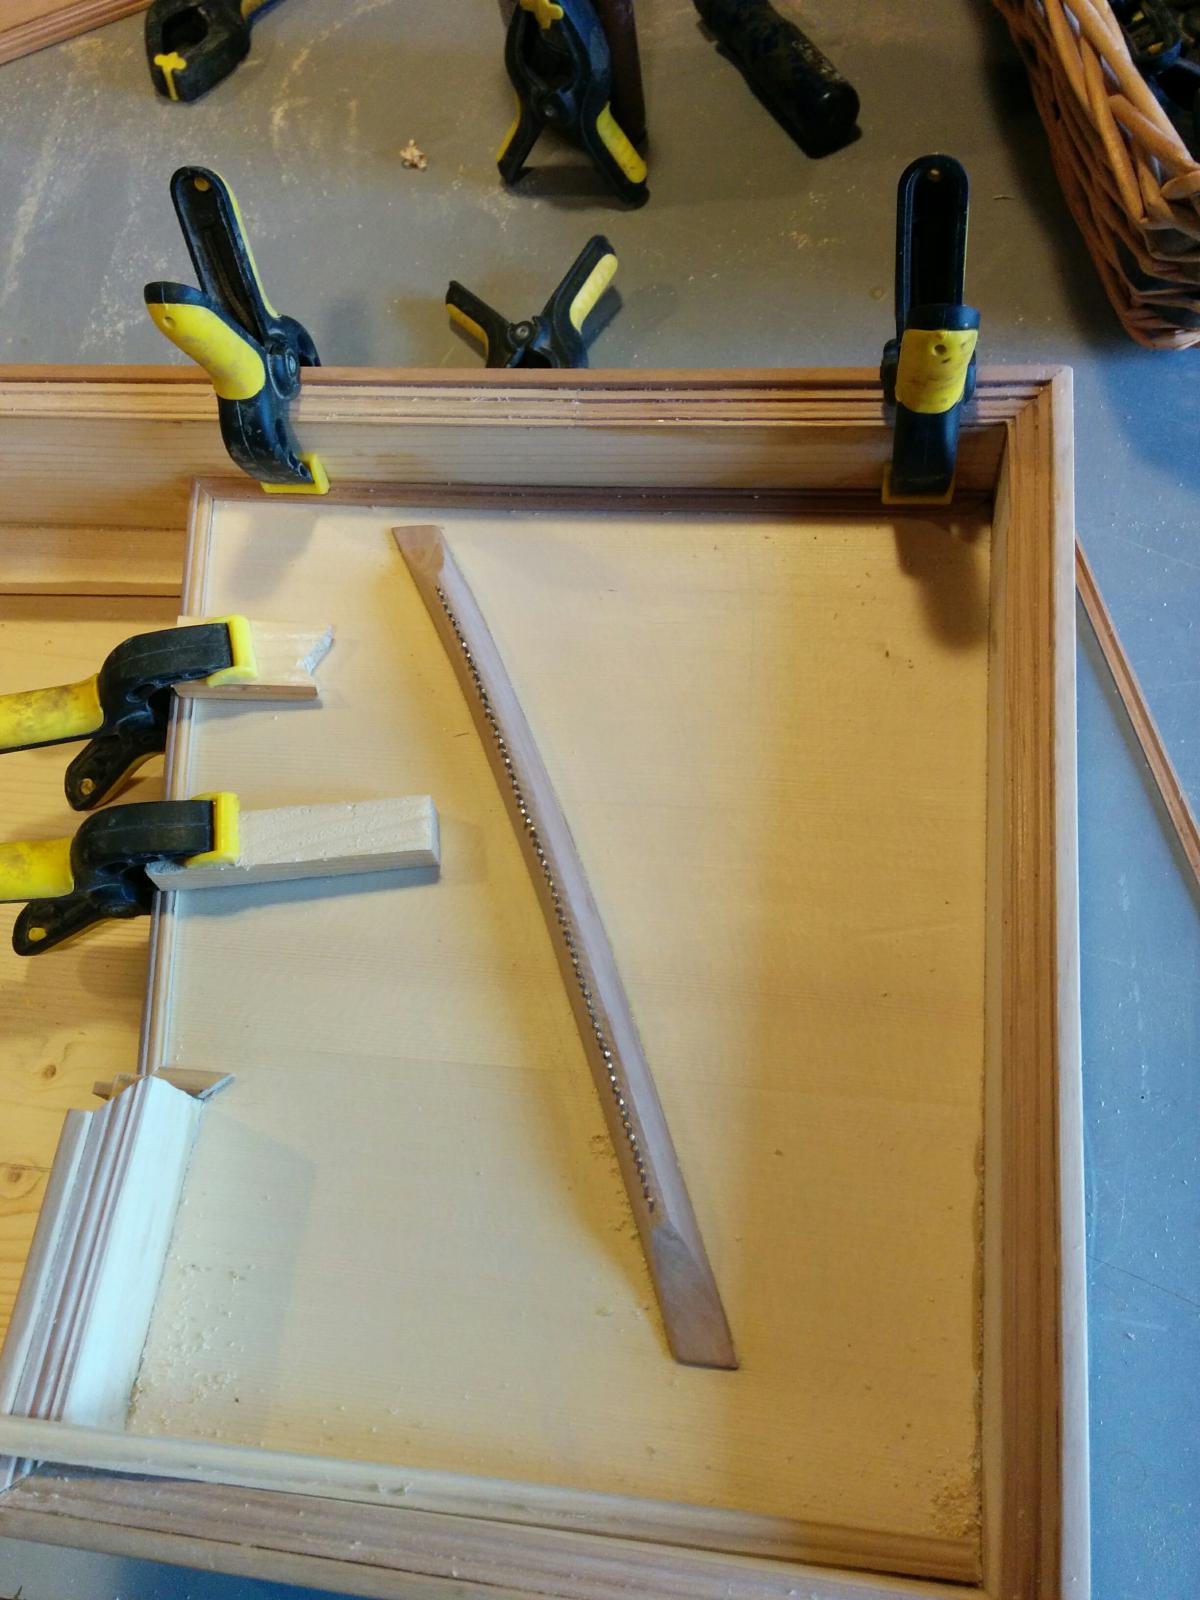
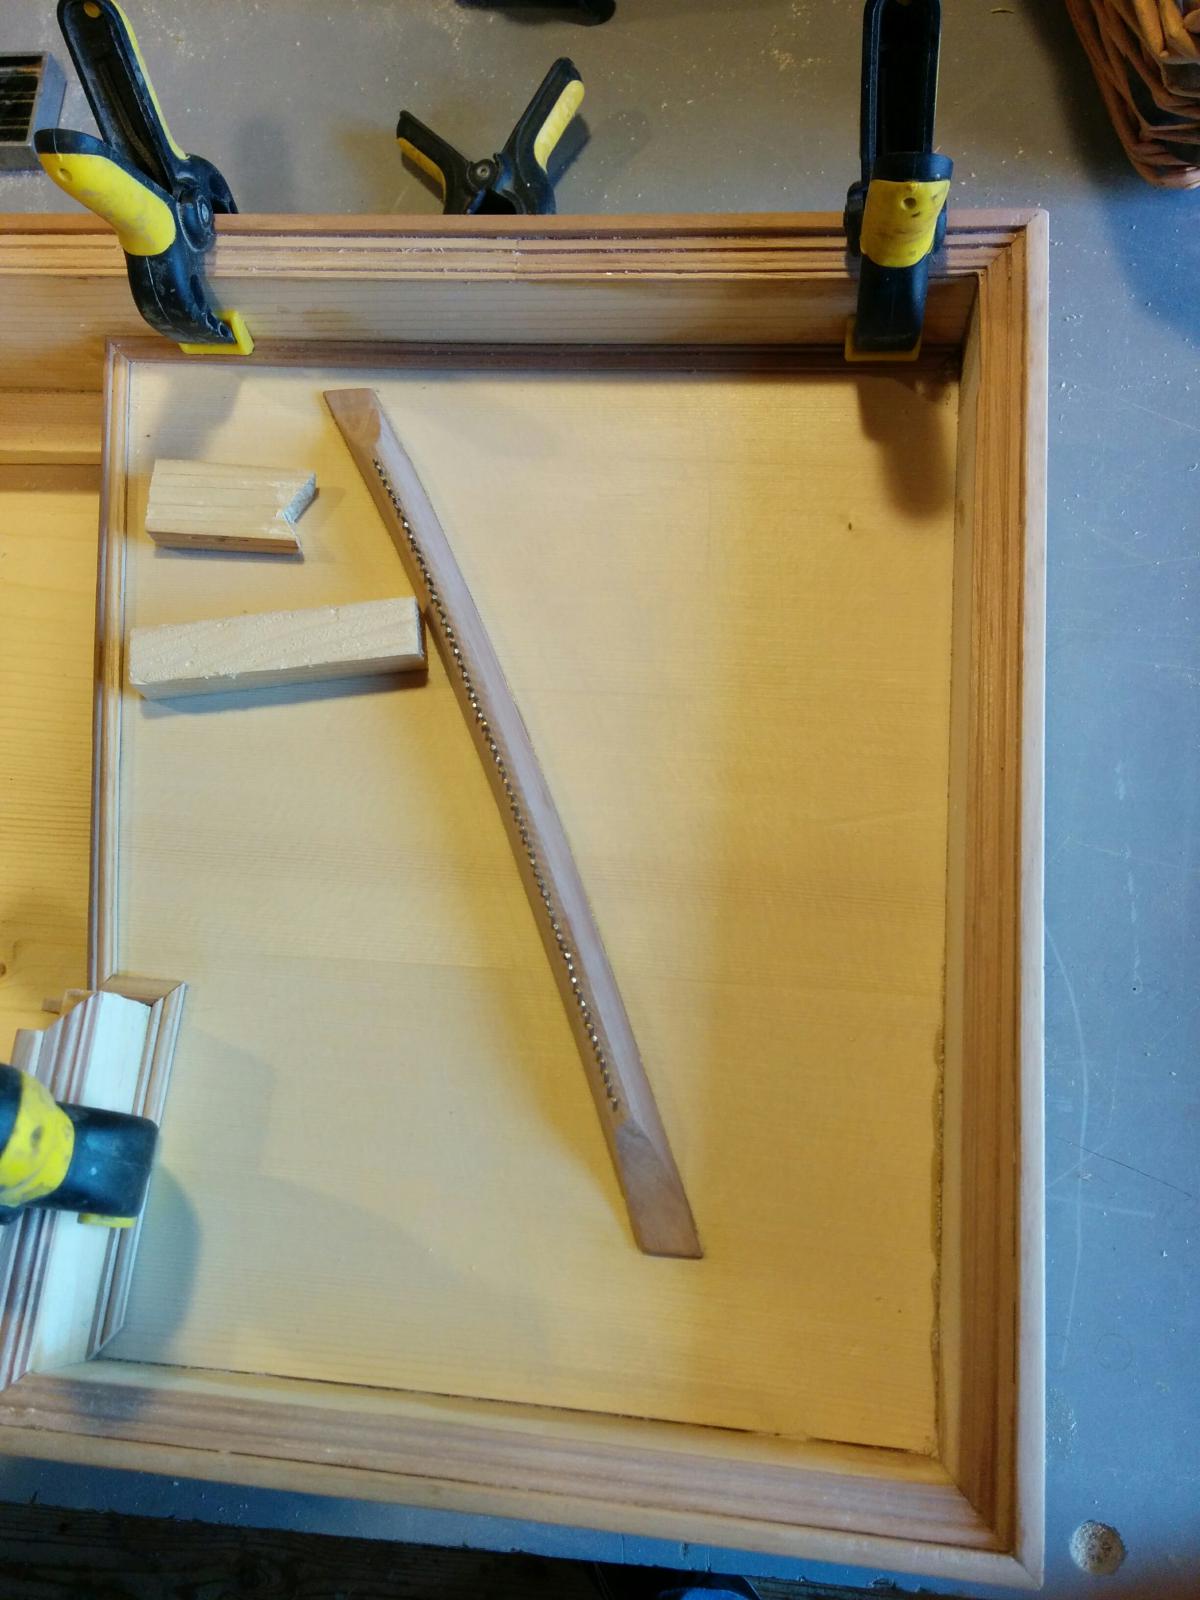
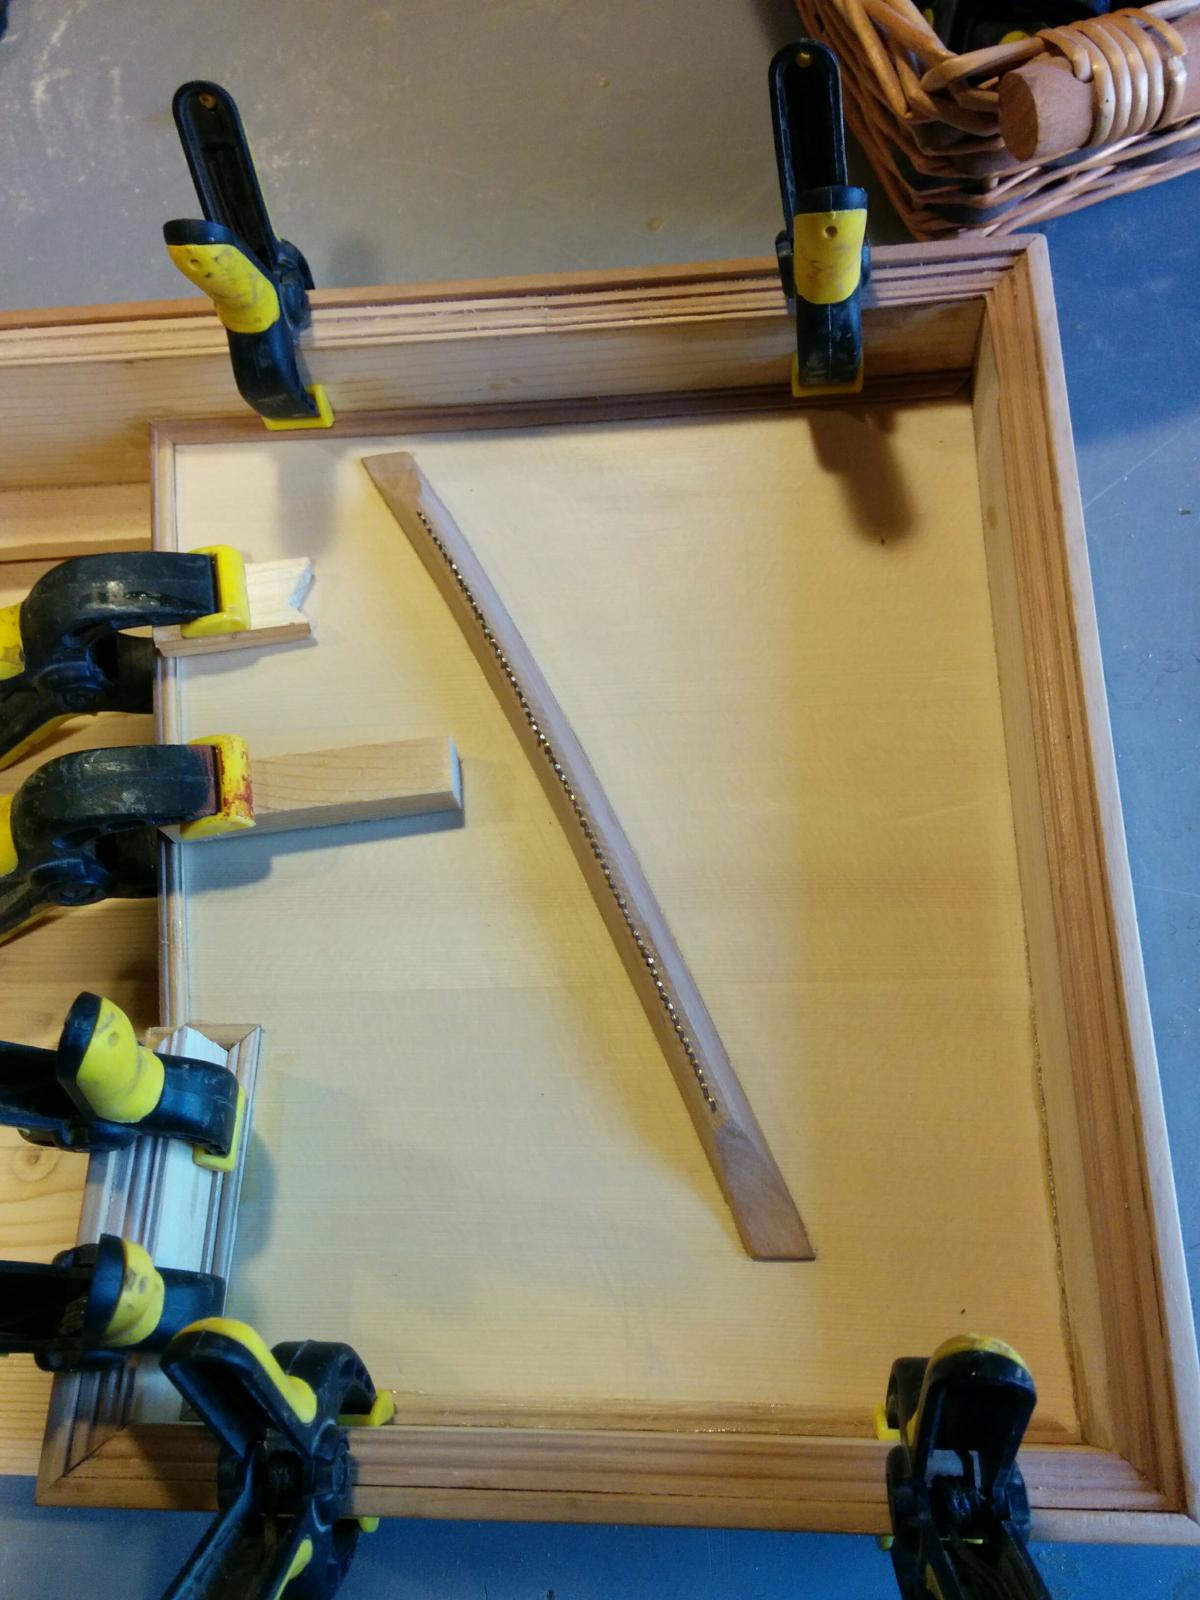
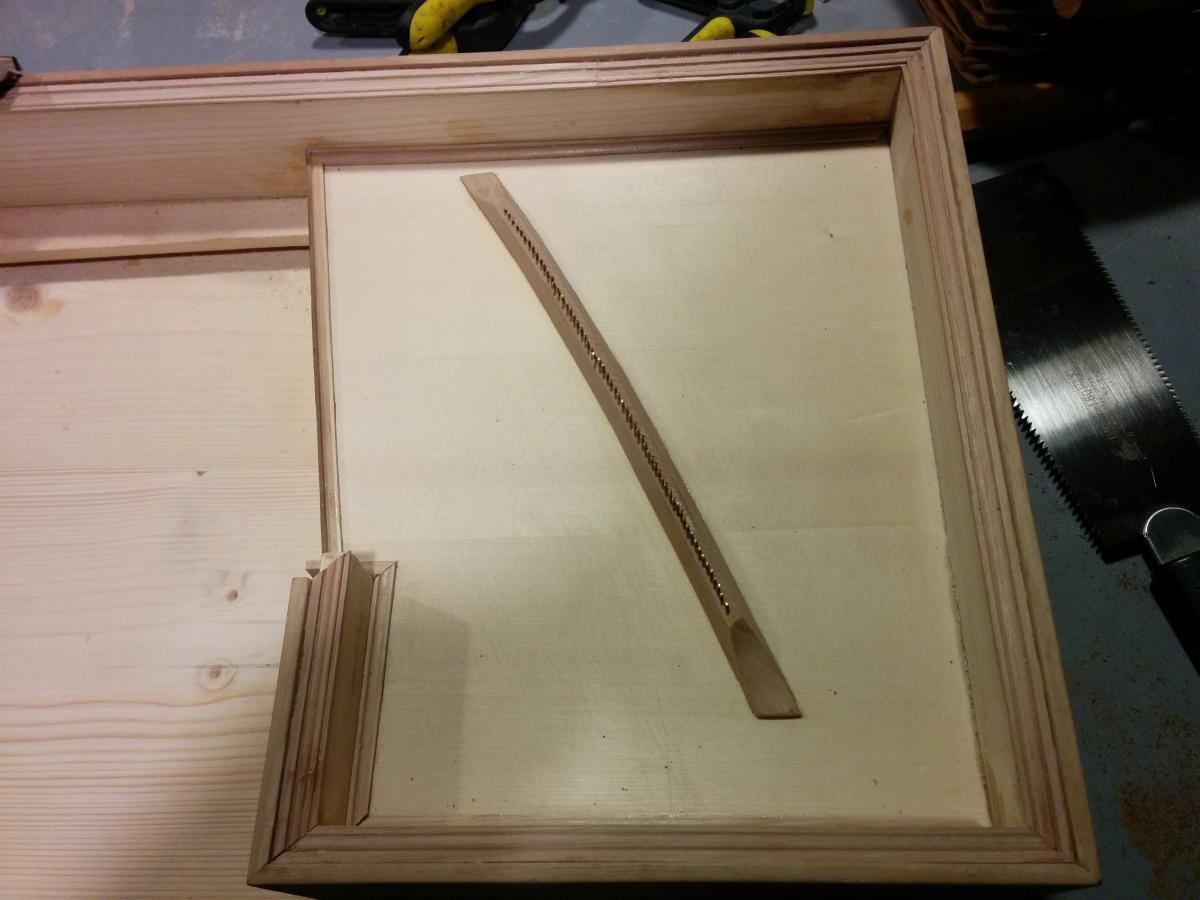
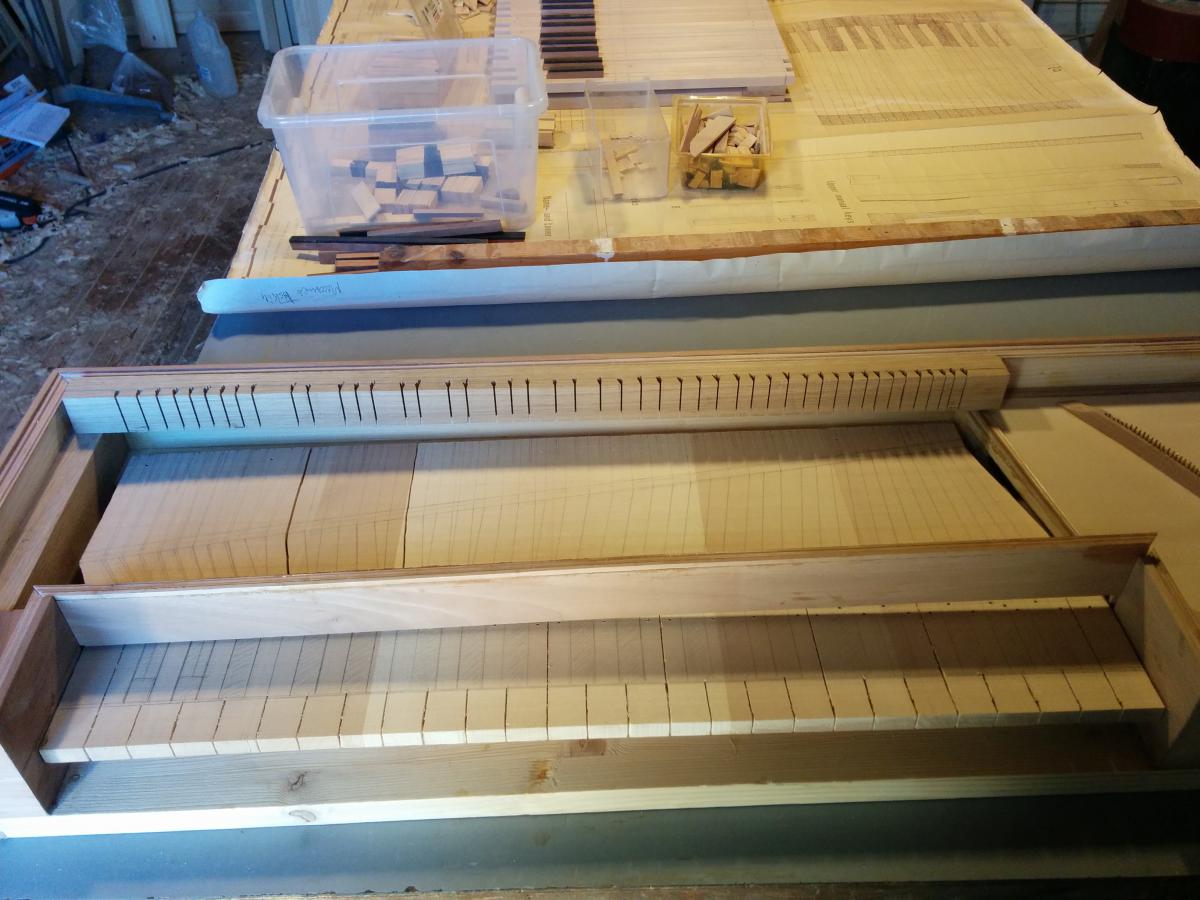
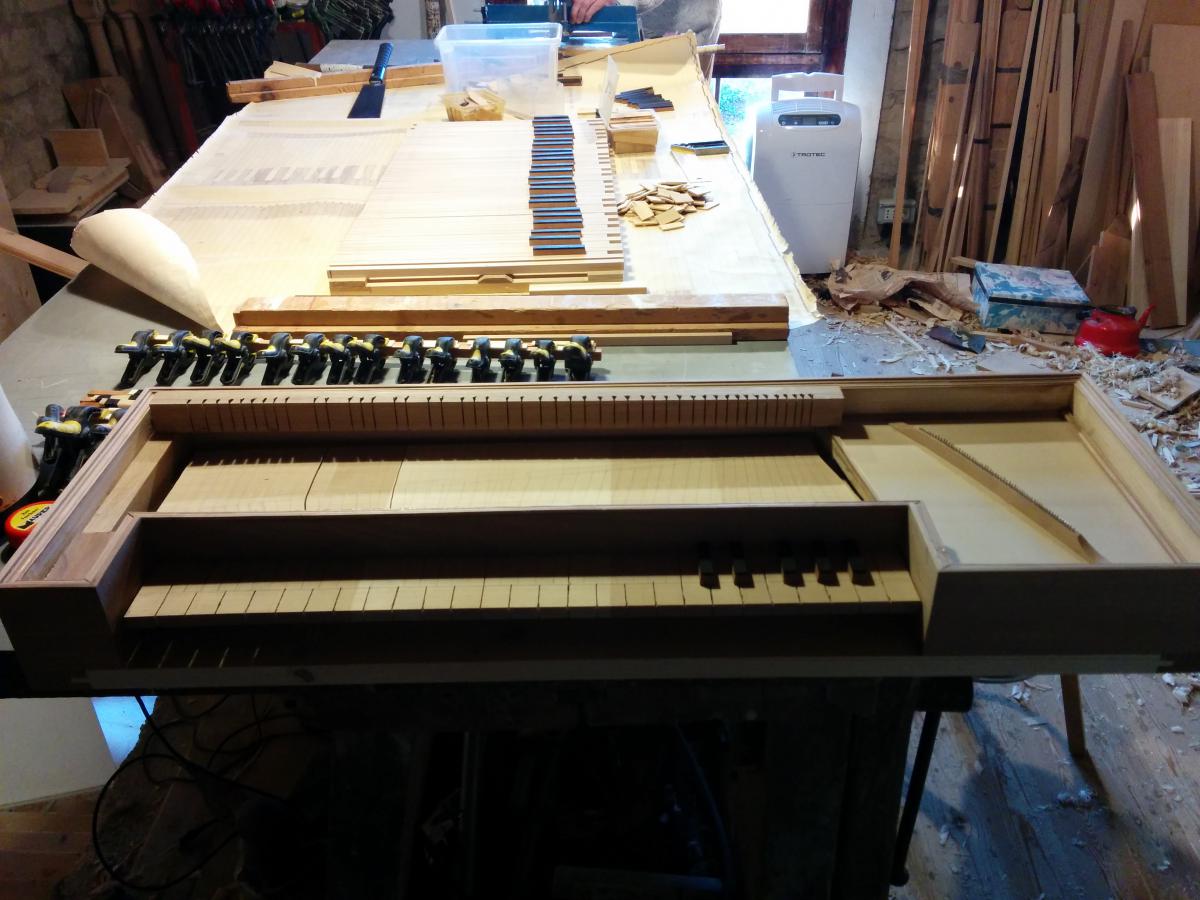
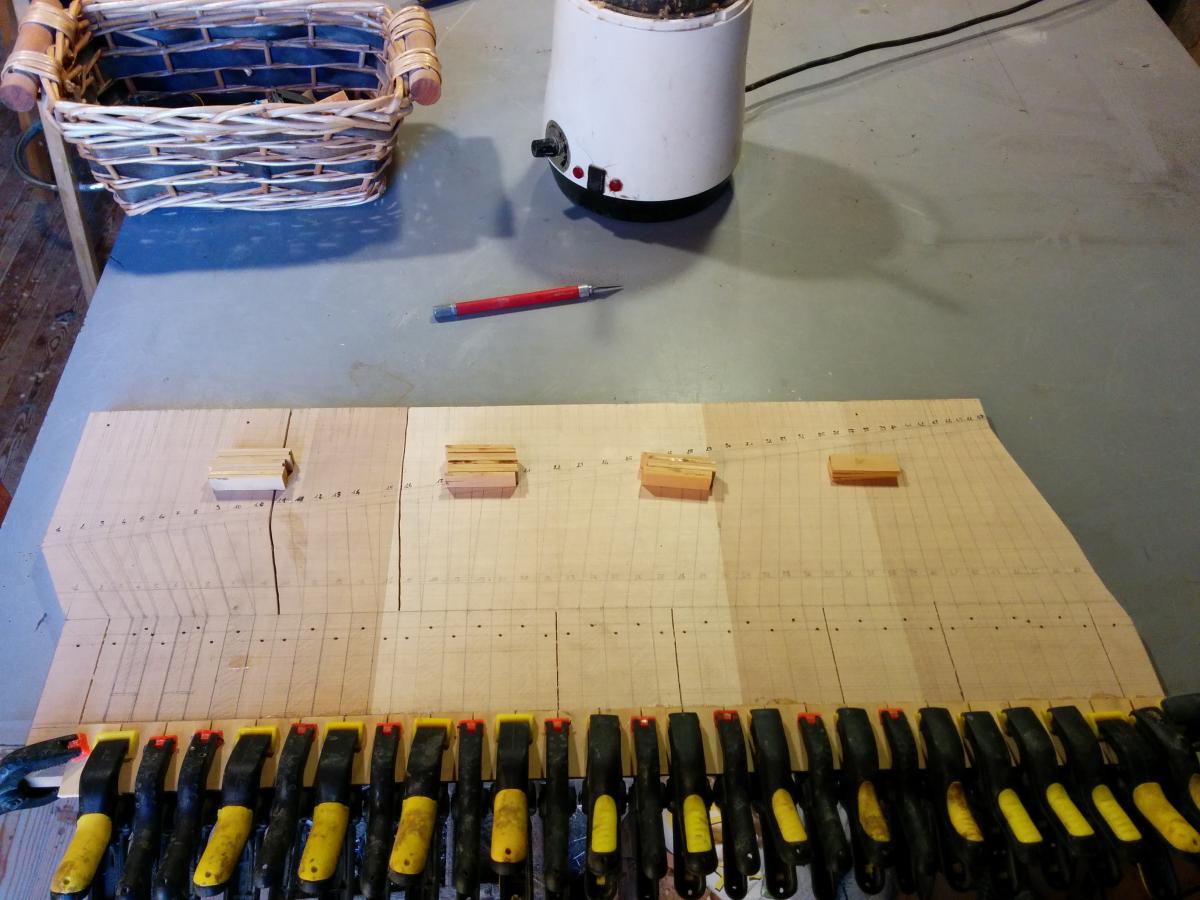
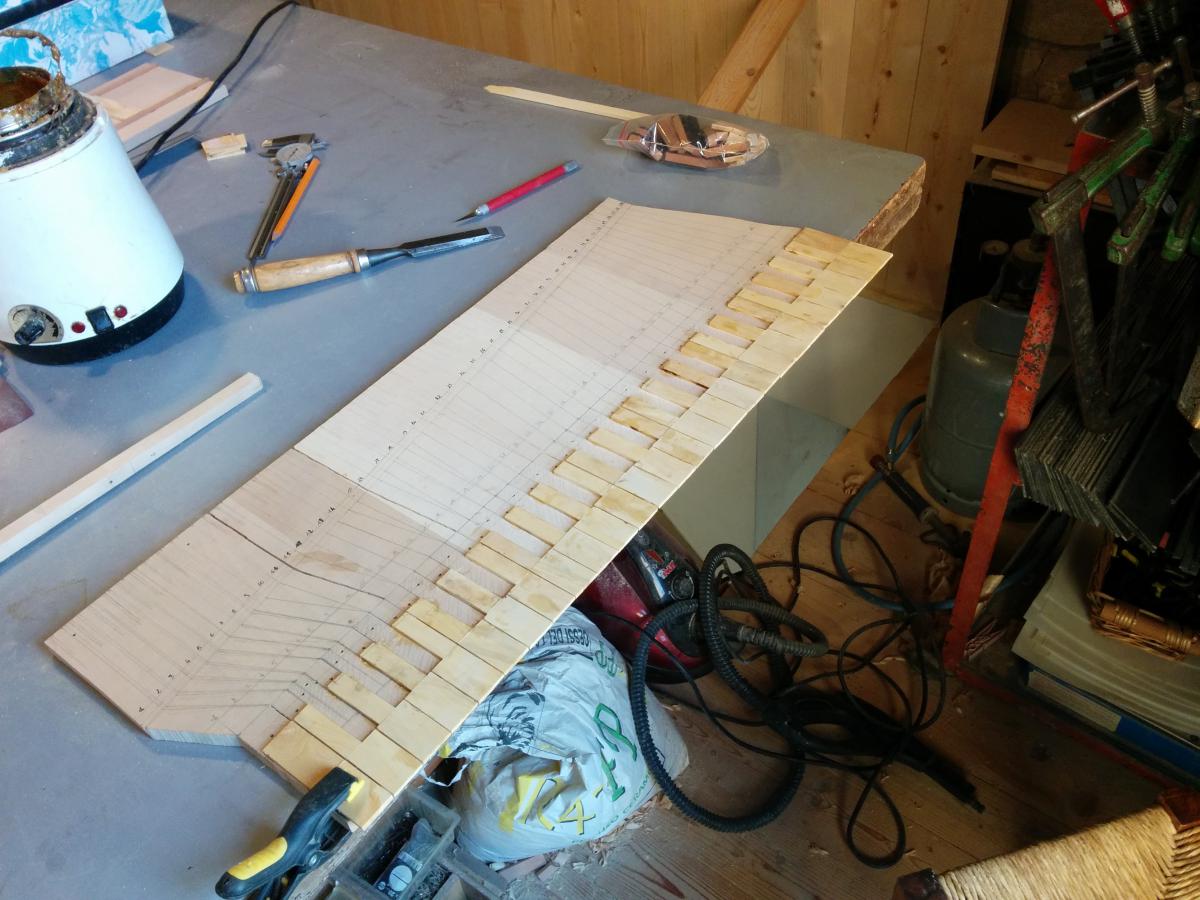
I still have to prepare 3...Those on the right side, they are already sketched out but I have to finish the corners, then I will have to make the moldings for the board...Those however are just a little more than half as thick even if they are the same height, 1cm on the sides, 6 mm on the board.
New short update, after the side linings today I glued most of the soundboard linings, except for the right one; I will glue that one once the holes for the pins are made, so the lining won't cause problems.
I have started preparing a walnut veneer for the left cap, tomorrow I will finish it and glue it, at which point I think I will have to drill the soundboard and the wrest plank and put on the last lining.
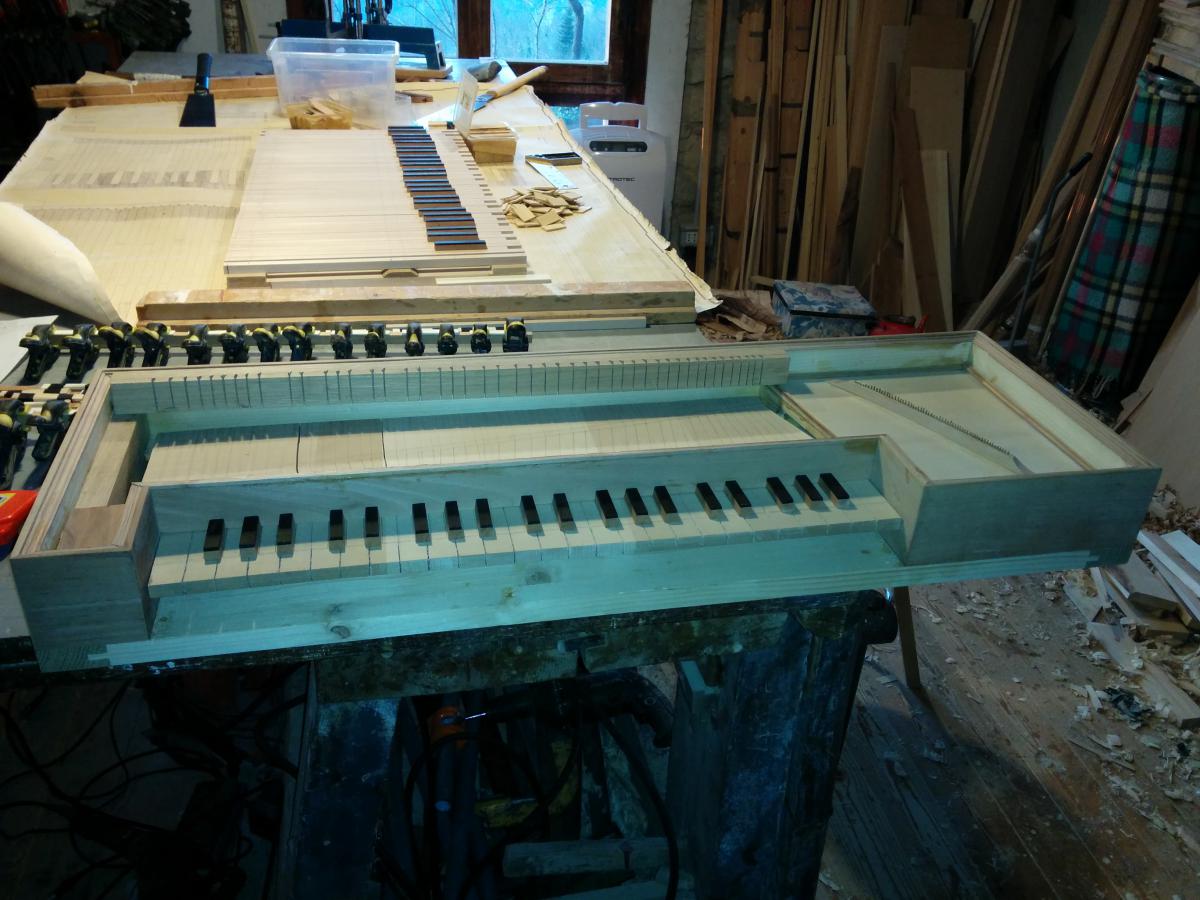
Ah, the side strip on the board that looks crooked... It is just an optical illusion due to the angle of the left side, all the angles on the sides are square.
Great, it's going well. Now comes the beautiful and interesting part... you have to give it a voice... you are a kind of Geppetto... ha ha.. hope the keys don't get longer while you shape it..
Anyway, it is not yet time to string it; I will do it when the keyboard is finished and the felt strip with the ruler and the pins are in place, so I can put one pair at a time and position the tangent on the key; it won't be a quick job...
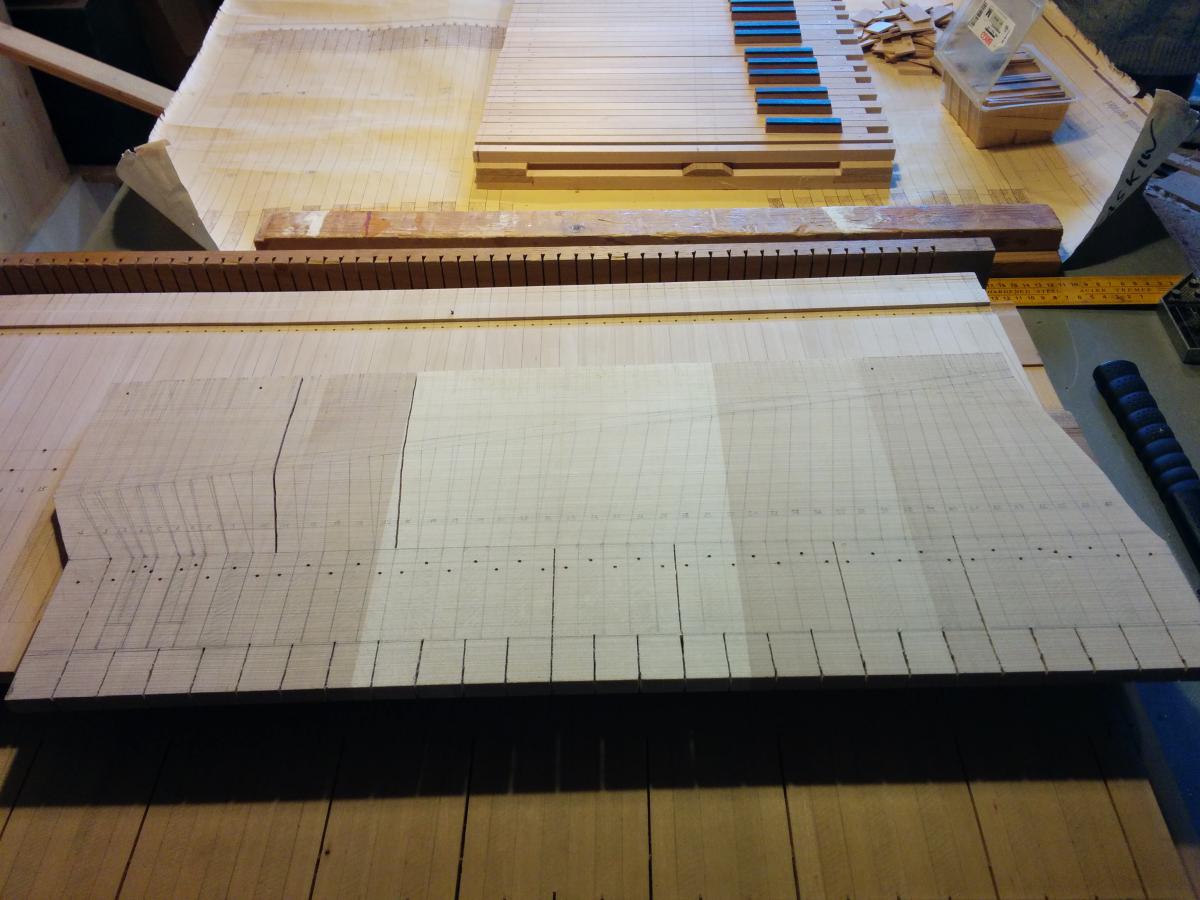
New short update: today we resumed work on 4 keyboards all to be finished, two French, one German and one Italian (not even like the joke), anyway as far as my keyboard is concerned I fixed one thing on the keyboard, I lowered a line by 2 mm and started a cut of the diatonic keys in order to facilitate the gluing of the veneer later, in the next 2 weeks all 4 will be finished.
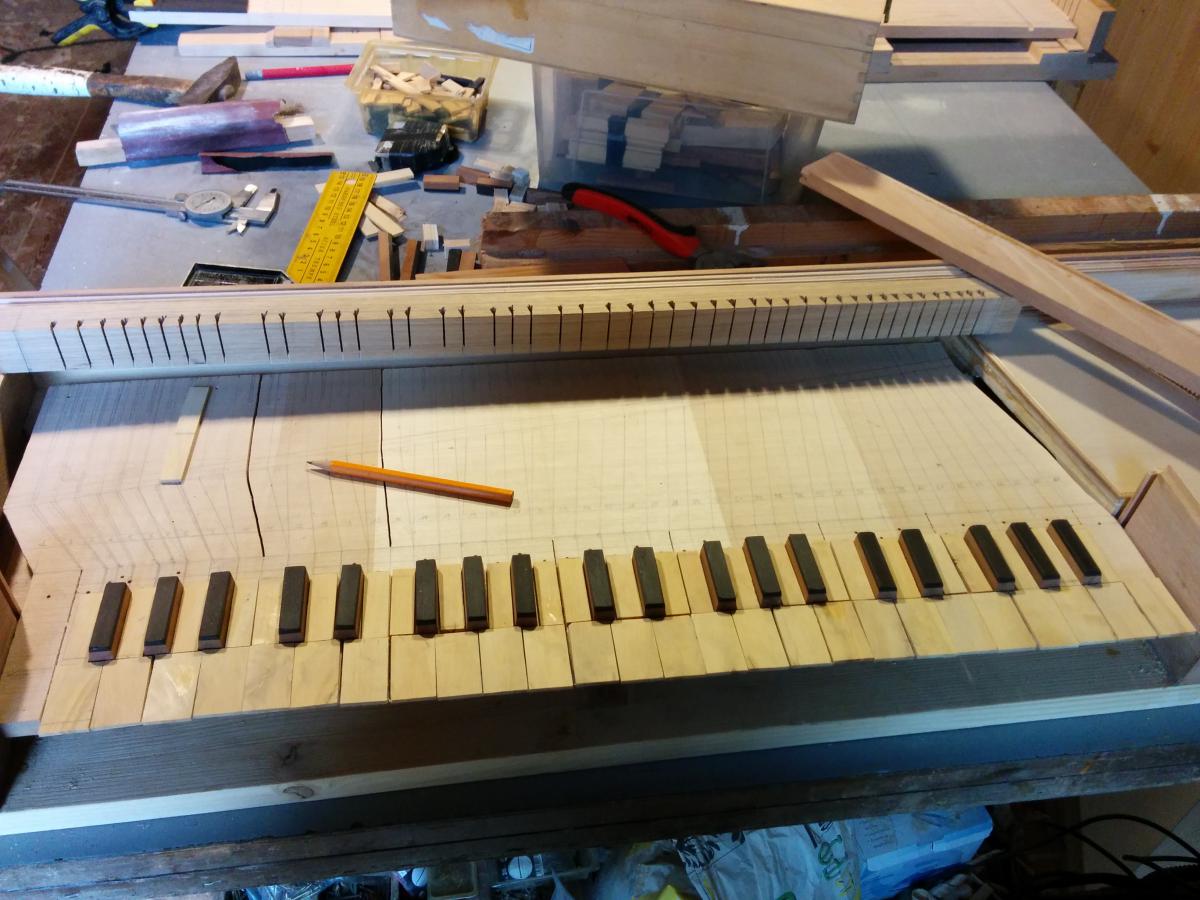
New short update: today we prepared the chromatic key, although that will be the last thing I glue; first, all the coverings for the diatonic keys must be applied, in any case, this is the effect.
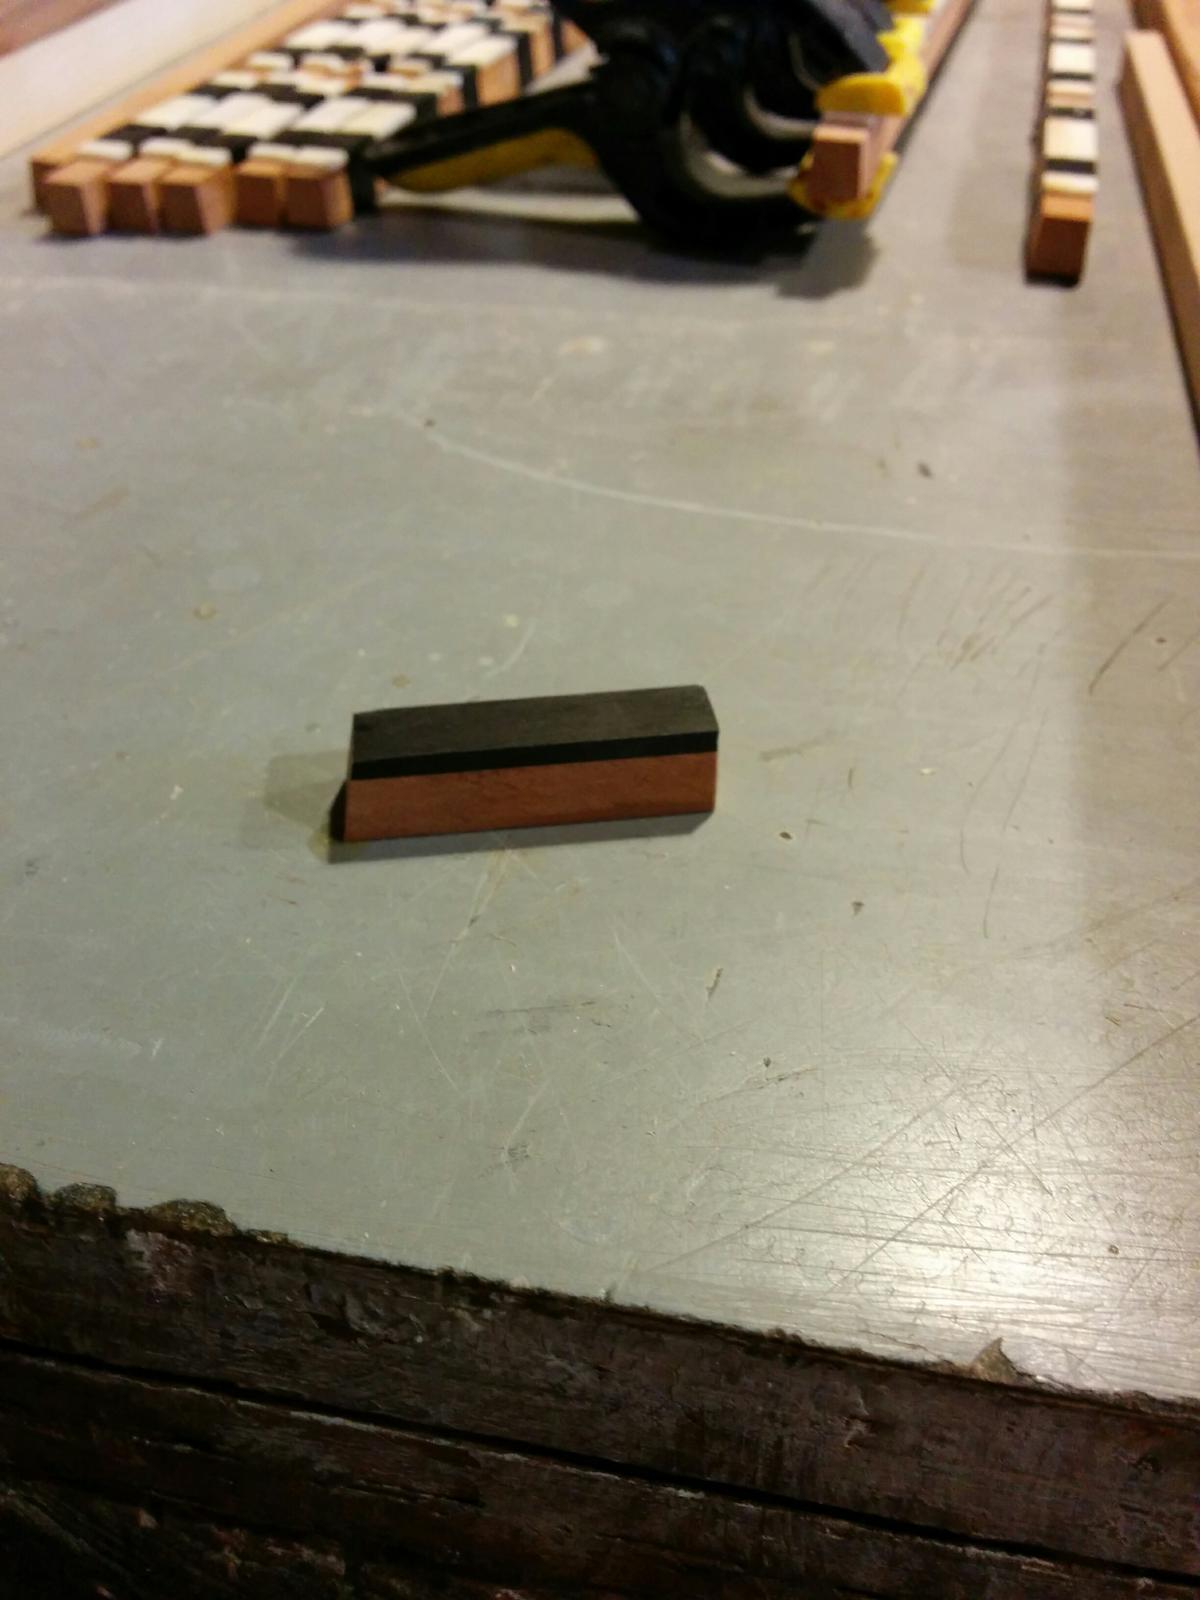
The chromatic keys are formed by a linden wood base with a cherry wood strip covered in ebony, in the case they are black; in the case they are white, bone is usually used, or in the 1700s and subsequently ivory.
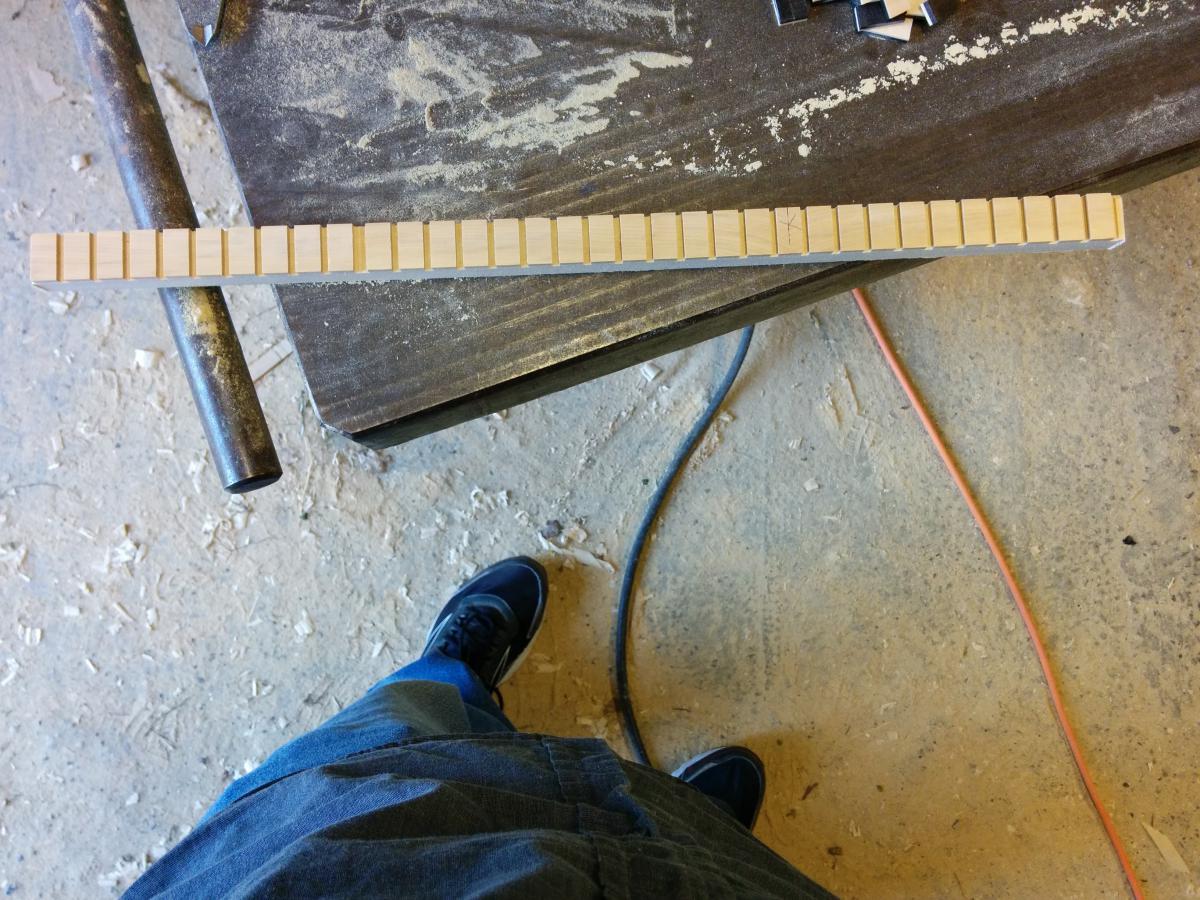
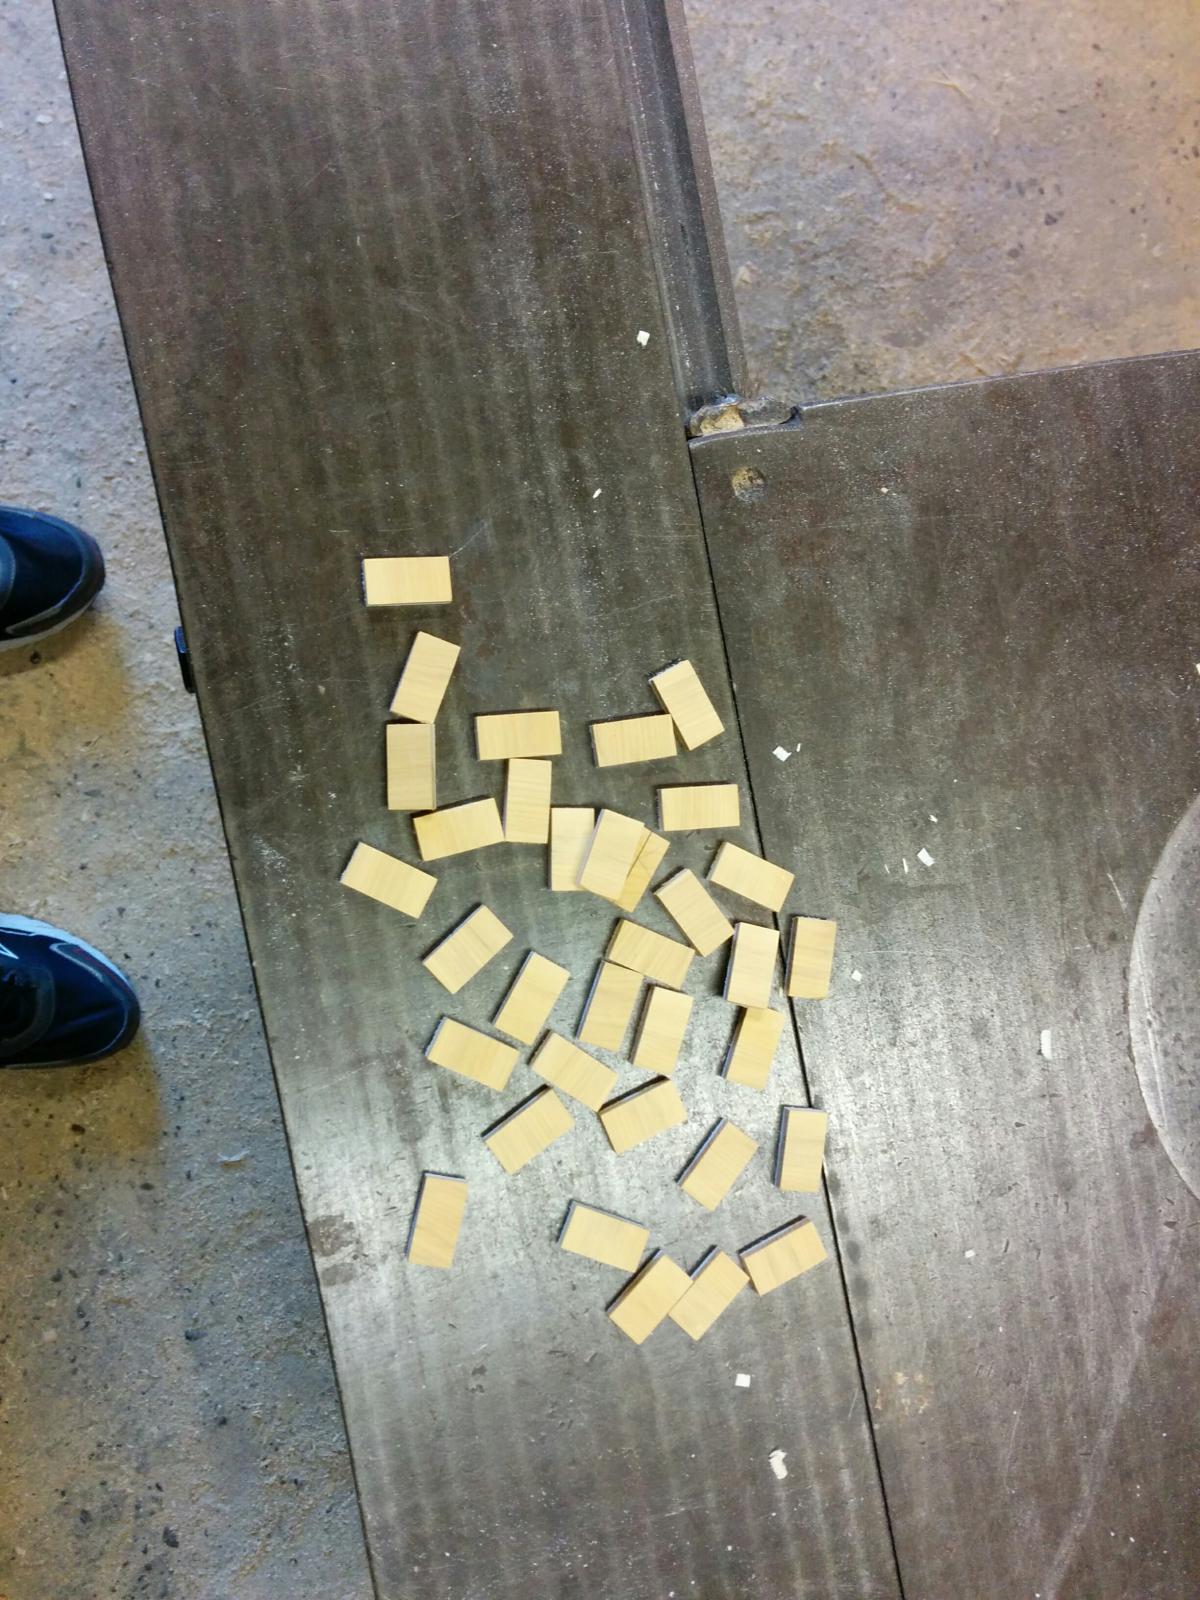
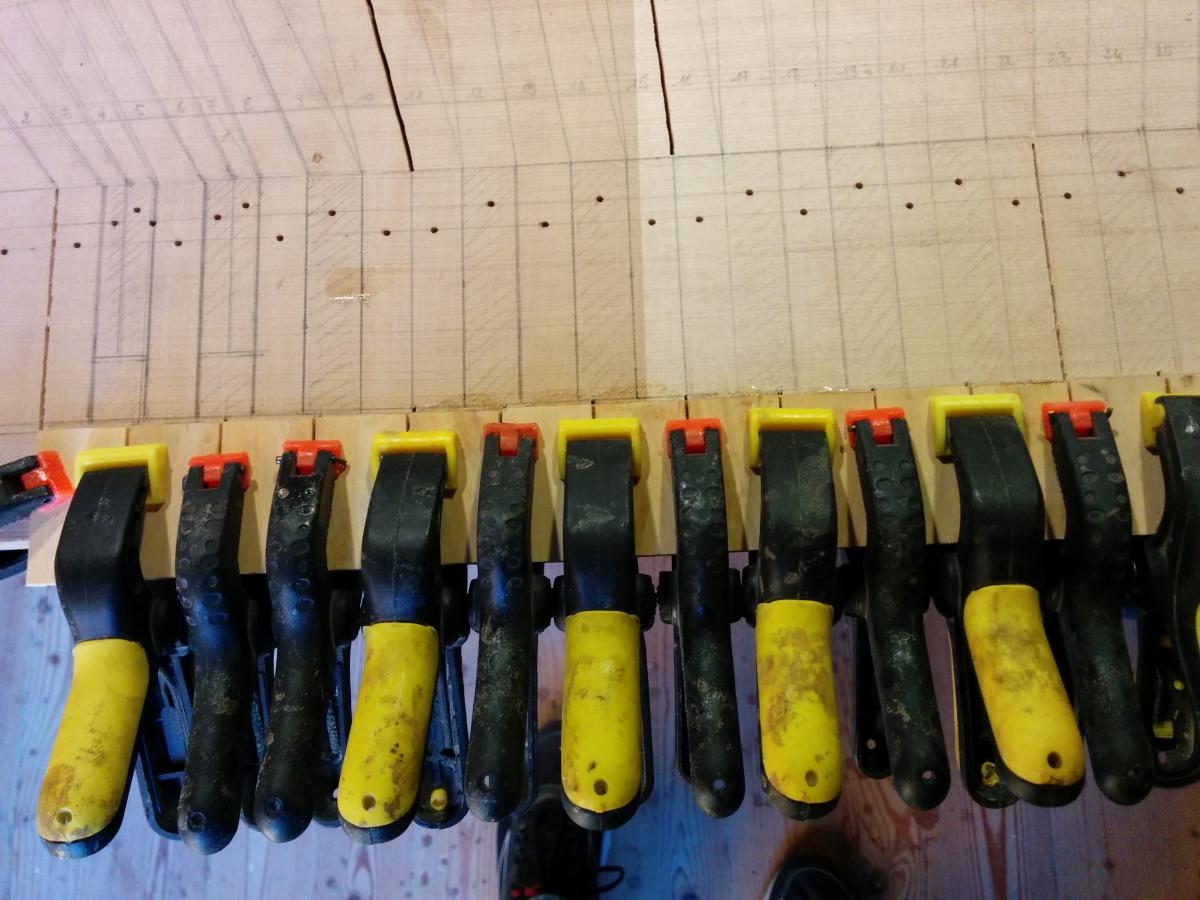
Another brief update, basically we are continuing to prepare the coverings for 4 different keyboards, 2 with boxwood on the diatonic keys and ebony on the chromatic keys, and two with ebony on the diatonic keys and bone on the chromatic keys (working with bone smells terrible). The problem is that each diatonic key has 3 different plates: the upper part, the lower part, and the front strip.
The lower parts and the front strips of the clavichord are slightly smaller than a standard keyboard (of a harpsichord); the upper parts are of different sizes depending on the key... 4 different sizes just for those, in short, it's a nightmare.
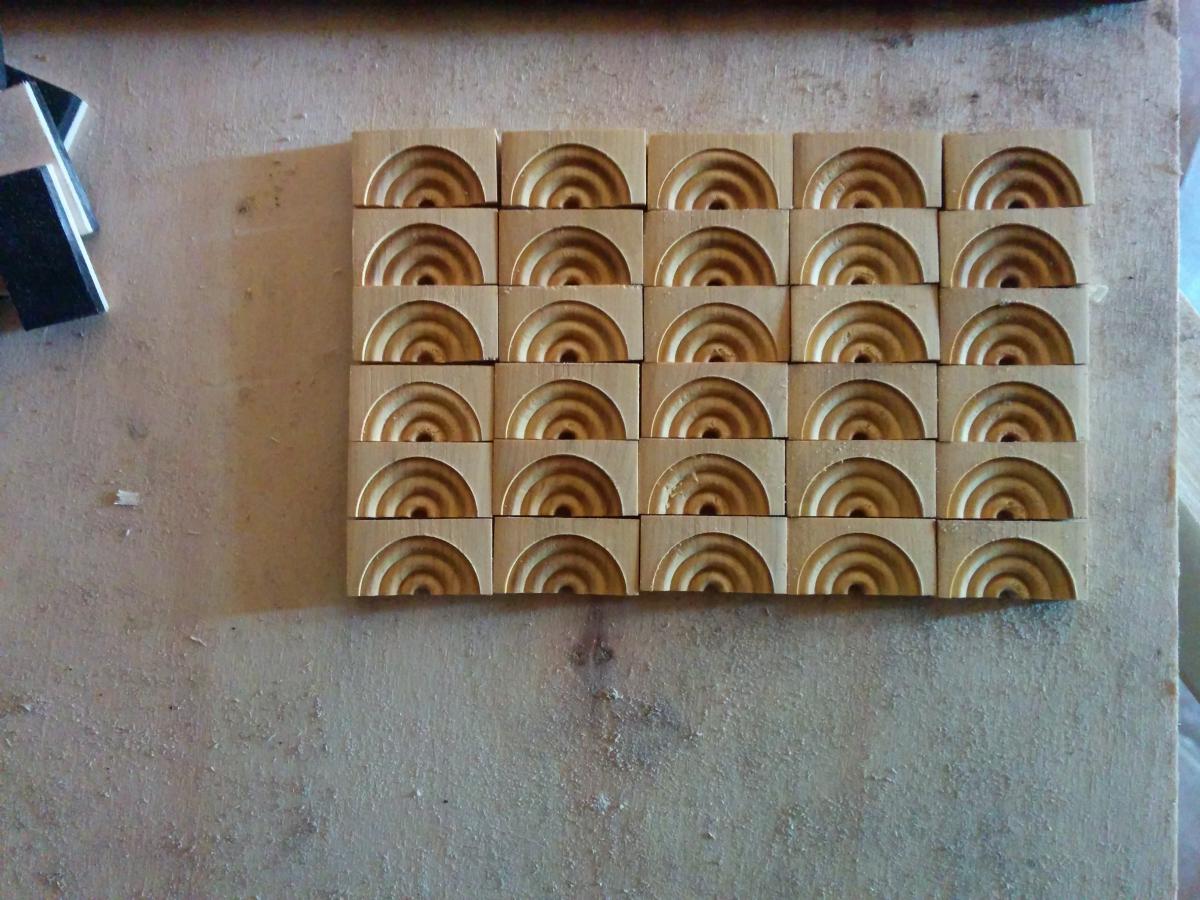
Brief report of the day, today we cut the front plates of all 4 keyboards, after gluing them onto a wooden strip and then sanding them; they are not ready yet, however, as they need to be milled with the drill press. Having done this, I assume we will prepare the other ebony plates for the Taskin which all need to be cut, whereas the boxwood ones are already practically ready, only needing to be cut to size and sanded.
Now all the keytops are ready, tomorrow I think we will start preparing the keyboard to glue them on; my clavichord wouldn't actually have keyfronts, but rather a design engraved directly onto the wood of the key, but with a boxwood keytop it is more beautiful.
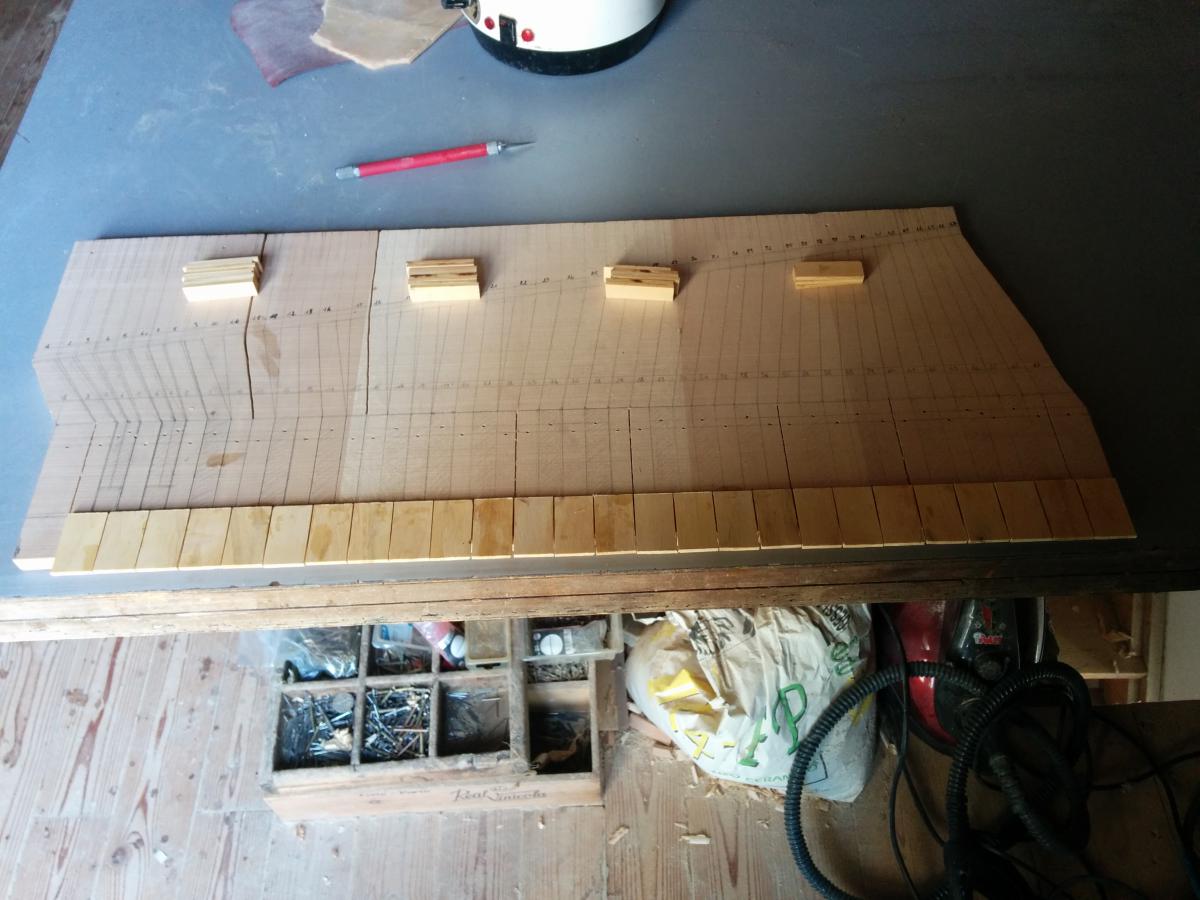
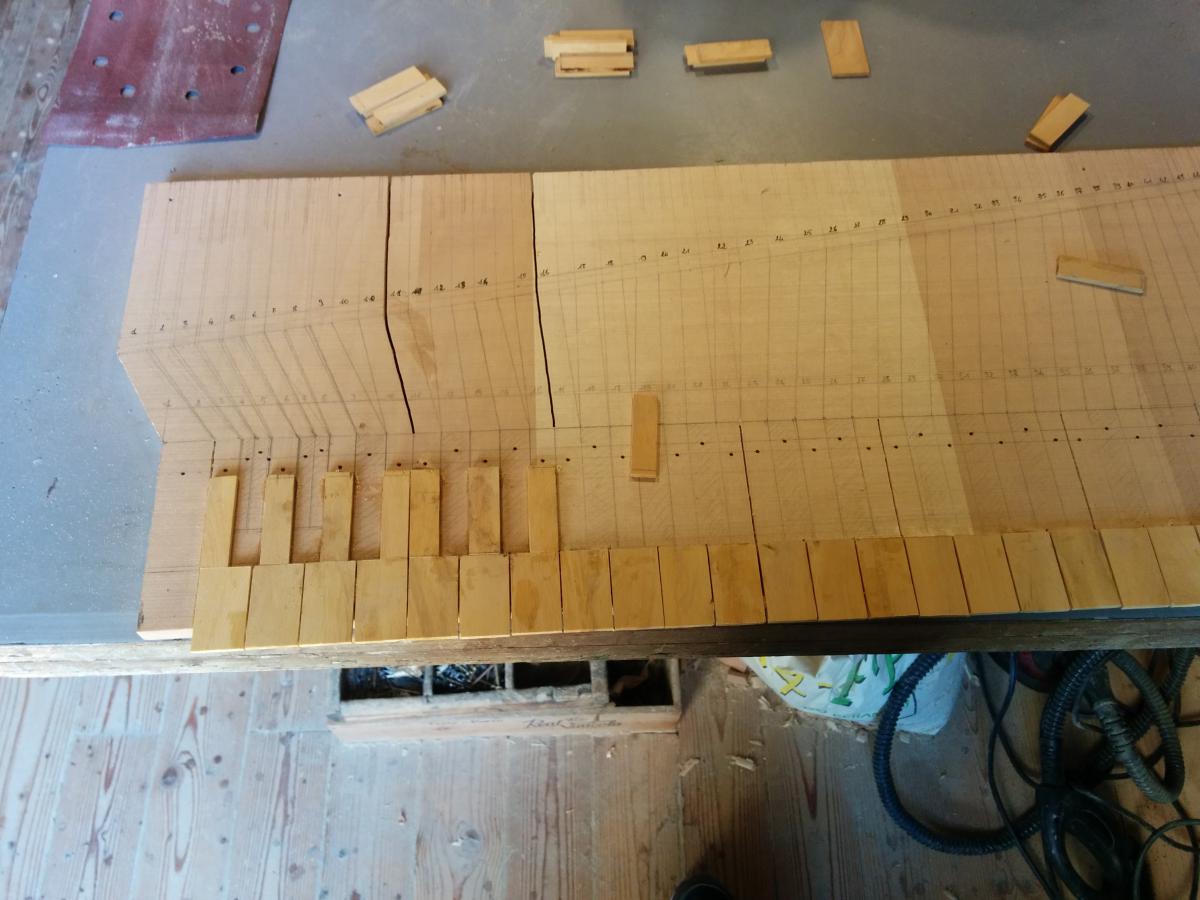
New brief update: all plates are ready to be glued (front panels excluded). Tomorrow I will glue the front and back plates, and I need to cut the first and the last ones which are whole (the first one is a few mm wider). Even the front plates are slightly long by a few mm, but I will cut them all together once they are glued.
Today I glued all the rear plates, tomorrow I will move on to the front ones, then there will be the need to finish all the diatonic keys and cut the keys.
So, a new brief update: I have finished gluing all the plates (excluding the fronts). Next week I will start the finishing work on all the diatonic ones; I have to sand and level them, engrave 4 lines—one is already there—and do the chamfers and the bevels, all strictly by hand one key at a time of course, otherwise, where's the fun in that!!
However, I think I'll have to do the bevels on the keyboard once it's already cut.
Here I am again... sorry if I disappeared for a bit but... various problems, including with the ADSL.
I see that the work is progressing well and I ask you for some explanations.
Why is the keyboard made of L-shaped and T-shaped plates glued together and assembled in two pieces? I mean that the joint line where the accidentals begin will then be visible, to be clear. Why not single pieces?
The milling of the boxwood front pieces with a drill press is done when the front pieces are still attached to the master strip, right? Then it cuts in the other direction and the plates come off if I'm not mistaken... looking at them, they seem thick enough to manage such a deep milling, or perhaps it's just the optical effect of the photo; what can I say... boxwood is boxwood, I've never seen a wood so suitable for engraving.
So, actually they were made both ways, either as a single plate or in two, it's just that using a single plate wastes quite a lot of material and boxwood and ebony are both expensive and precious materials, the less you waste the better! This way you cut the strips directly to the width you need and then assemble them... I think making them in two plates is more of an 18th-century method, but I'm not sure. In any case, there is a line that passes across all the keys at that height, so the problem doesn't arise! All keyboards have a line that passes flush with the junction point, so it's just as well to do them this way so you save material too.
No, the milling is done with the front panels already cut; we prepared a handmade wooden tool the size of two front panels and we mill them in pairs—it becomes circular milling, to be precise, and when you remove them they become semi-circular. Everyone has their own method, but once the position of the router bit is centered on the fronts, you can do them in series; the thickness of my front panels is 4mm anyway, there's a bit of poplar attached which has increased the thickness slightly... Which, by the way, makes it easier with the poplar when gluing.
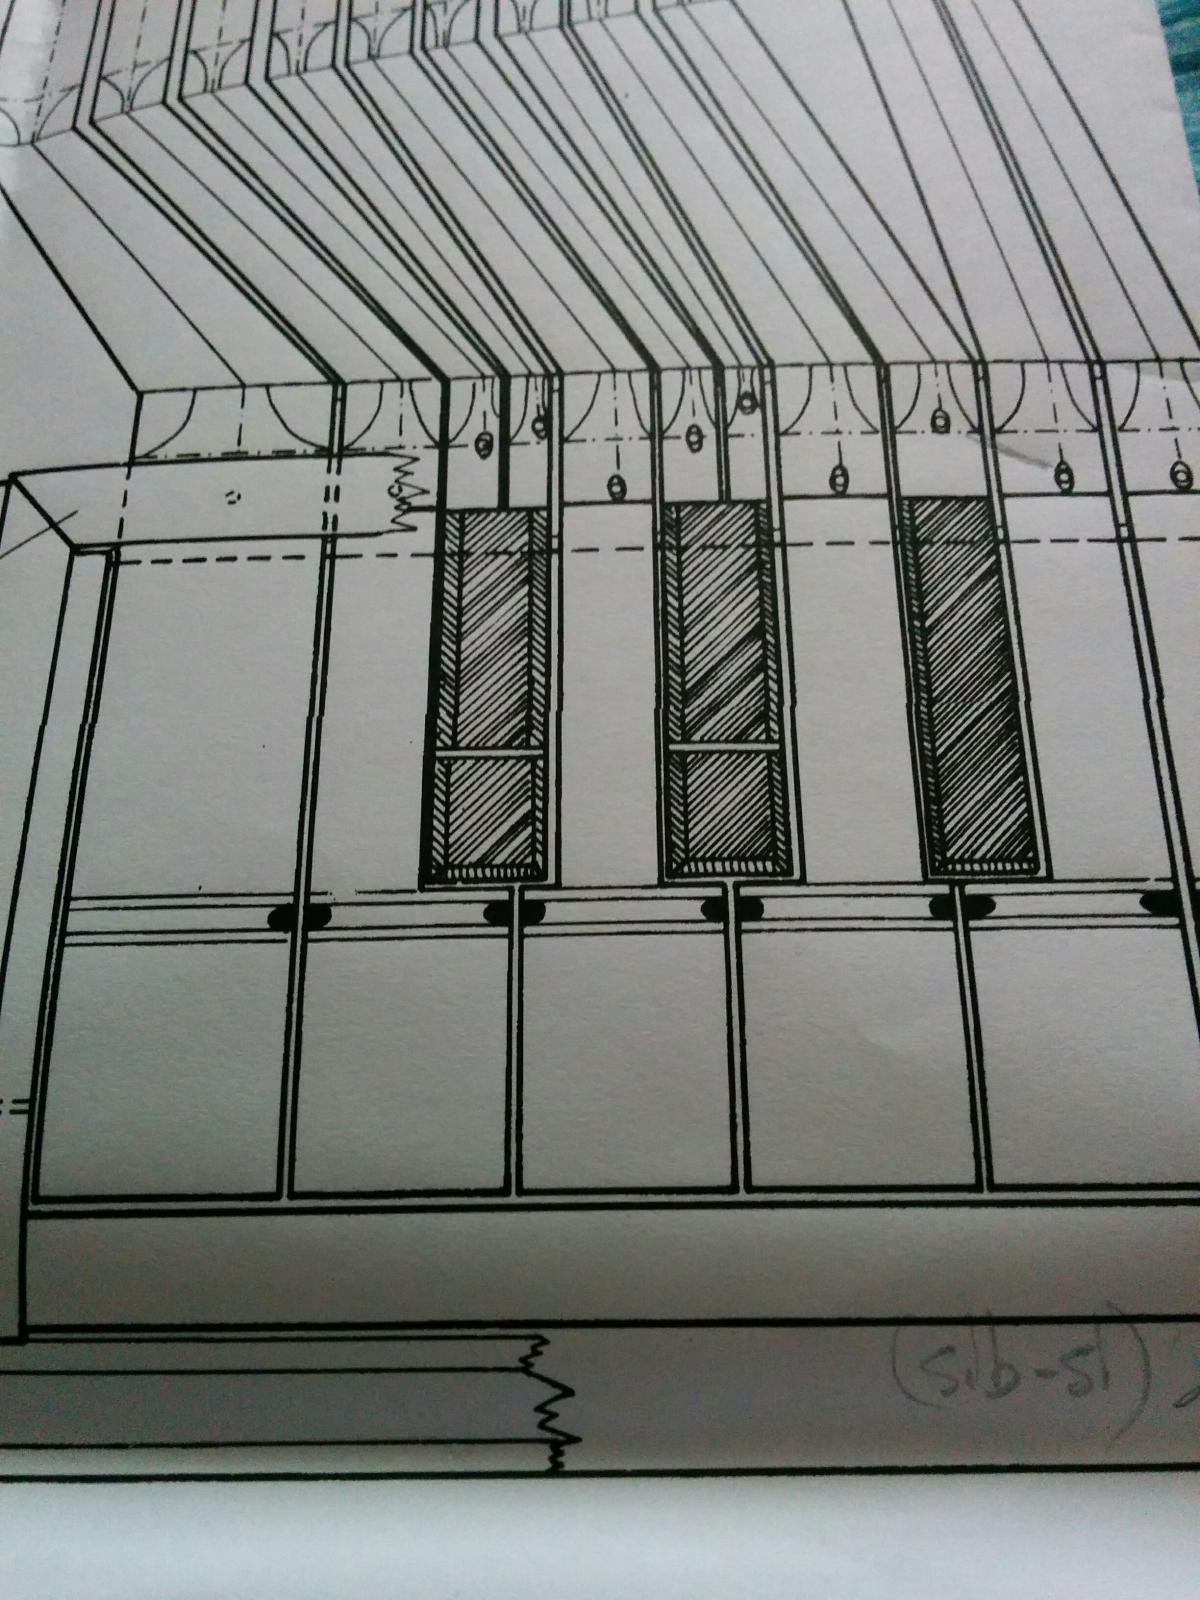
Anyway, I'll show you the drawing of some keys: the Taskin has 3 lines, I don't remember which one is missing; mine has four, with chamfers at the edges and two grooves between the two central lines.
Anyway thanks, it ends up here that they'll even order me a harpsichord in a little while
Thanks to you!! Man, you're giving me a great overview. I think I understand... for the milling, you made a recess to hold two inserts just to keep them steady and then milled inside the notch... am I wrong? Great idea! Regarding the half-keys, I agree, much nicer in two pieces because all the instruments I see have them like that and I believe they are philologically correct. What type of milling cutter do you use?