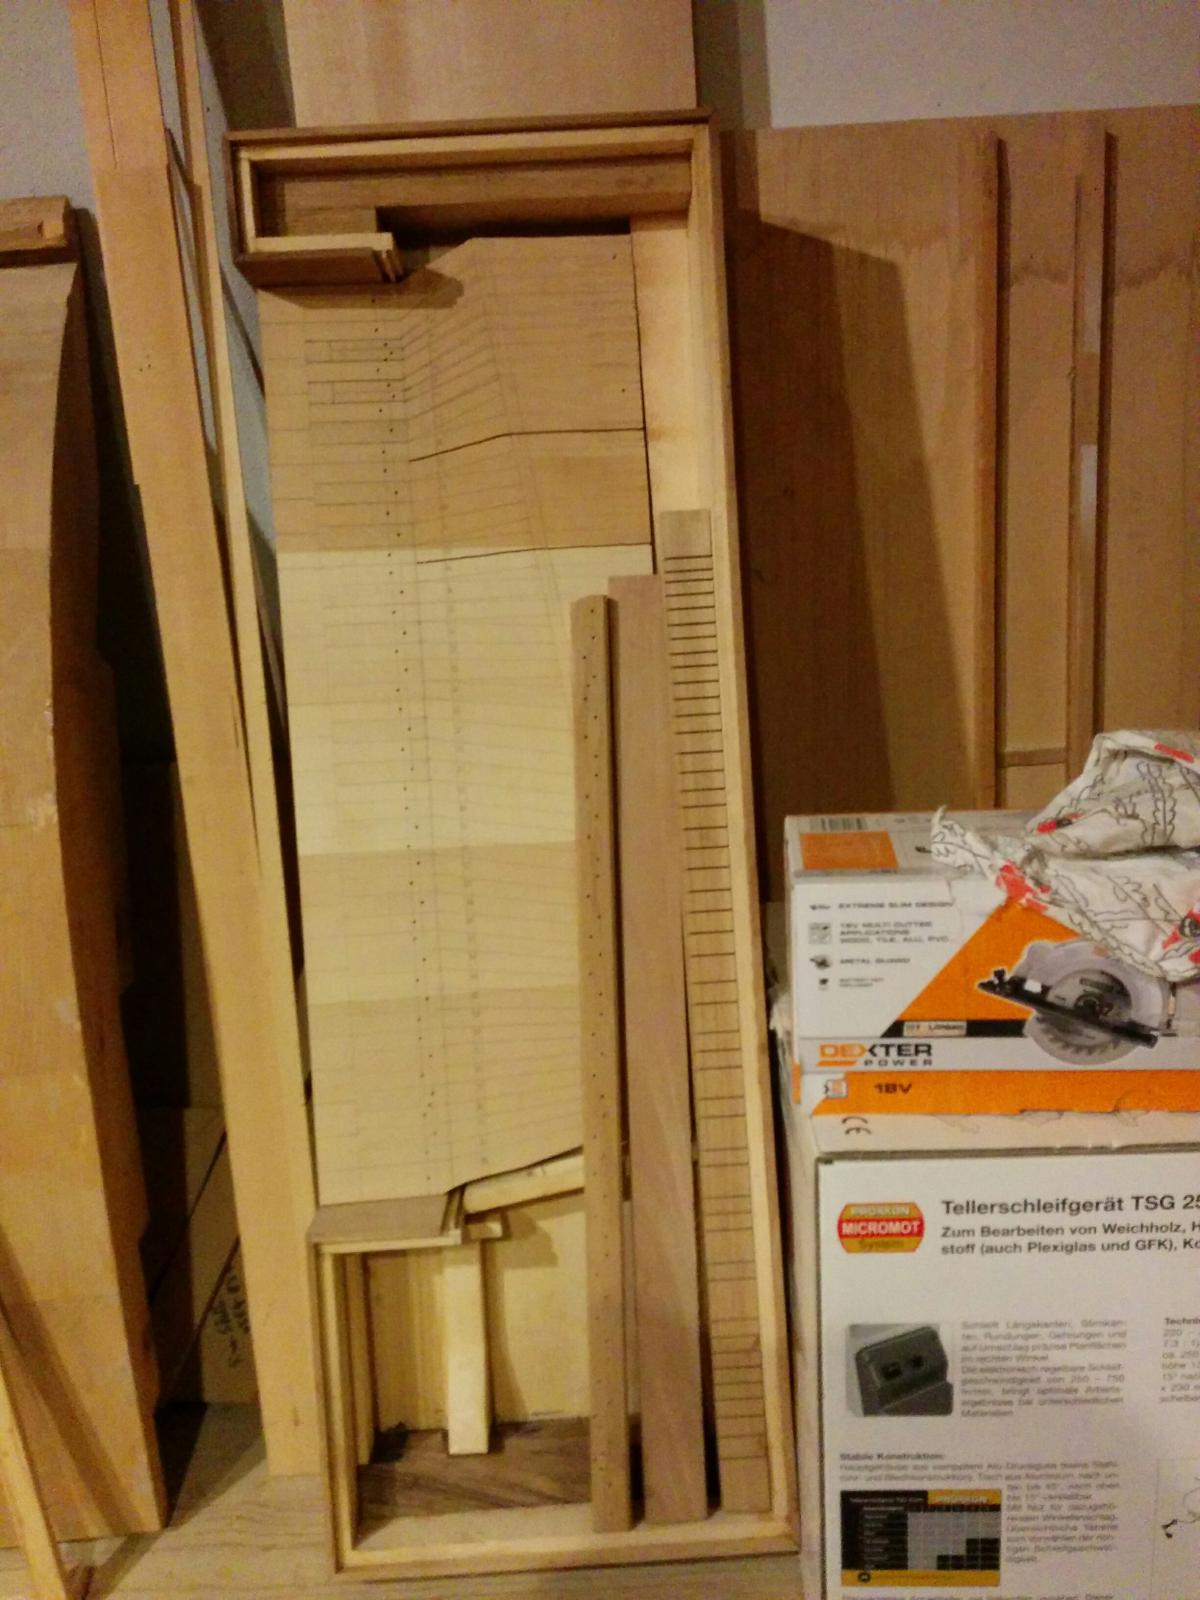
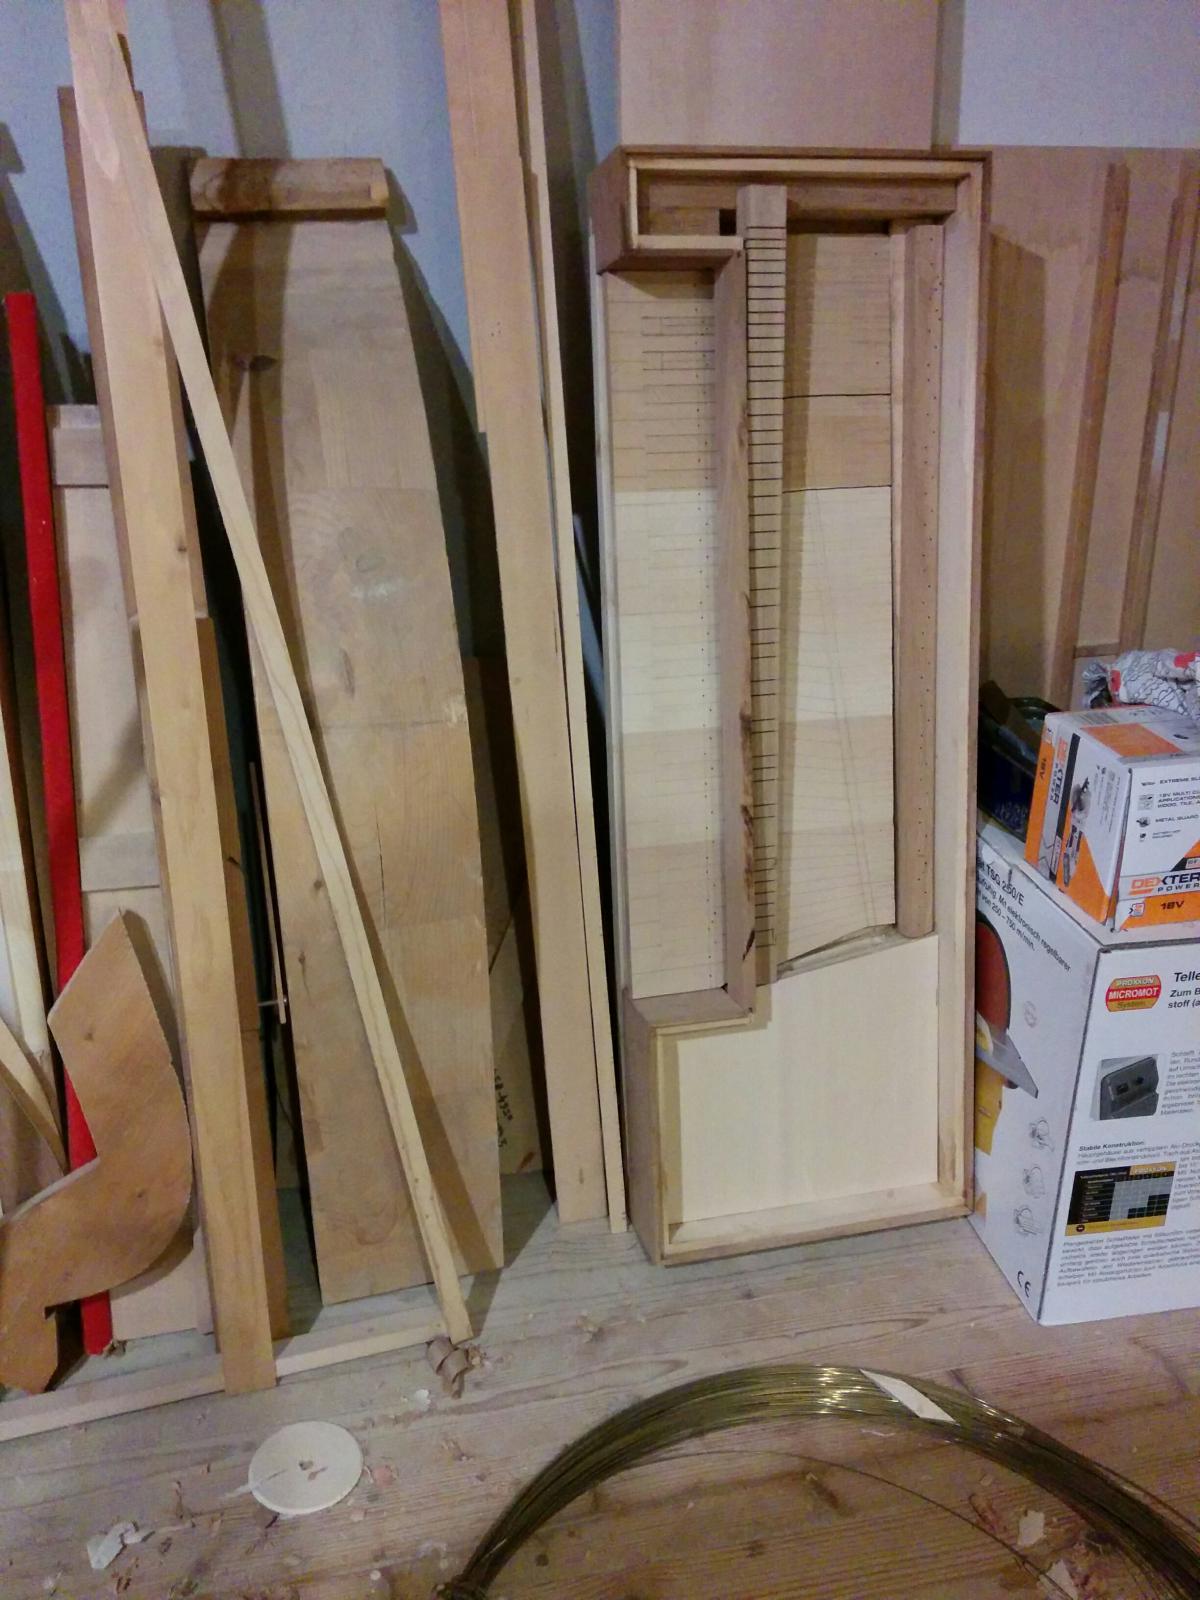
Well. In essence, the fimbria is nothing more than a strip with regular cuts at the same depth. Do you make them with those frame maker's saws or with a table saw and a lowered blade? I don't think so anyway because the cuts look like 2 mm to me... or more?
But precisely what is its function? Does it house a key between one cut and the next? It keeps them in guide, right?
The cuts are not all the same depth, those on the treble side are shorter because the wood then needs to be cut... I actually did it with a hand saw that can also do corners to go exactly perpendicular and then I made the internal wedges with the hand saw... In fact, it took me 4 and a half hours to do everything ahahah and it was the first time I had ever done it, in fact, the first ones are ugly ahahah after about twenty I got the hang of it and the last ones are even quite nice ahah
No, each key ends with a Delrin tab that is inserted into the various cuts, one key per cut, there are 47 in total! Anyway, yes, it only serves to prevent the keyboard from moving laterally, but it is a delicate piece along with the keyboard and the soundboard.
Anyway, the cut is a narrow wedge on the edge and wide on the inside; first I made the narrow cut and then I widened it with the saw...
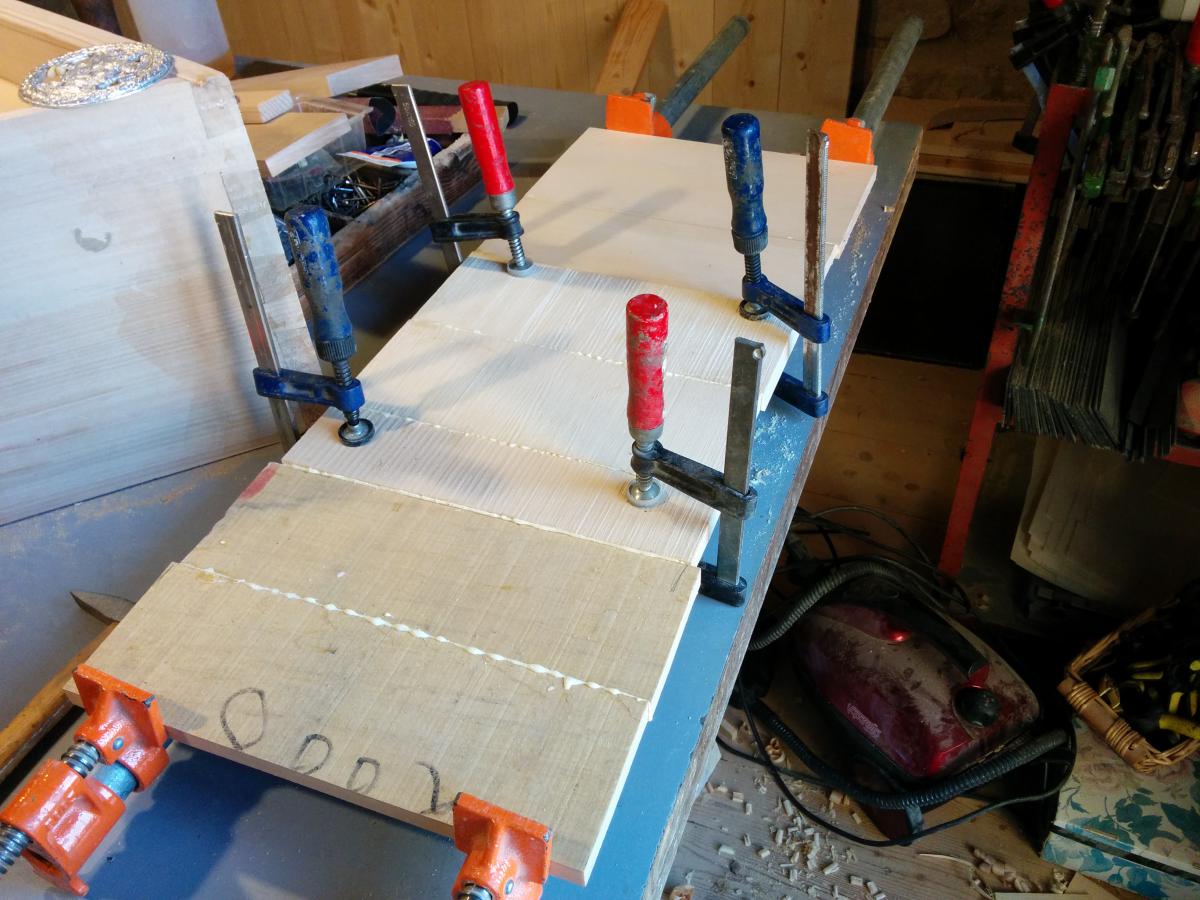
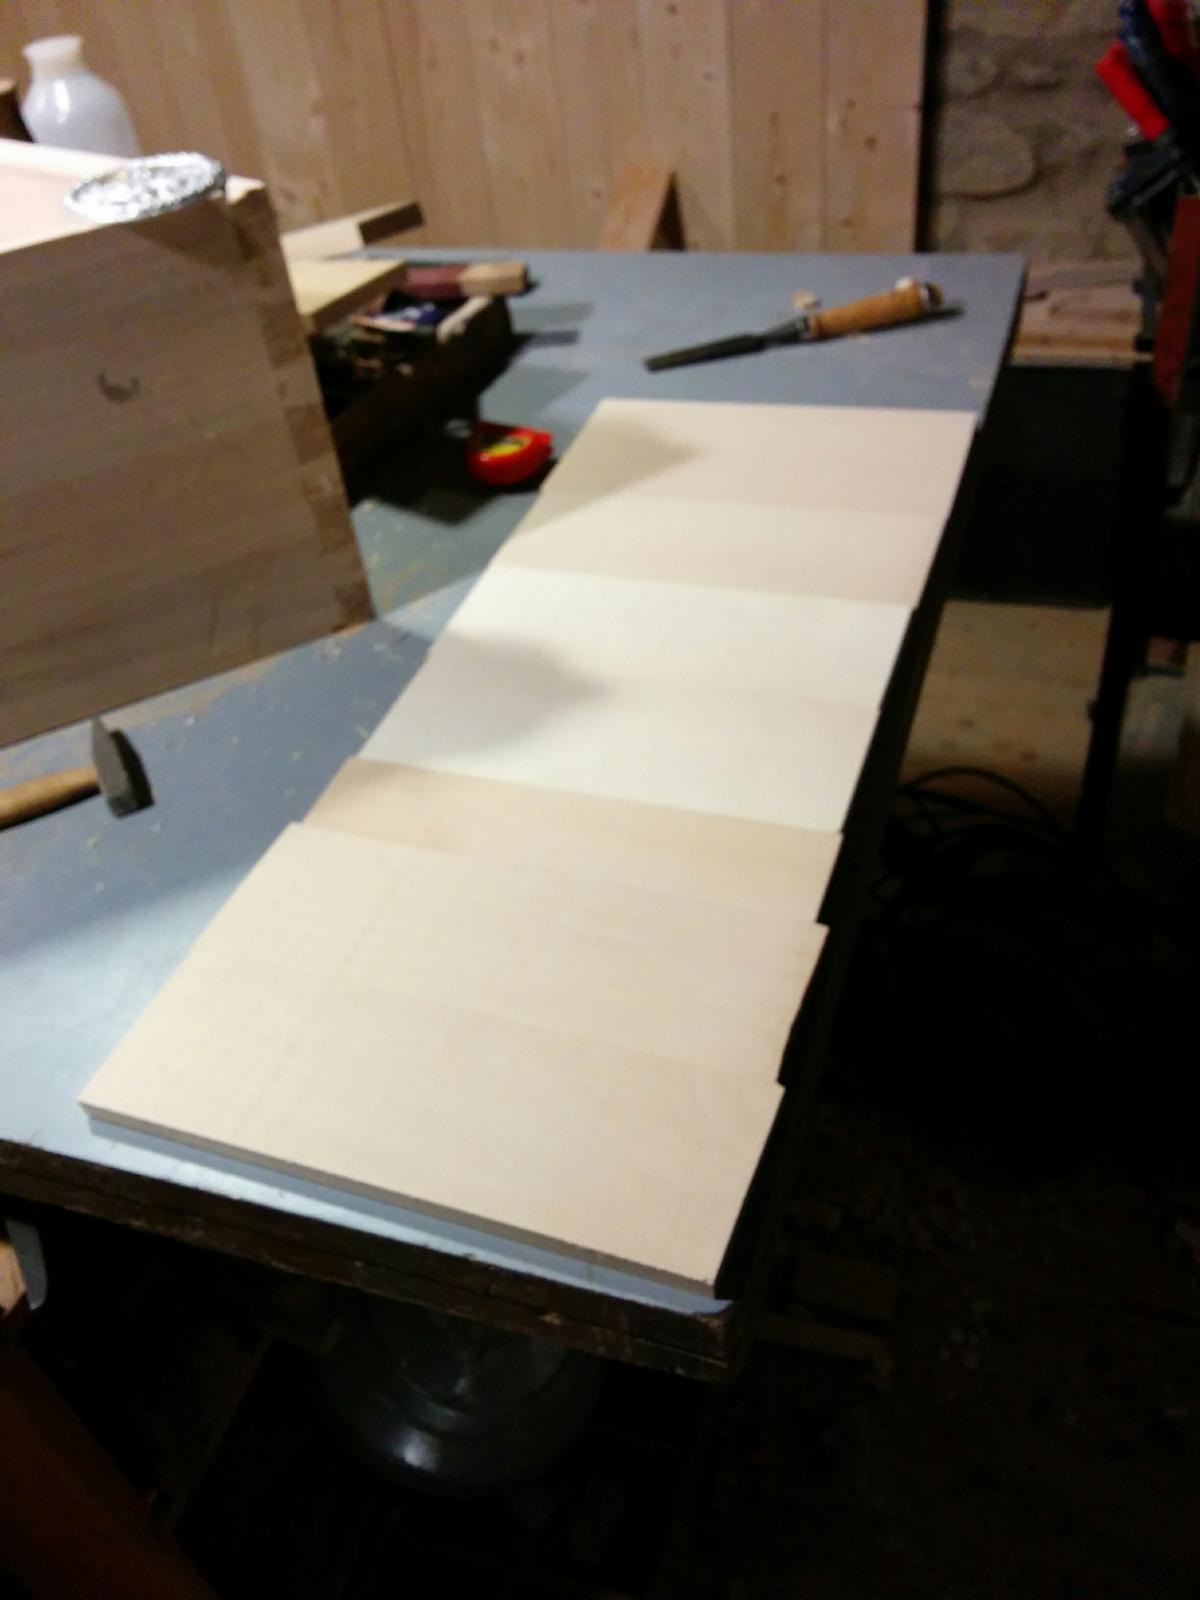
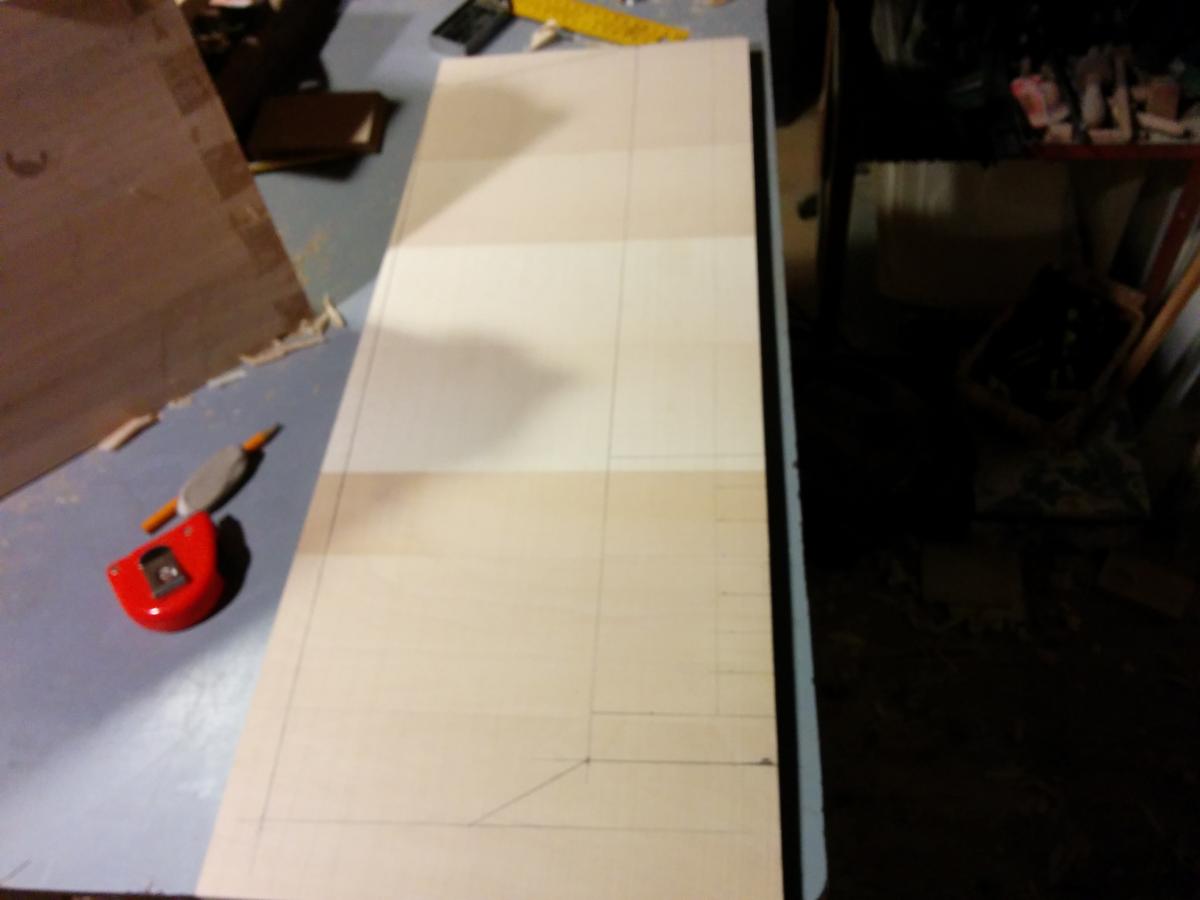
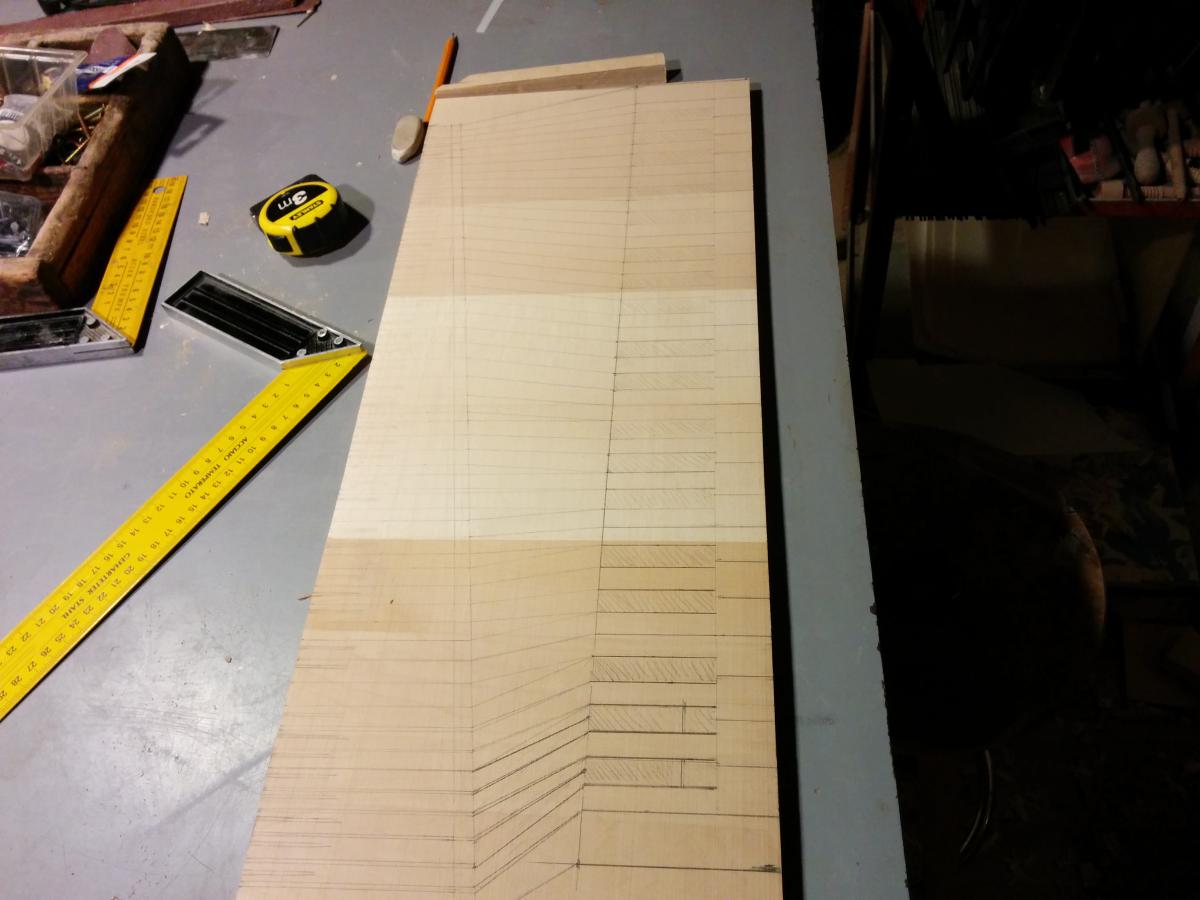
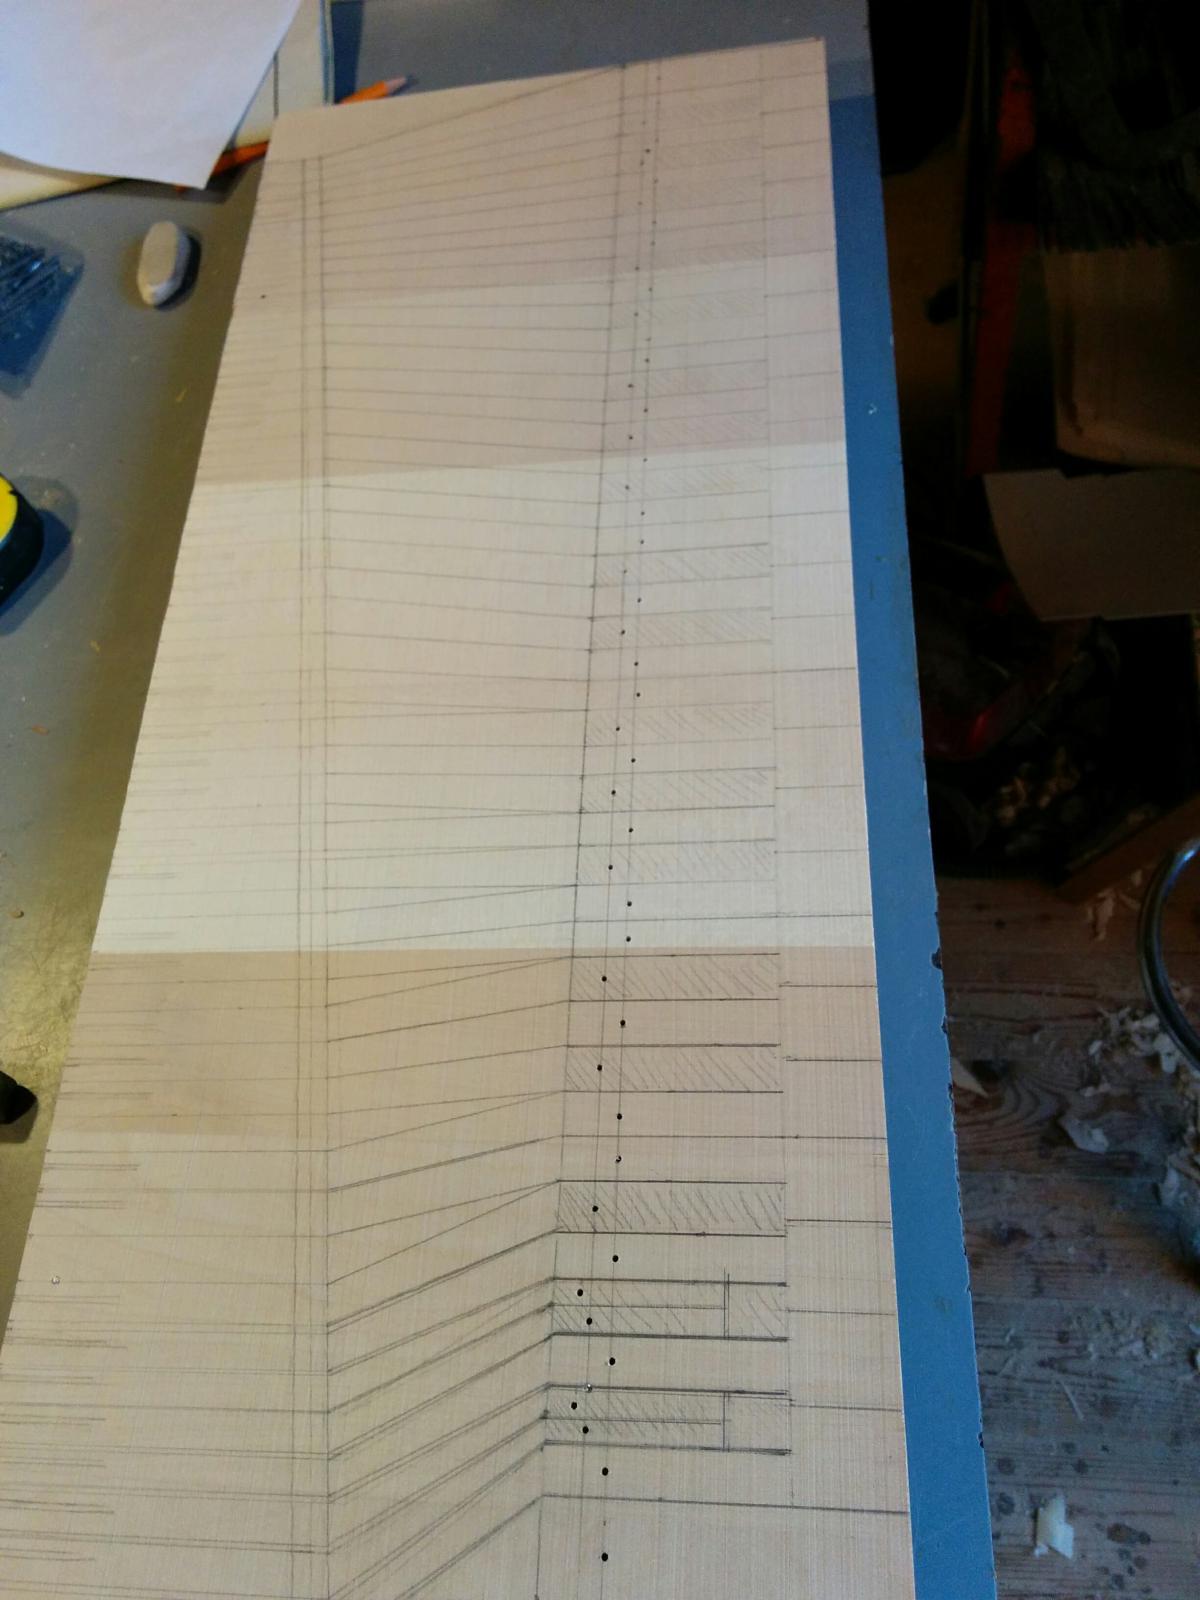
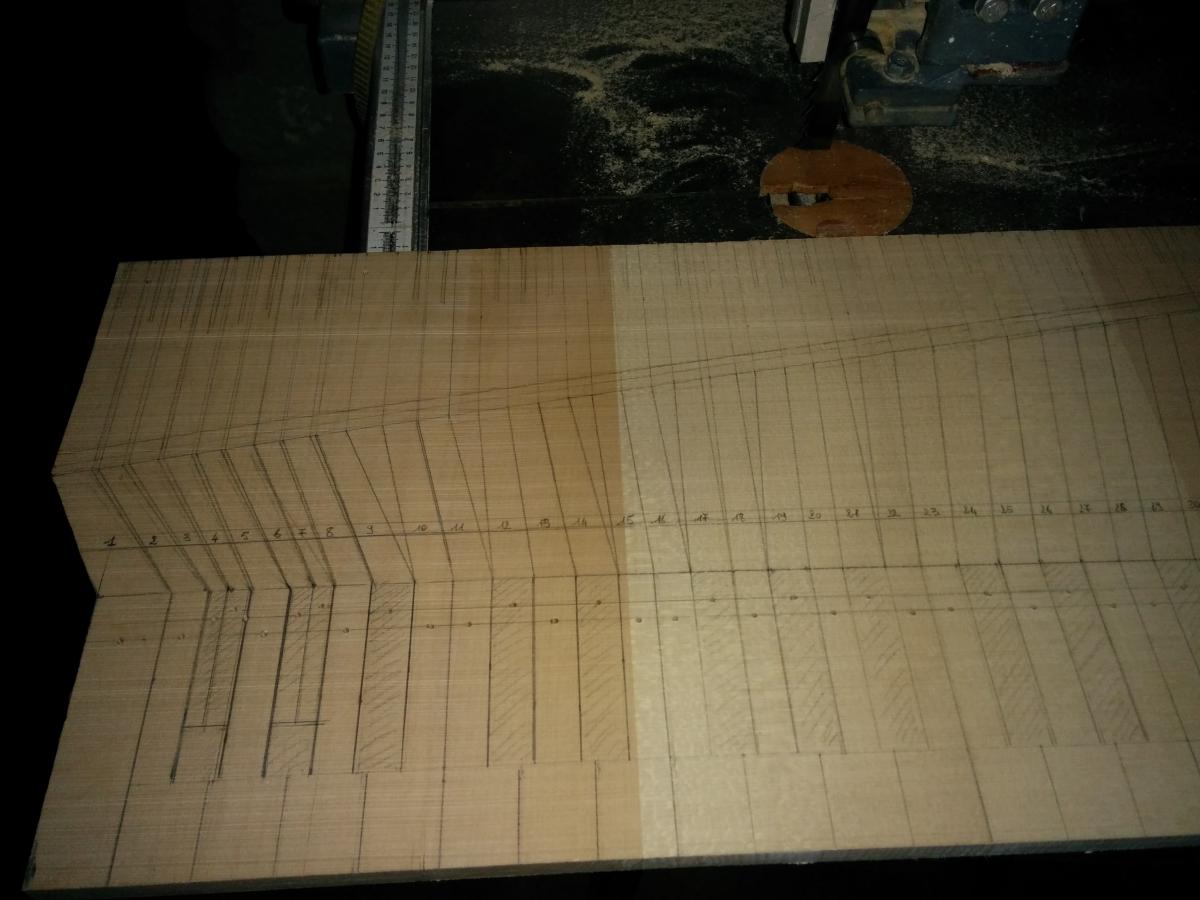
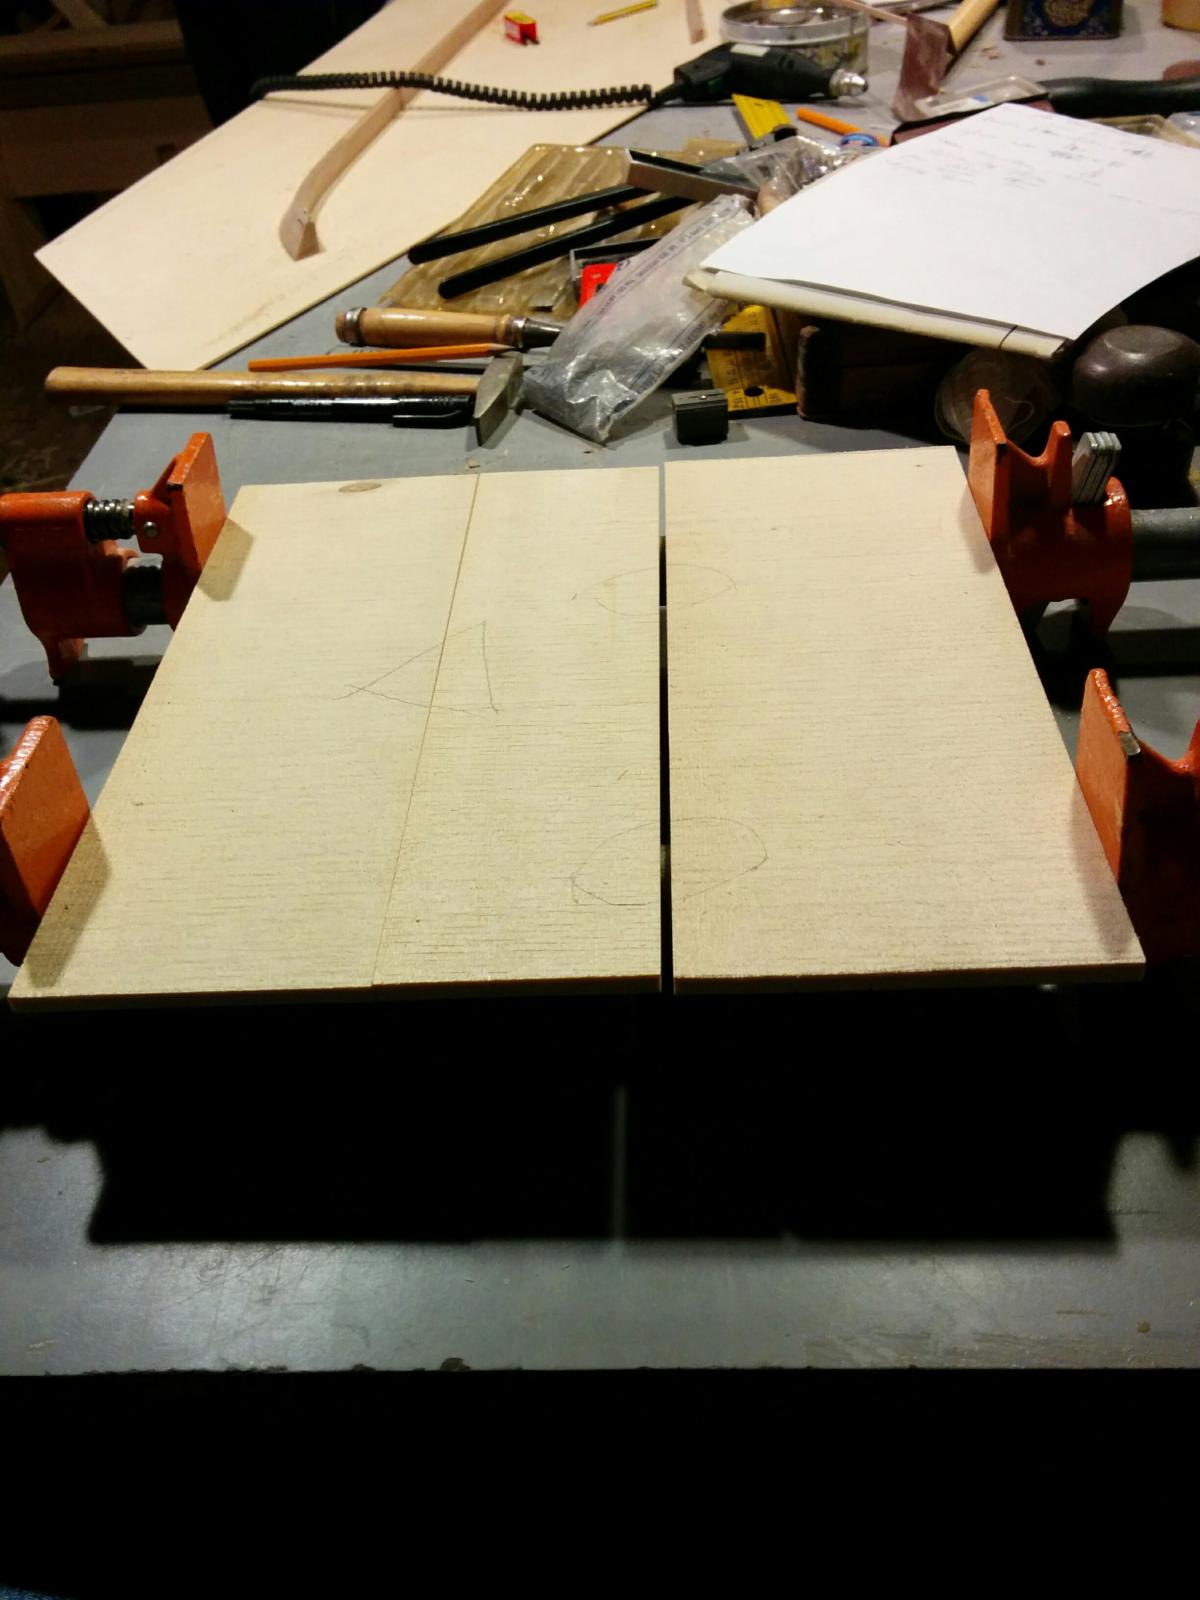
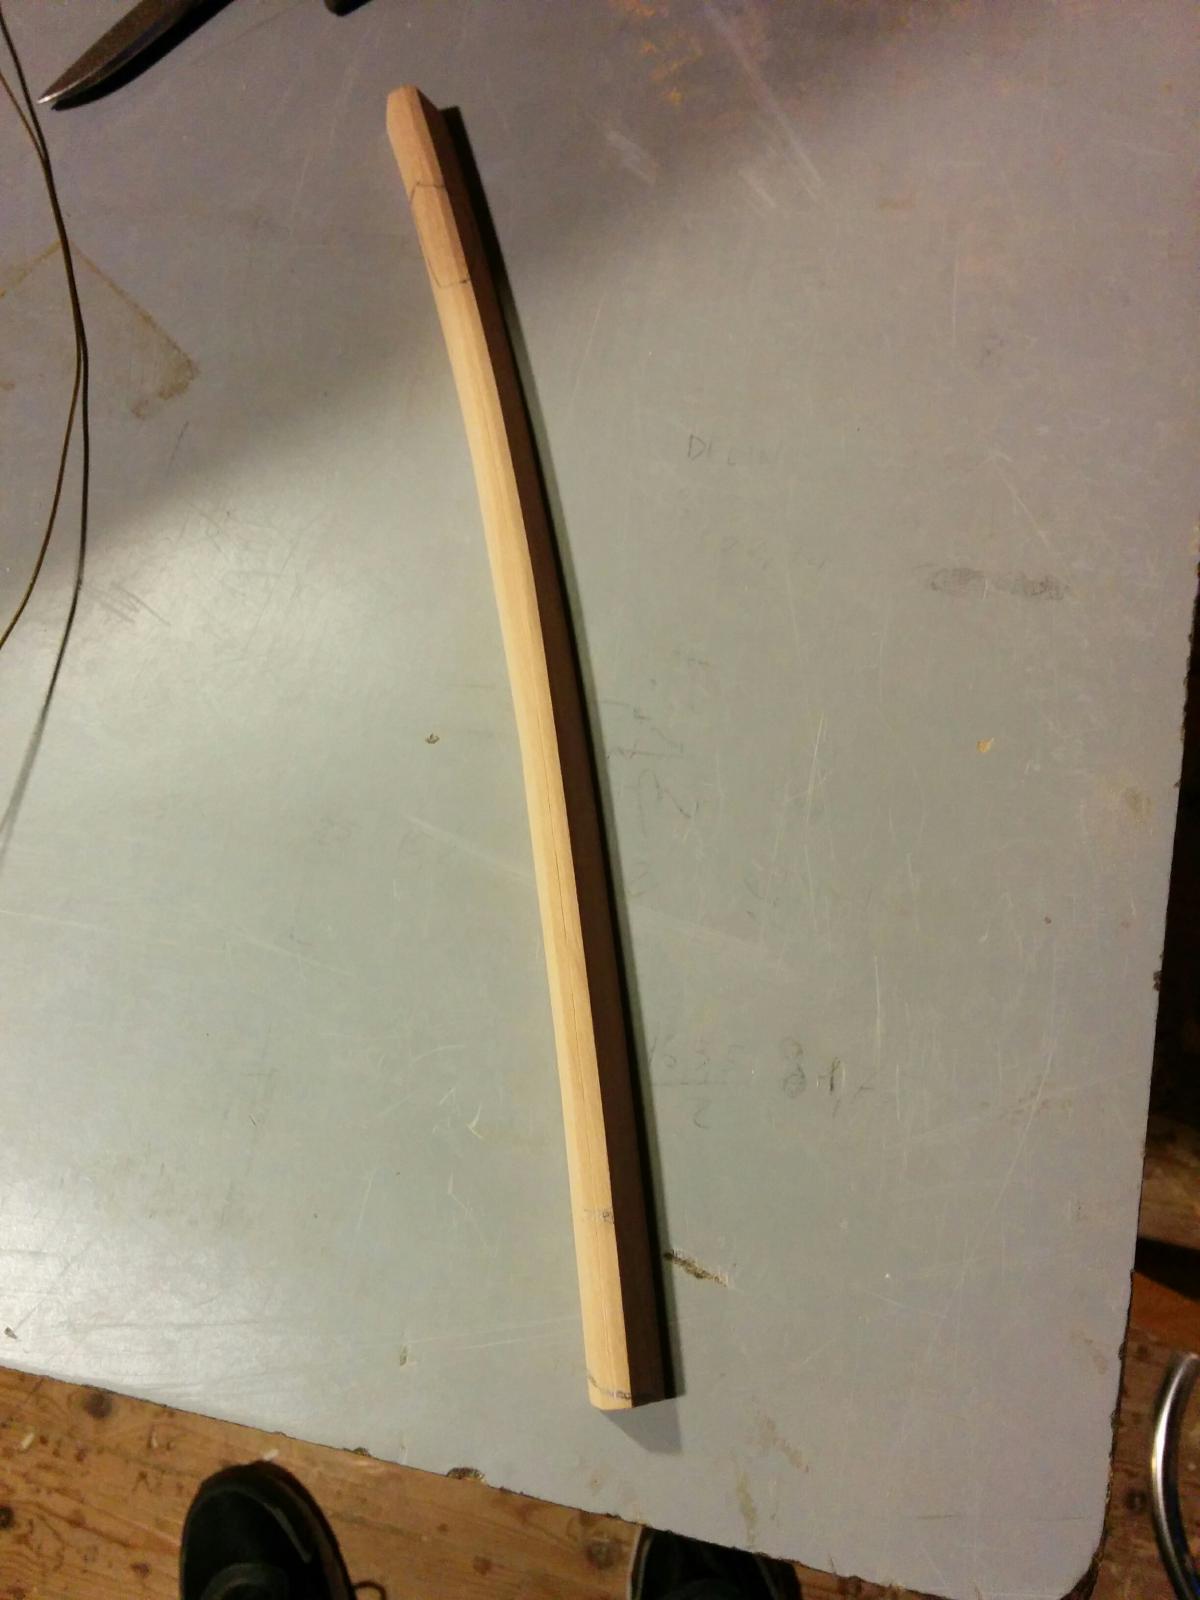
New update: today I officially started the keyboard; first, pieces of lime wood must be found, flattened so that the sides fit together when they are glued, then everything is glued into a board. At this point, once the glue is dry, the board is calibrated (in my case, the proximal part of the key is one and a half millimeters thicker than the actual key); once calibrated, the board is planed; if we have different thicknesses between the two ends, the two ends of the board are trimmed and drawing begins, which will take me several hours... I have already started it, but between tomorrow and Wednesday I hope to finish drawing it; as can be seen in the last image, the keys are all angled, but for now I have started by drawing both the diatonic and chromatic keys.
Very brief update, I spent over 4 hours drawing the keyboard but it's practically done, tomorrow I have to mark the position of the pins and little else.
Ahahaha no!! Those are for broken octaves... They sound under D and I have F# above, it's G#... The problem is preparing the chromatic... By pressing down below or above you play two different keys... From what I understand, the key needs to be hollowed out... I think the levers for C and D need to be hollowed out so that when playing F# or G# above, it doesn't also depress the D below me...
Wait, I understand which ones you mean... No, I've mainly used those as a template for now, there the key takes the corner... But that's also where the beveling of the key that I have to do starts... I marked it mainly for that.
To put it briefly, once the keys are cut, they don't remain flat but I have to bevel all the sides; I think I'll use a gouge... I need to see what kind of cut is needed...
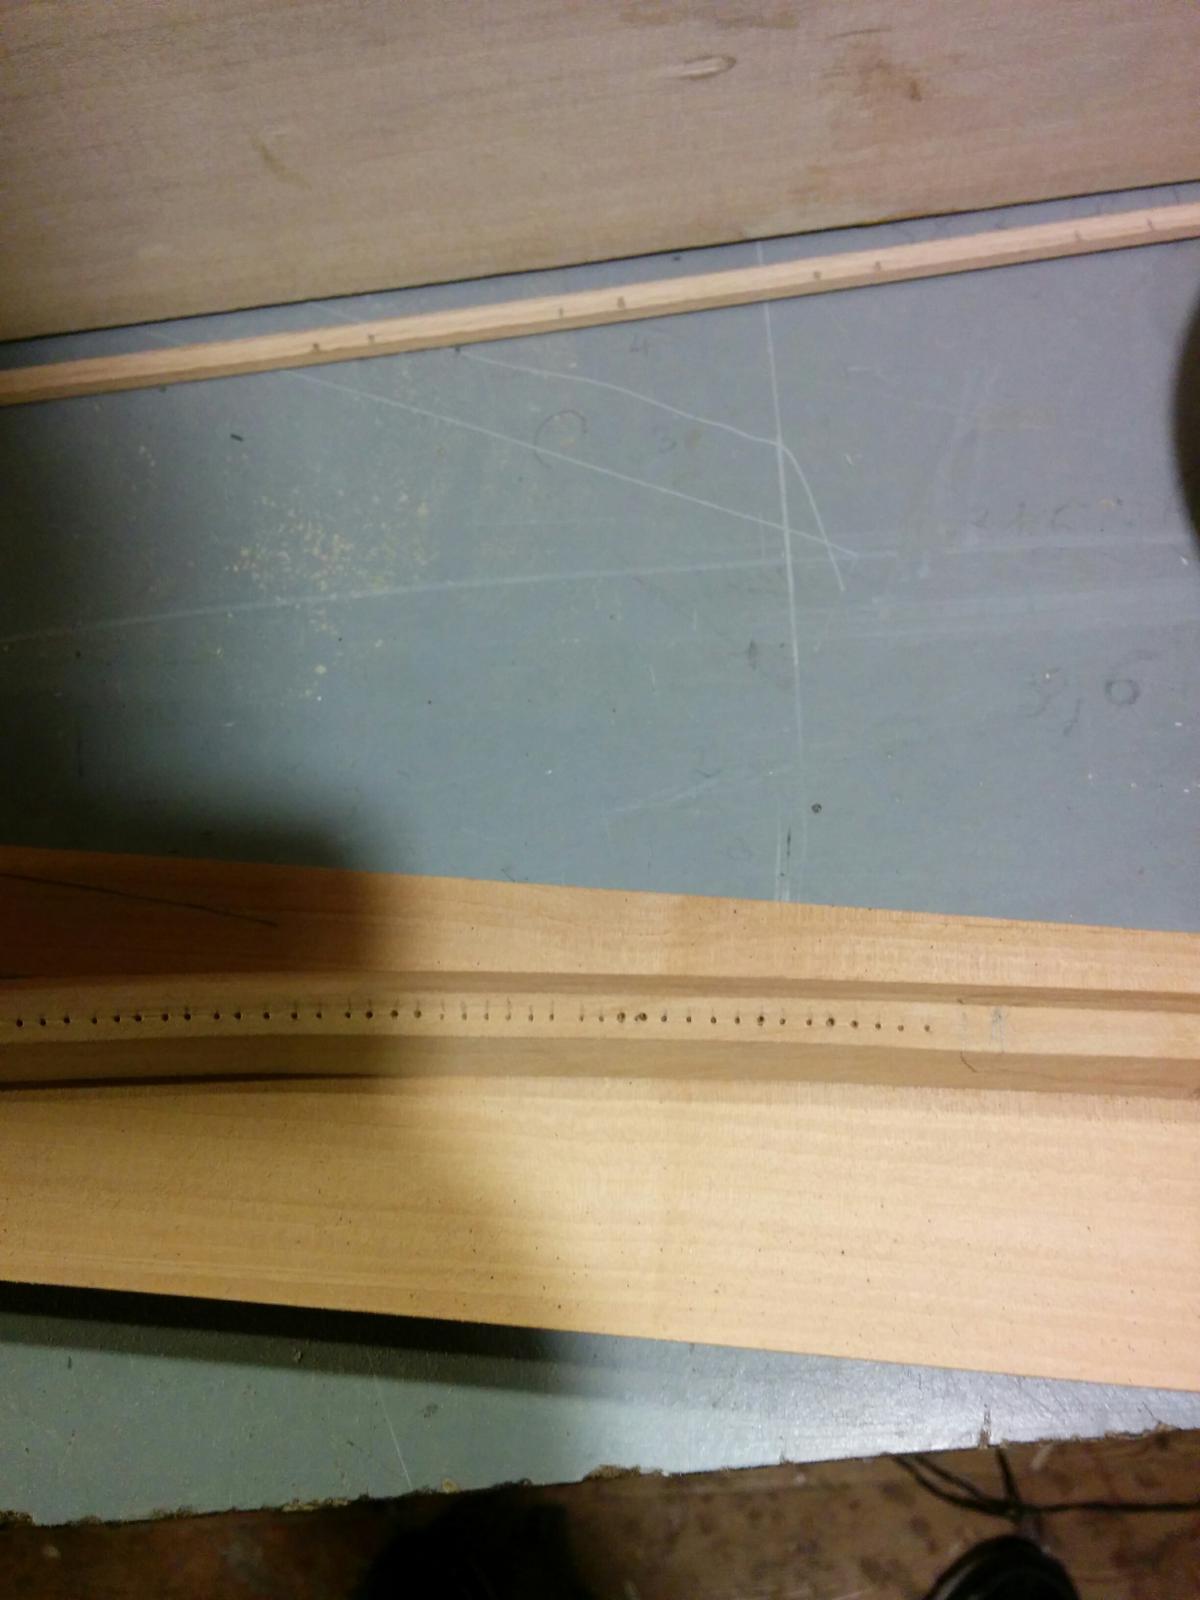
Another brief update: today I marked the pins and drilled the keyboard and the pin block; now, before cutting the keyboard, it should be veneered with boxwood for the diatonic keys, and cherry and ebony for the chromatic ones, but since in 1-2 weeks we will also have to do the key coverings for a taskin, let's do all 3 keyboards together.
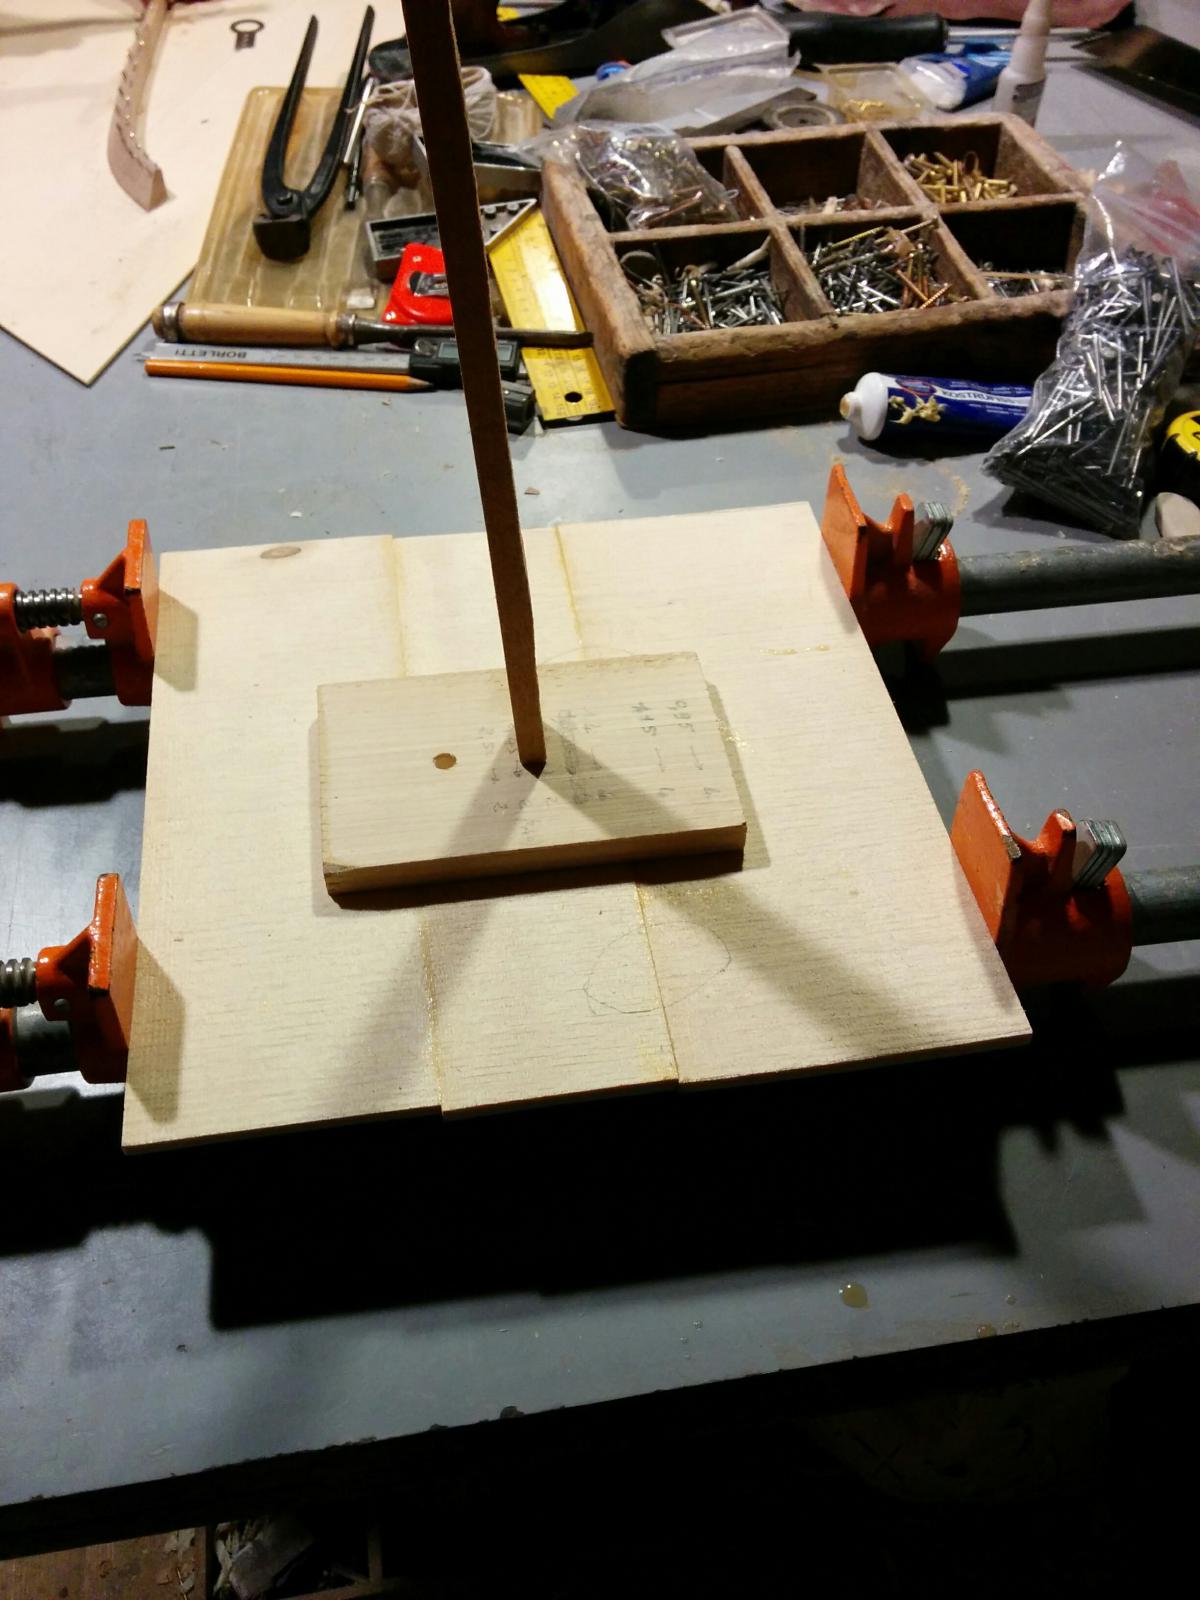
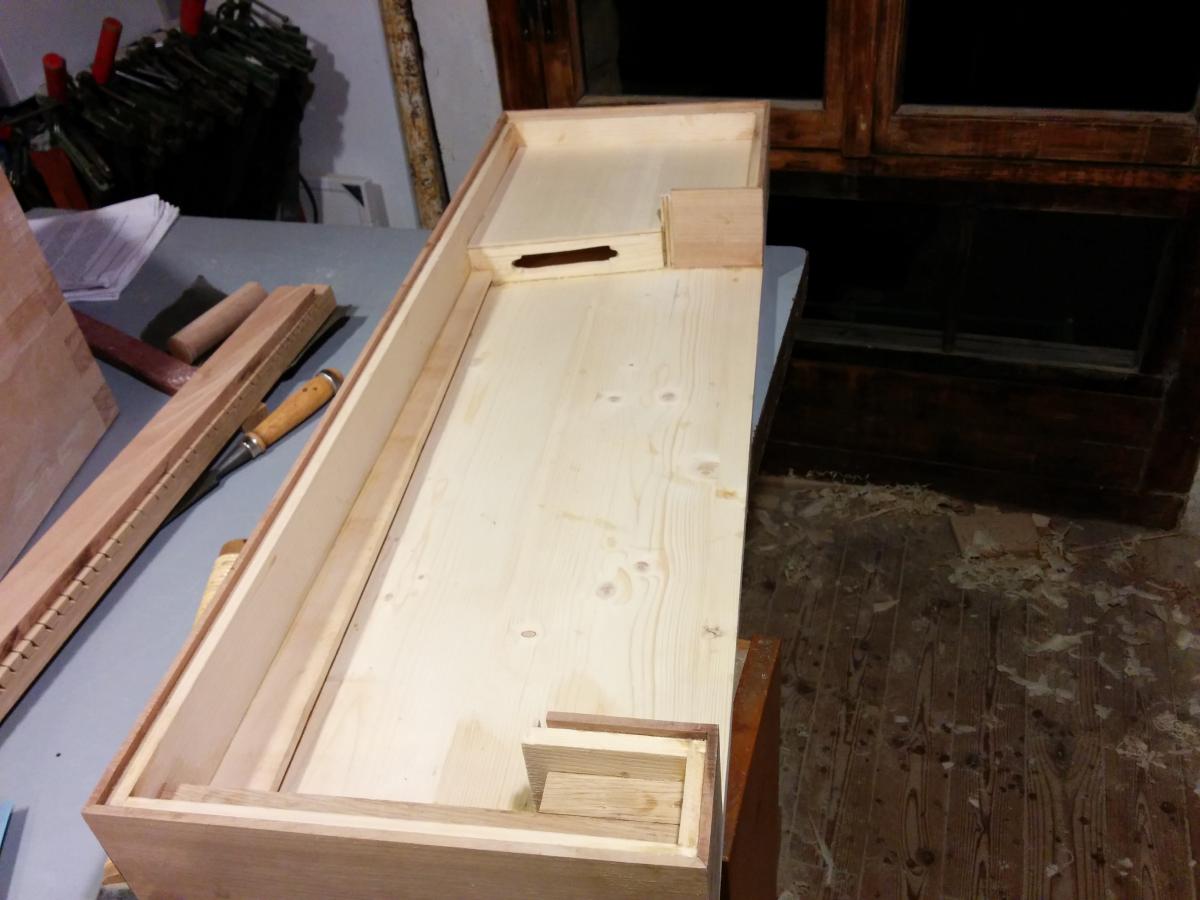
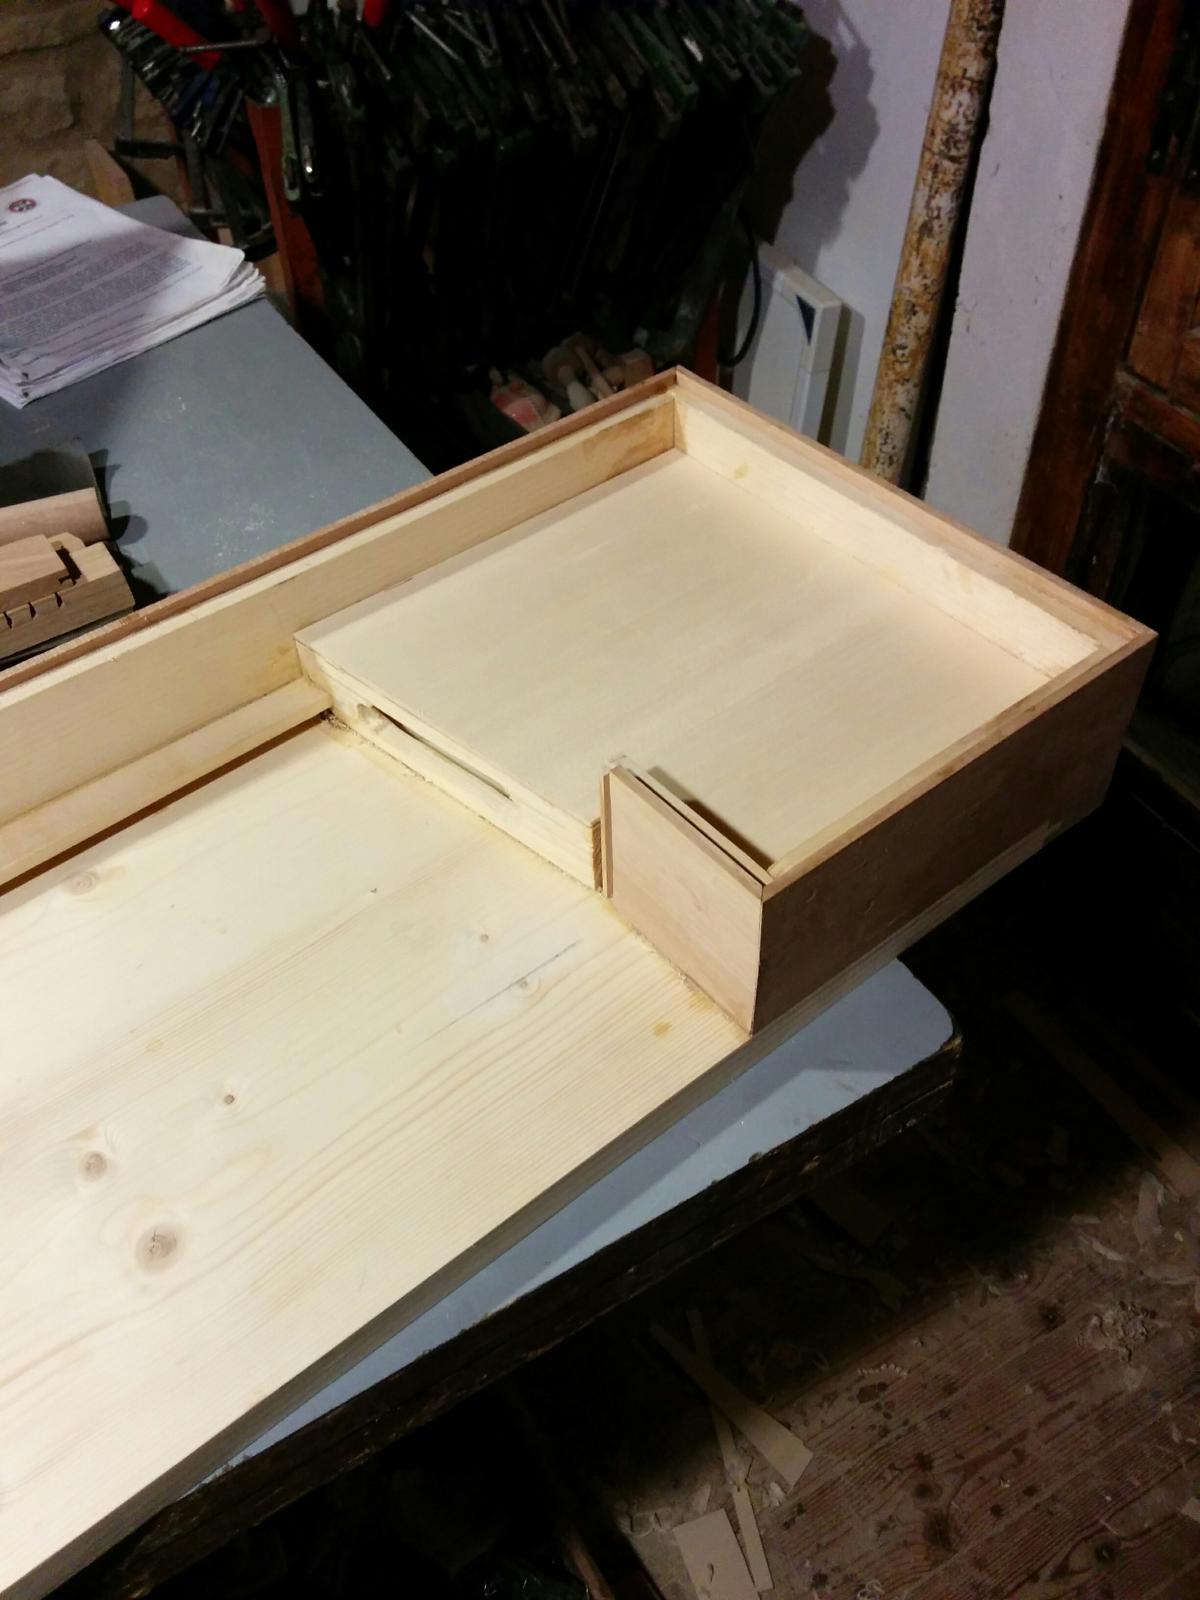
So I picked up the instrument and glued the soundboard; there will be no updates tomorrow, but on Friday I will plane the entire soundboard to 3 mm thickness and cut it to size.
Beautiful.. yes I understand, those recesses are to avoid friction problems between one and the other, right? The triangle and the circles drawn in pencil are wonderful... ha ha I used them too to remember the gluing direction of the boards... however, I don't understand what you were saying about the bottom/top, playing two keys.. I don't understand this thing. Anyway, the keyboard fits perfectly. Nice.
Mmmh no, actually there wouldn't be a need for it; most keys have grooves on almost all of them anyway, excluding the sharps, and I don't think the beveling goes to the bottom of the key.
It is a low split octave; you saw that the key is marked about halfway... To be clear, the lower part of the first key plays D and the one above it plays F#, while the other E is above G#, so there are two levers on the same key if you look at the first two, and we must ensure that by activating one of the two parts, the other does not sound as well.
In reality, the keyboard narrows very slightly on the left side, but given that the E/C is 2 mm wider, I can give it a filing when needed...
PS: I found another clavichord project also preserved in Nuremberg from 1789; Hubert, I believe the builder's name is, a legato clavichord as well, but it is better drawn... It shows all the upper parts of the keyboard with the tangents, and beside them the diameters of the strings... beautiful
New short update: today I calibrated the soundboard and then cut it to size, on Monday I have to sand it and then at least mark the position of the bridge above... Once done, the bridge must be cut with the correct curvature (very slight but it's there) and then glued into place.
Hubert is beautiful... aside from the wood being so new.. I don't know, just the type of wood, or the finish. Yours is turning out great. In what sense a key that is divided in two? You'll have to show me later. It certainly becomes a bit complex to play, doesn't it? Maybe it's a matter of technique, no?
Yes, it's beautiful Hubert... But don't worry, wood doesn't stay new forever ahahah.
I believe the wood is walnut.. It was used quite a lot in Germany; even the Silberman is practically walnut, mine is veneered in walnut even though the lid strangely seems to be spruce..
Look at the first two chromatic keys on the keyboard, I have divided them roughly in half to mark and drill the keyboard and the list below, but if you look at the key it is divided roughly in half (for the short side the top part is a bit longer); anyway, the bottom part plays D and E, while the top part plays F# and G#, so they are truly two separate keys, and if you look there are two levers for each chromatic, so I have to make sure that if I press F# the front part that would play D doesn't go down too.
Well, there are privileged fingerings for playing on short octaves... But it's mostly a matter of habit; you know that if you have to play an octave like D-D, the low D is right there on the F# key... It's just a matter of habit... You know when you have to play a low third D-F, you press F-F# ahah
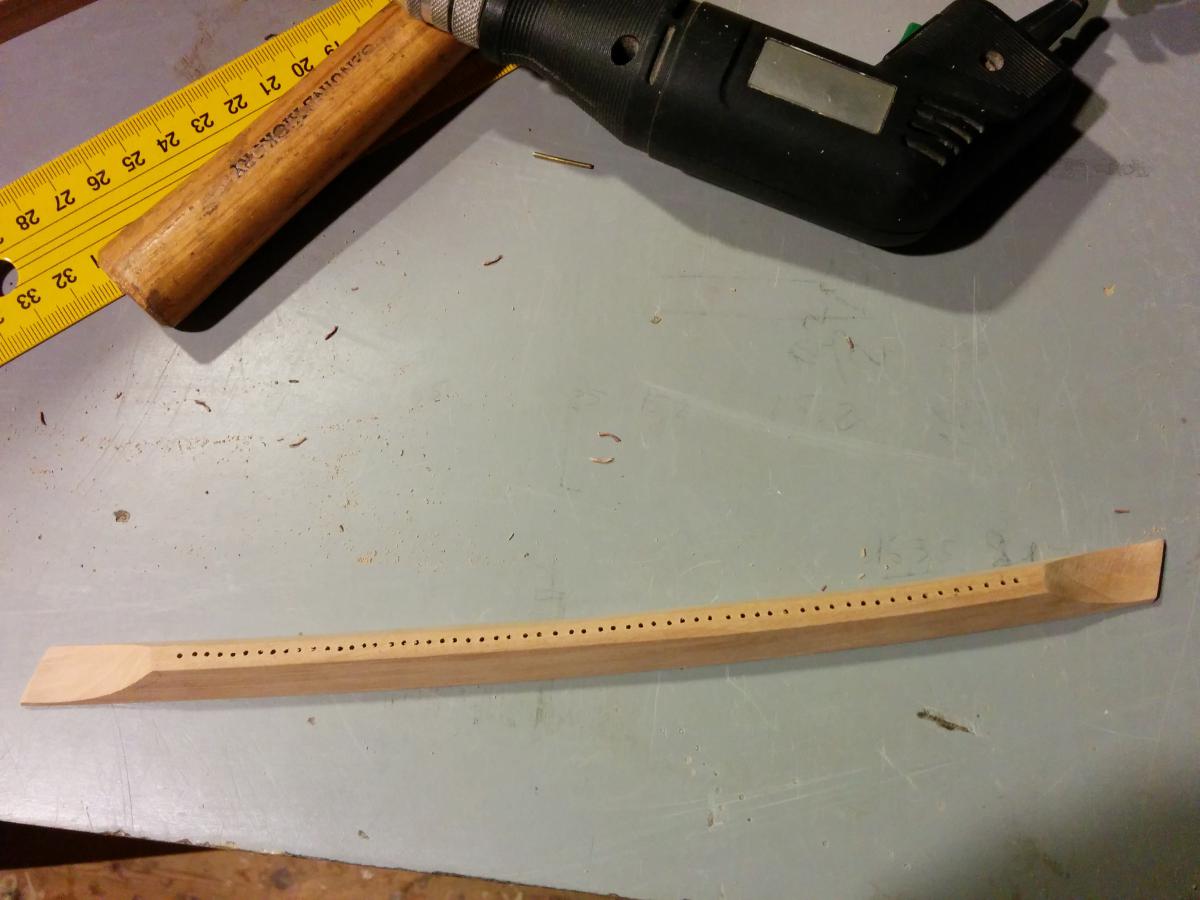
New small update, today I almost finished preparing the bridge, from a piece of walnut wood; we shaped it like a harpsichord bridge instead of the one marked on the drawing (soundboard, jambs, bridge, and bars have all been replaced), the drawing seems to show a rounded bridge, but believe me, there would be real problems with the passage of the strings which must be parallel to the bridge or almost... In any case, having done this, the bridge was marked and then drilled; tomorrow I will put in the brass pins and at that point you can already glue the bridge to the soundboard.